We love taro and we really love Taro Cake! This dim sum staple is delicious, and thankfully, not that hard to make at home. Our simple homemade version is packed with plenty of fresh taro, dried shrimp, and Chinese sausage!
Taro cake, steamed and pan fried!
Homemade taro cake (also called Wu Tao Gou or Chinese Taro Cake) always feels like such a special treat.
It's not hard to make, but it's more involved than a quick stir fry. You have to plan the ingredients ahead of time, and make sure you have your pieces and parts ready. It uses some ingredient that we don't always just have in the kitchen like regular rice flour (not glutinous rice flour) and fresh taro.
If someone makes you fresh taro cake you know that, 1) they really care about you and, 2) they want you to eat well ^_^

Fresh taro cake, just out of the steamer!
What is taro cake? If you've never made it before, and even if you've eaten it at restaurants, it's kind of hard to tell what exactly is in taro cake.
Taro cake is: fresh taro that is peeled and diced, then quickly cooked in a big pan with lap cheong (Chinese sausage) and dried shrimp and lot of other aromatics and seasonings. Everything is mixed with the regular rice flour + water.
The whole mixture is poured into a pan and then steamed. Once steamed, the taro cake is considered done and ready to eat.
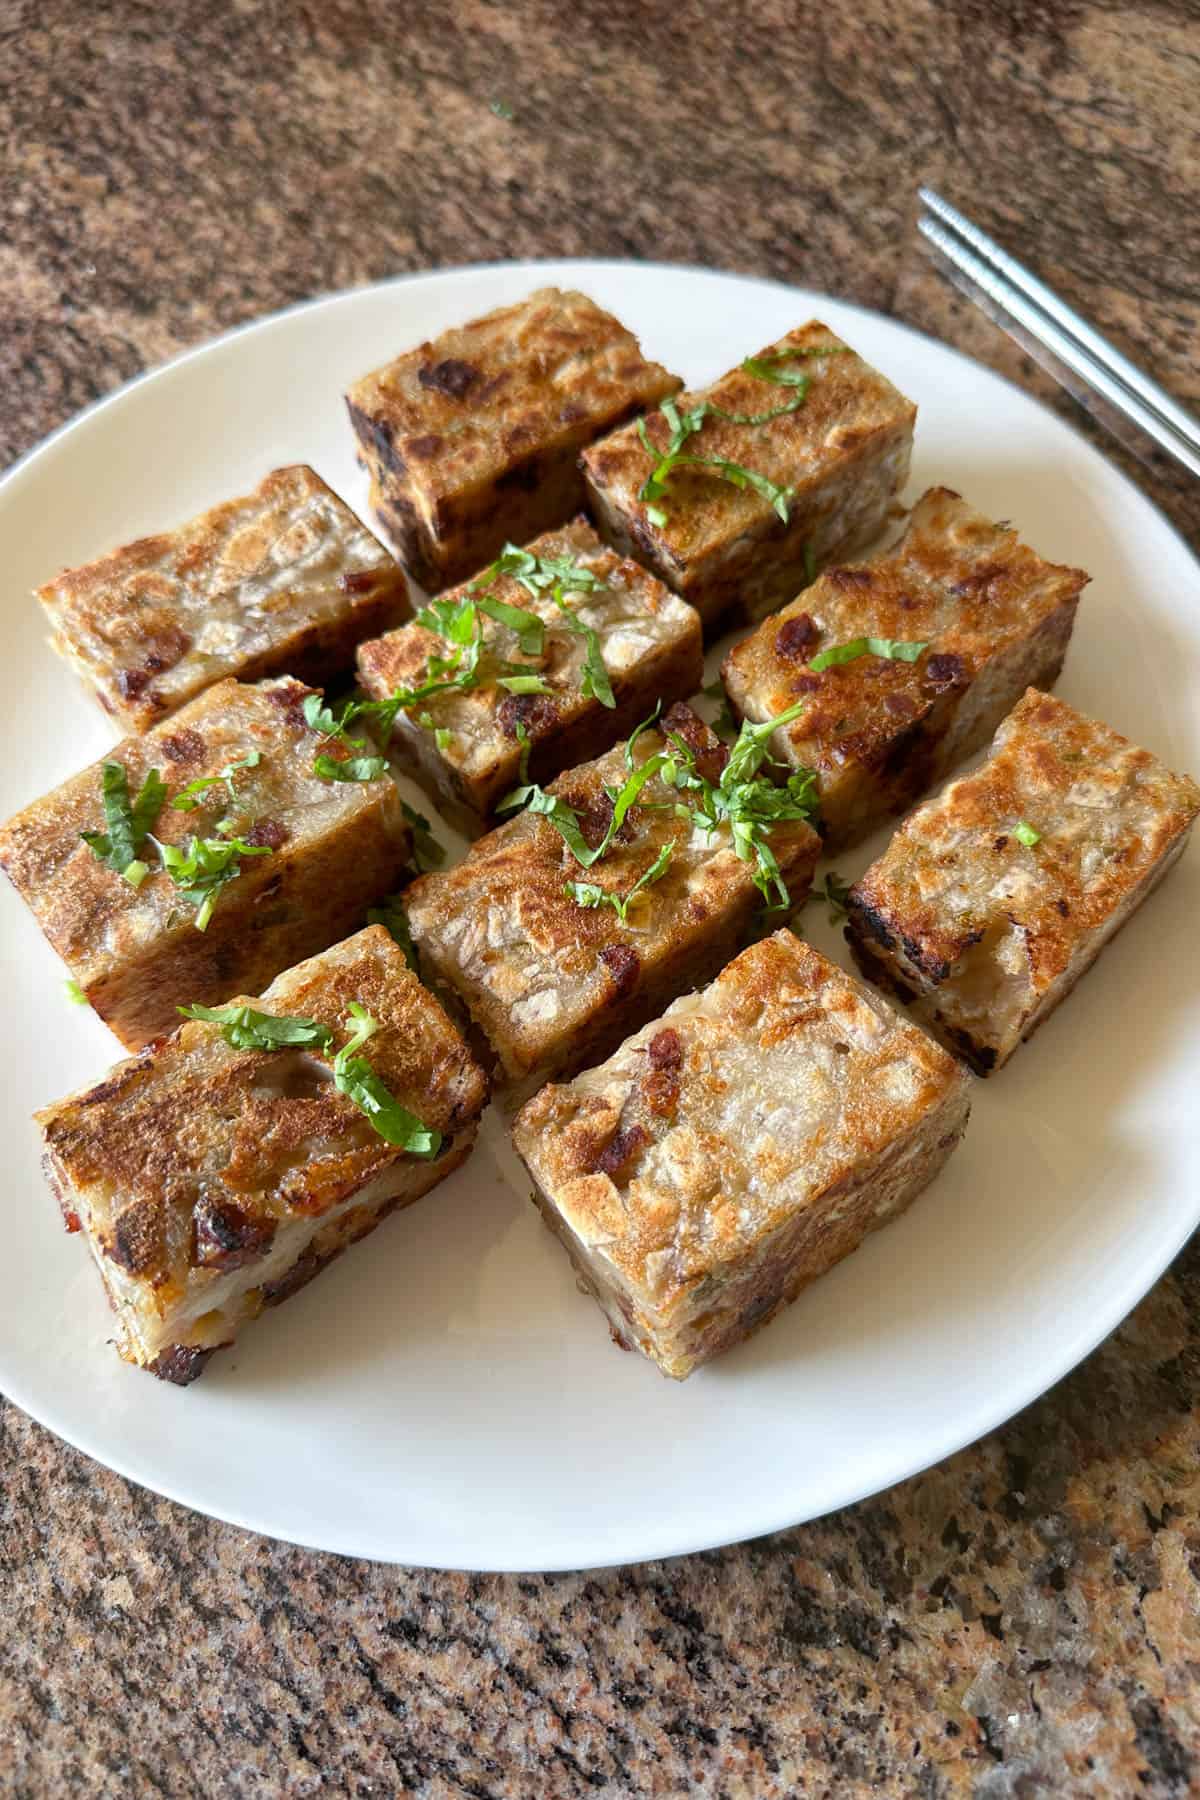
But to make it extra tasty, you can slice it into rectangles and pan fry the taro cakes on each side. That way it's crisp on the outside and soft and creamy on the inside. Ahhhh sooo good!
Ingredients
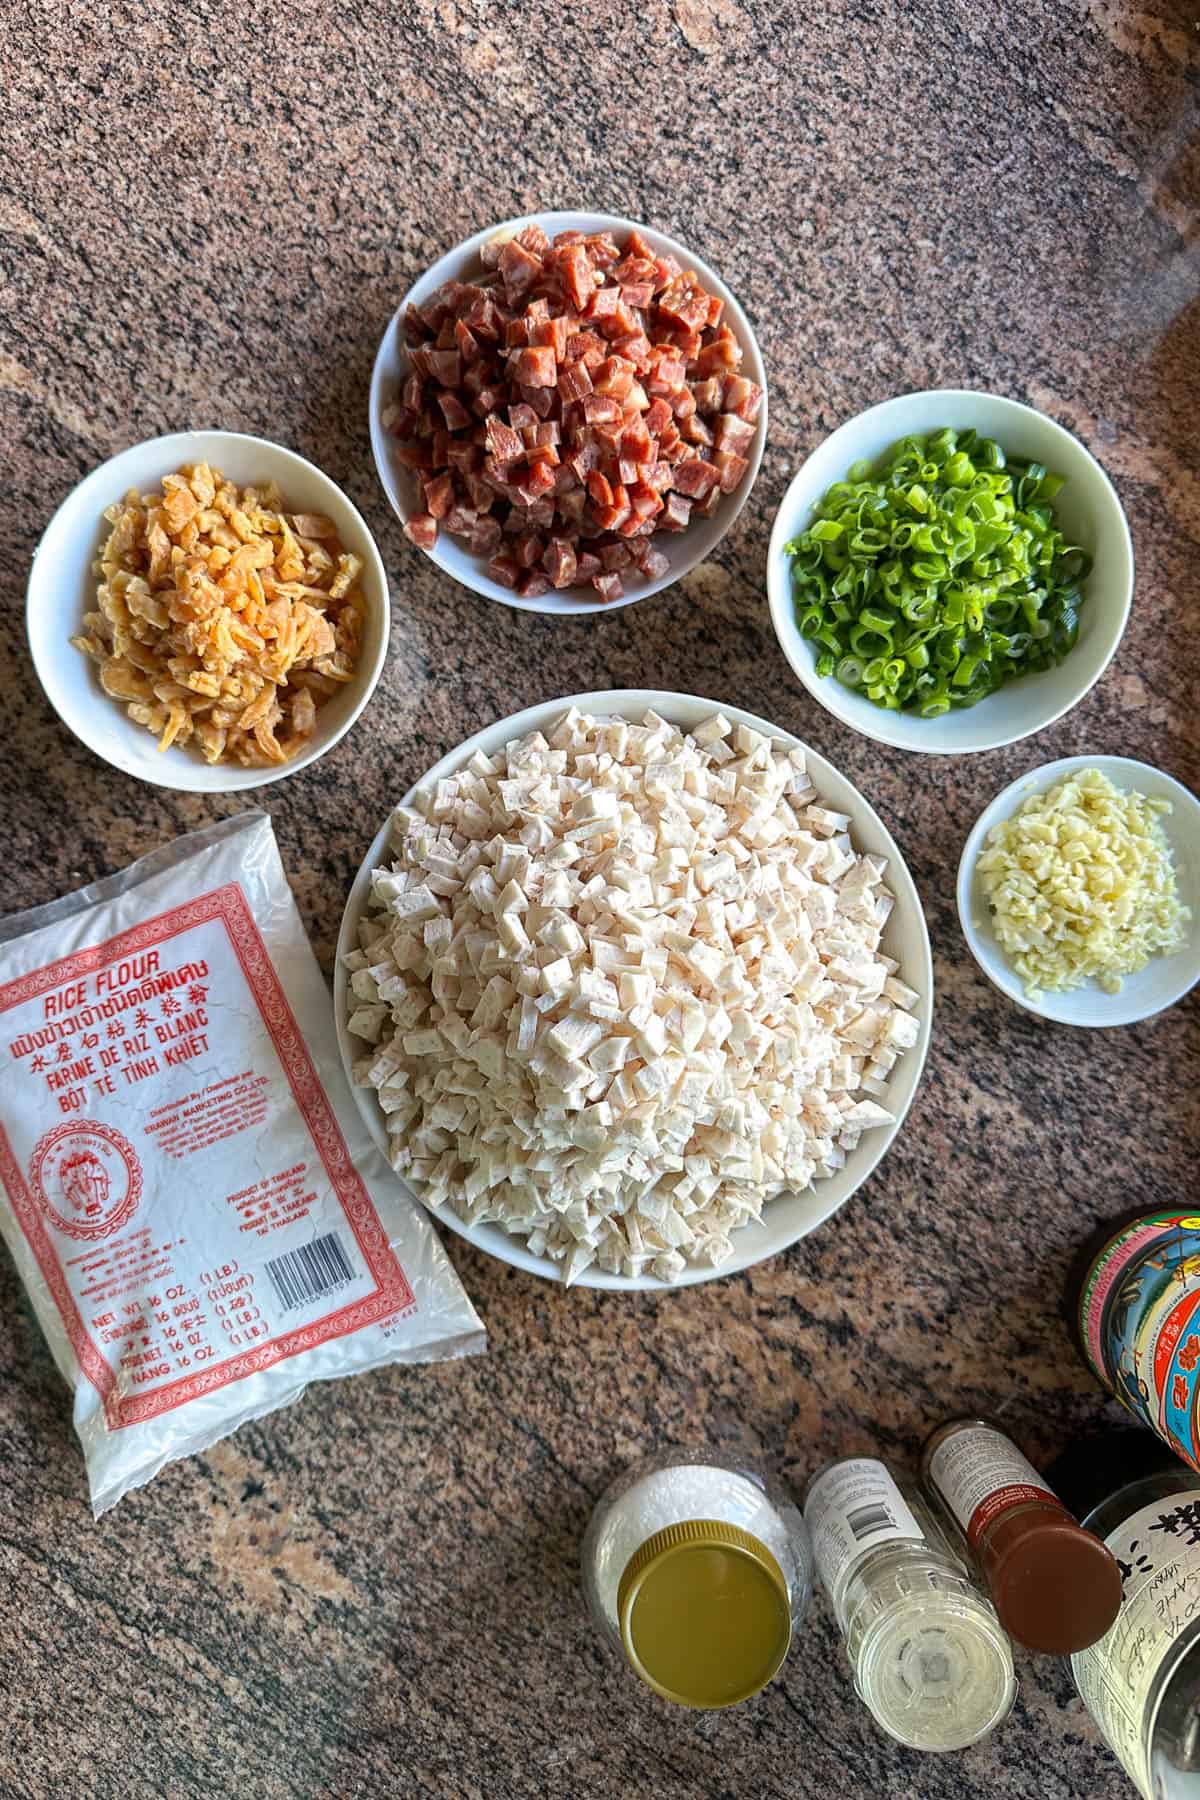
Here's what you'll need:
- Regular rice flour - Make sure to use regular rice flour, NOT the glutinous rice flour. Erawan is the main brand that you'll see at the markets. Look for the red Erawan bag (not the green bag). It's sold in 1 pound bags and we use the whole bag for this recipe. Note: I used to make smaller servings of taro cake and would only need a portion of the 1 pound bag. I'd put away the remaining rice flour and eventually forget about it. The rice flour would go to waste because I'd buy a new bag of rice flour each time I make taro cake. And months or years later I'd "re-discover" an old bag of rice flour. Once I ended up with 6 half used bags of rice flour hahaha. So now every time we open a bag of rice flour I make sure to use the entire bag.
- Taro - Use fresh taro! We always buy taro from the produce vendors in Honolulu's Chinatown. I've also seen taro at supermarkets around town, but the super fresh taro always comes from the Chinatown vendors.
- Dried shrimp - This is the same same dried shrimp we use in many other recipes like this. You can find dried shrimp at most Asian markets, sold either loose by the pound or pre-packaged. The loose / by the pound shrimp have prices that vary significantly (the larger the shrimp, the more expensive it is). Don't buy super tiny ones, but don't also splurge on the big ones. Buy a nice middle size, it makes the most sense for this recipe.
- Garlic
- Green onions
- Lap cheong (Chinese sausage)
- Oyster sauce
- Sesame oil
- Ground white pepper
- Salt
- Five spice
See recipe card at the bottom of this post for quantities.
Instructions
Let's get cooking!
Rehydrate the dried shrimp.
Place the dried shrimp in a medium size bowl. Pour hot water to cover and let sit for 15 minutes. Drain the shrimp and reserve the liquid.
Prepare the taro.
Peel and dice the taro. Make sure to wear gloves for this step - working with raw taro can make your hands itchy.
Cook the protein and aromatics.
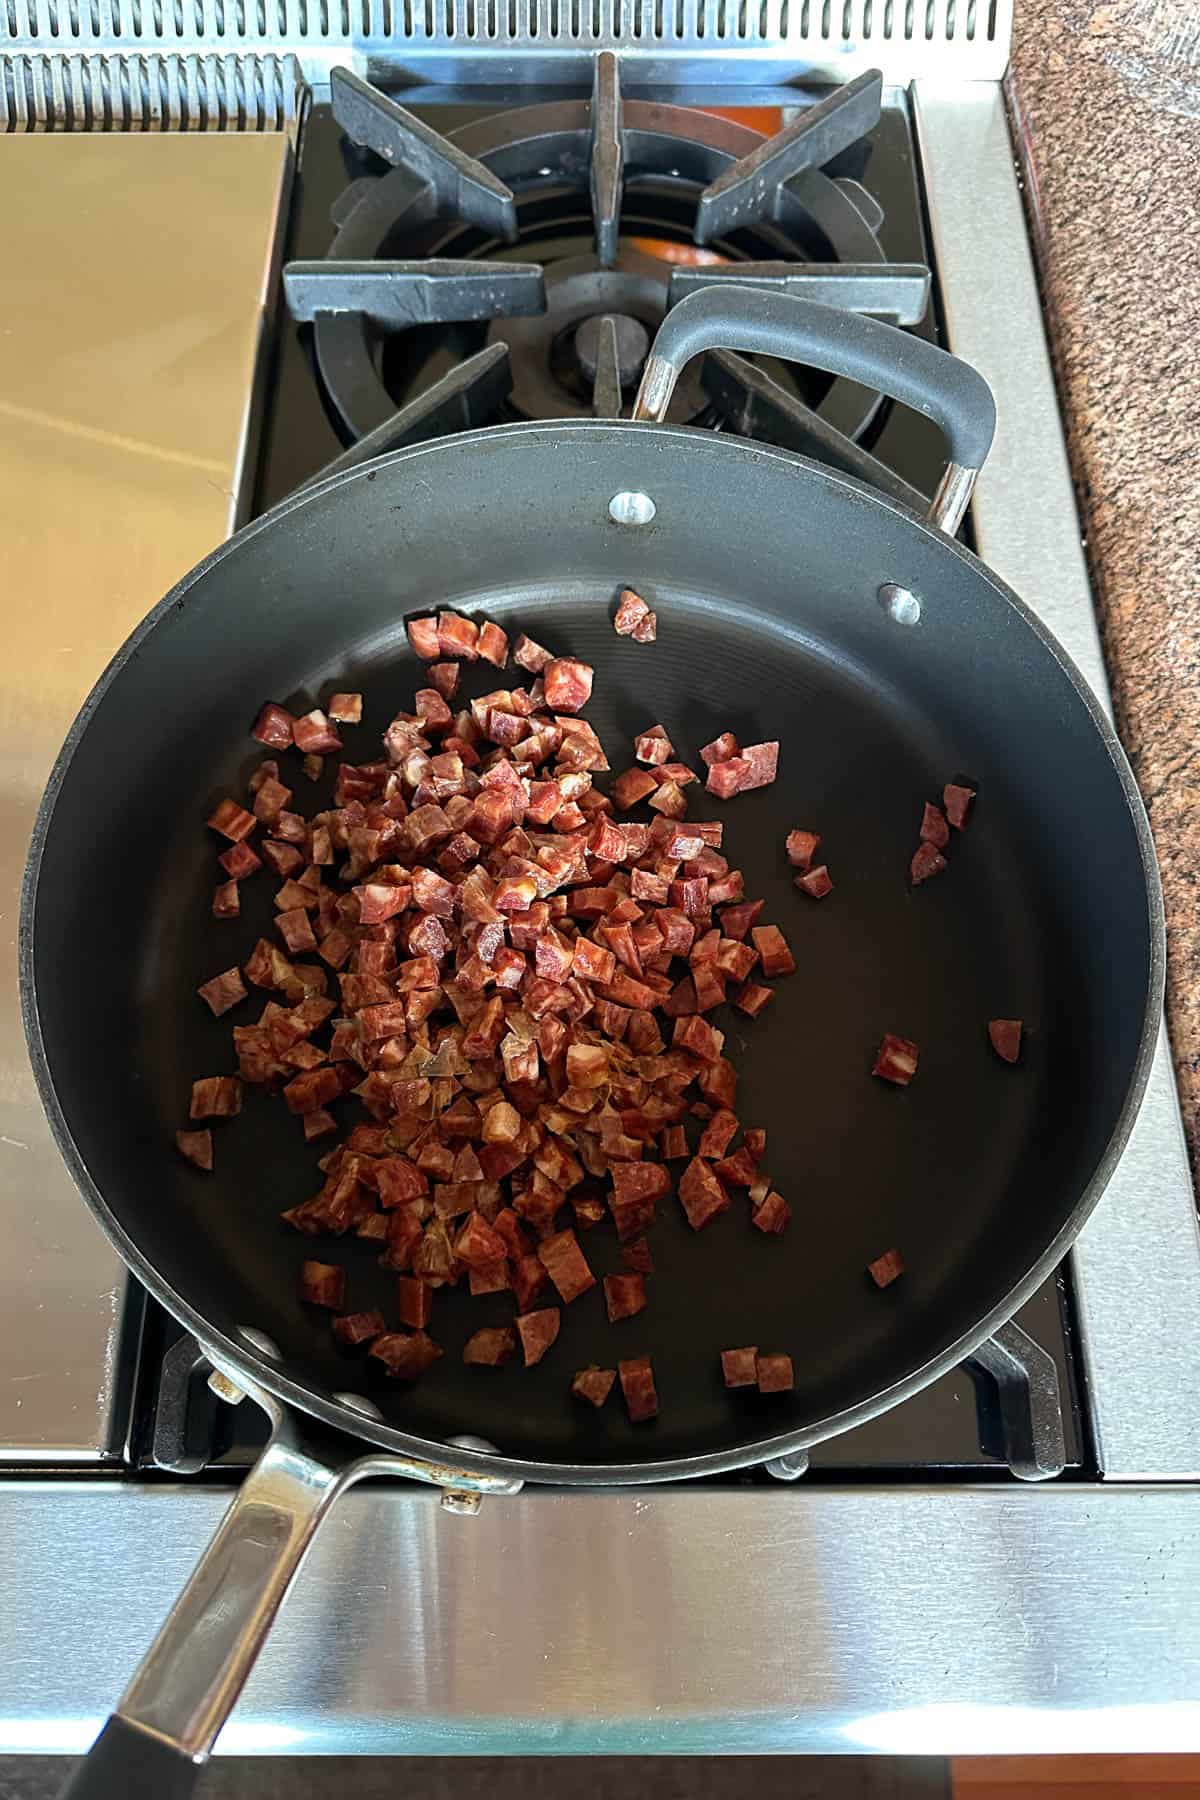
In a large pan over medium-high heat, add the lap cheong (Chinese sausage) and saute for 2 minutes.
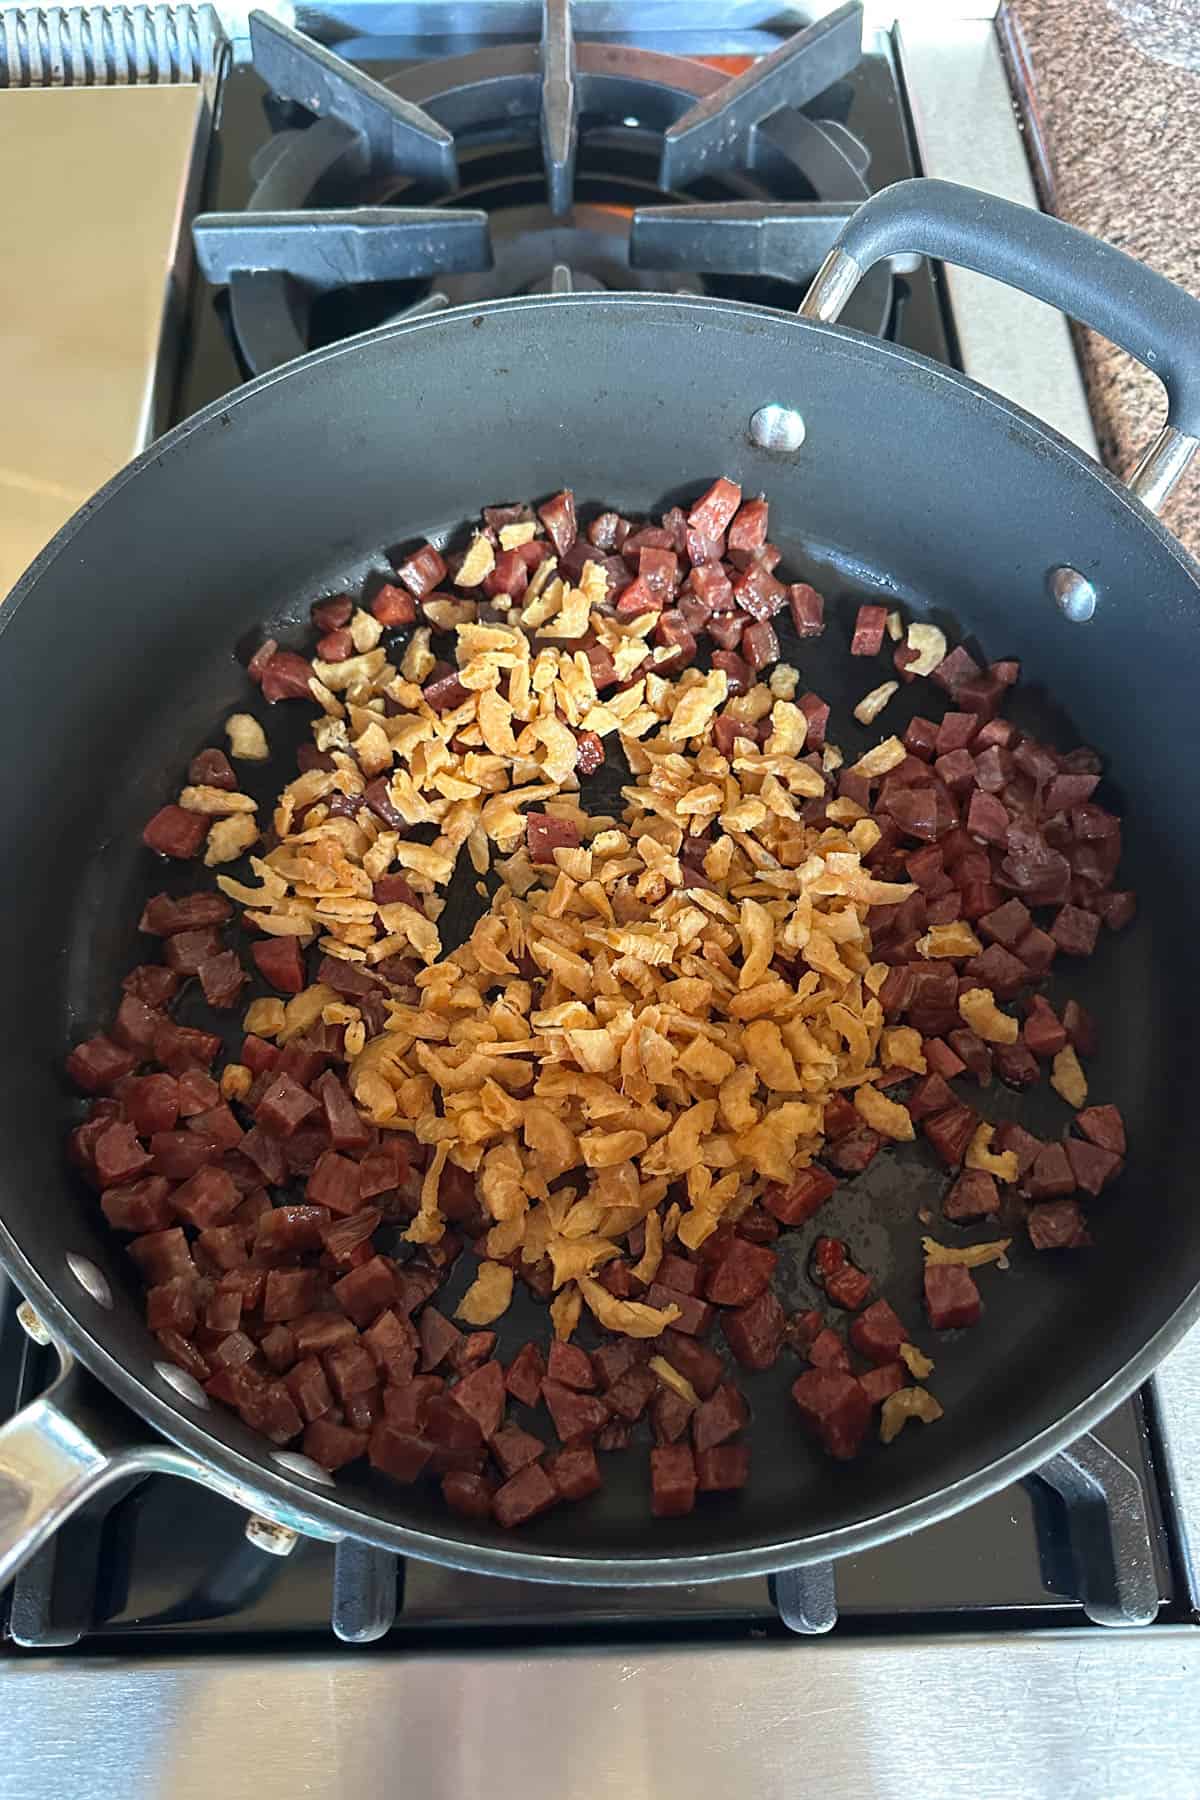
Add the rehydrated dried shrimp and saute for 1 more minute.
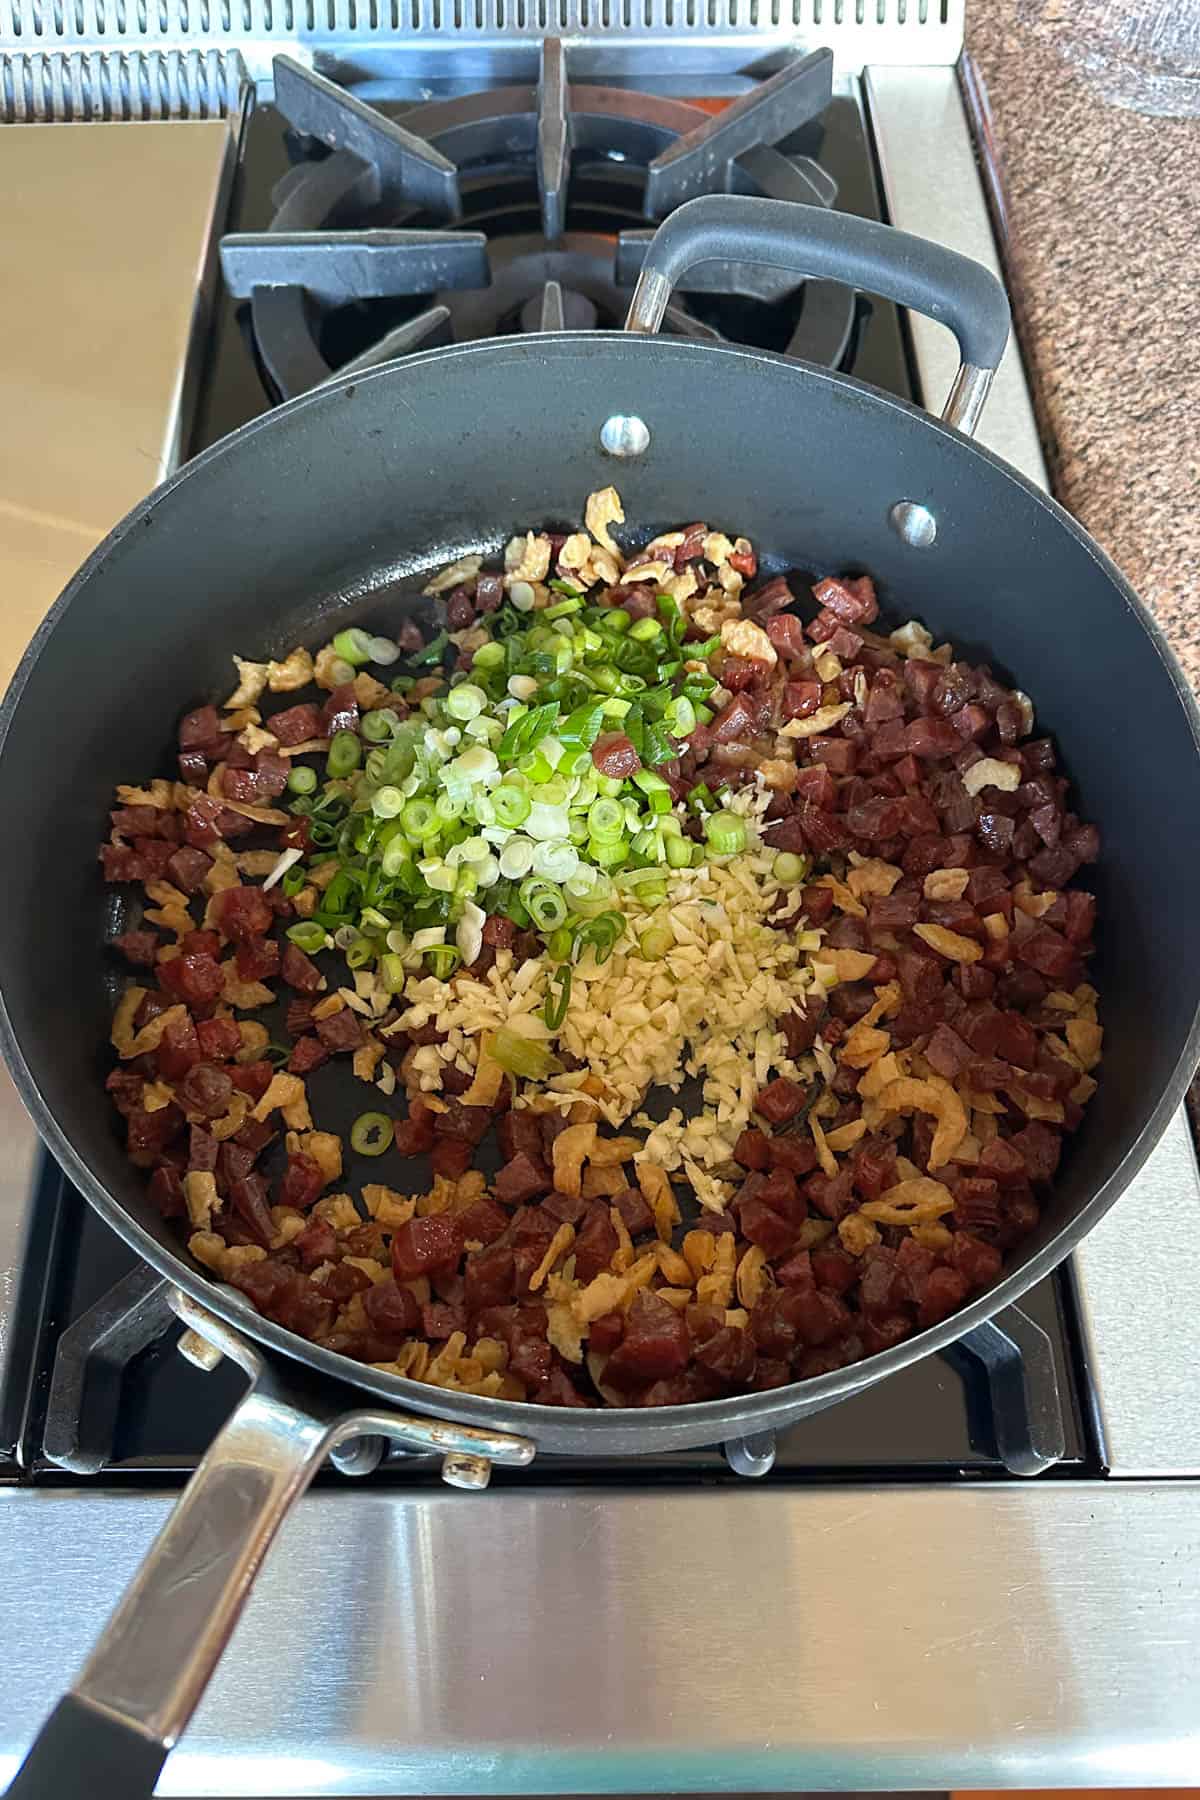
Then add minced garlic and chopped green onions. Saute for 1 minute.

Add the seasonings and taro.
Add the oyster sauce, sesame oil, ground white pepper, salt, and five spice.

Cook for 1 more minute. Then add the taro. Stir to gently mix.

Add water.
Then add 3 cups of water (use the water you saved from rehydrating the dried shrimp PLUS additional water to make 3 cups total).
Turn the heat up to high heat, and bring everything to a boil.
Then turn the heat down to low heat, and cook for 5 minutes.
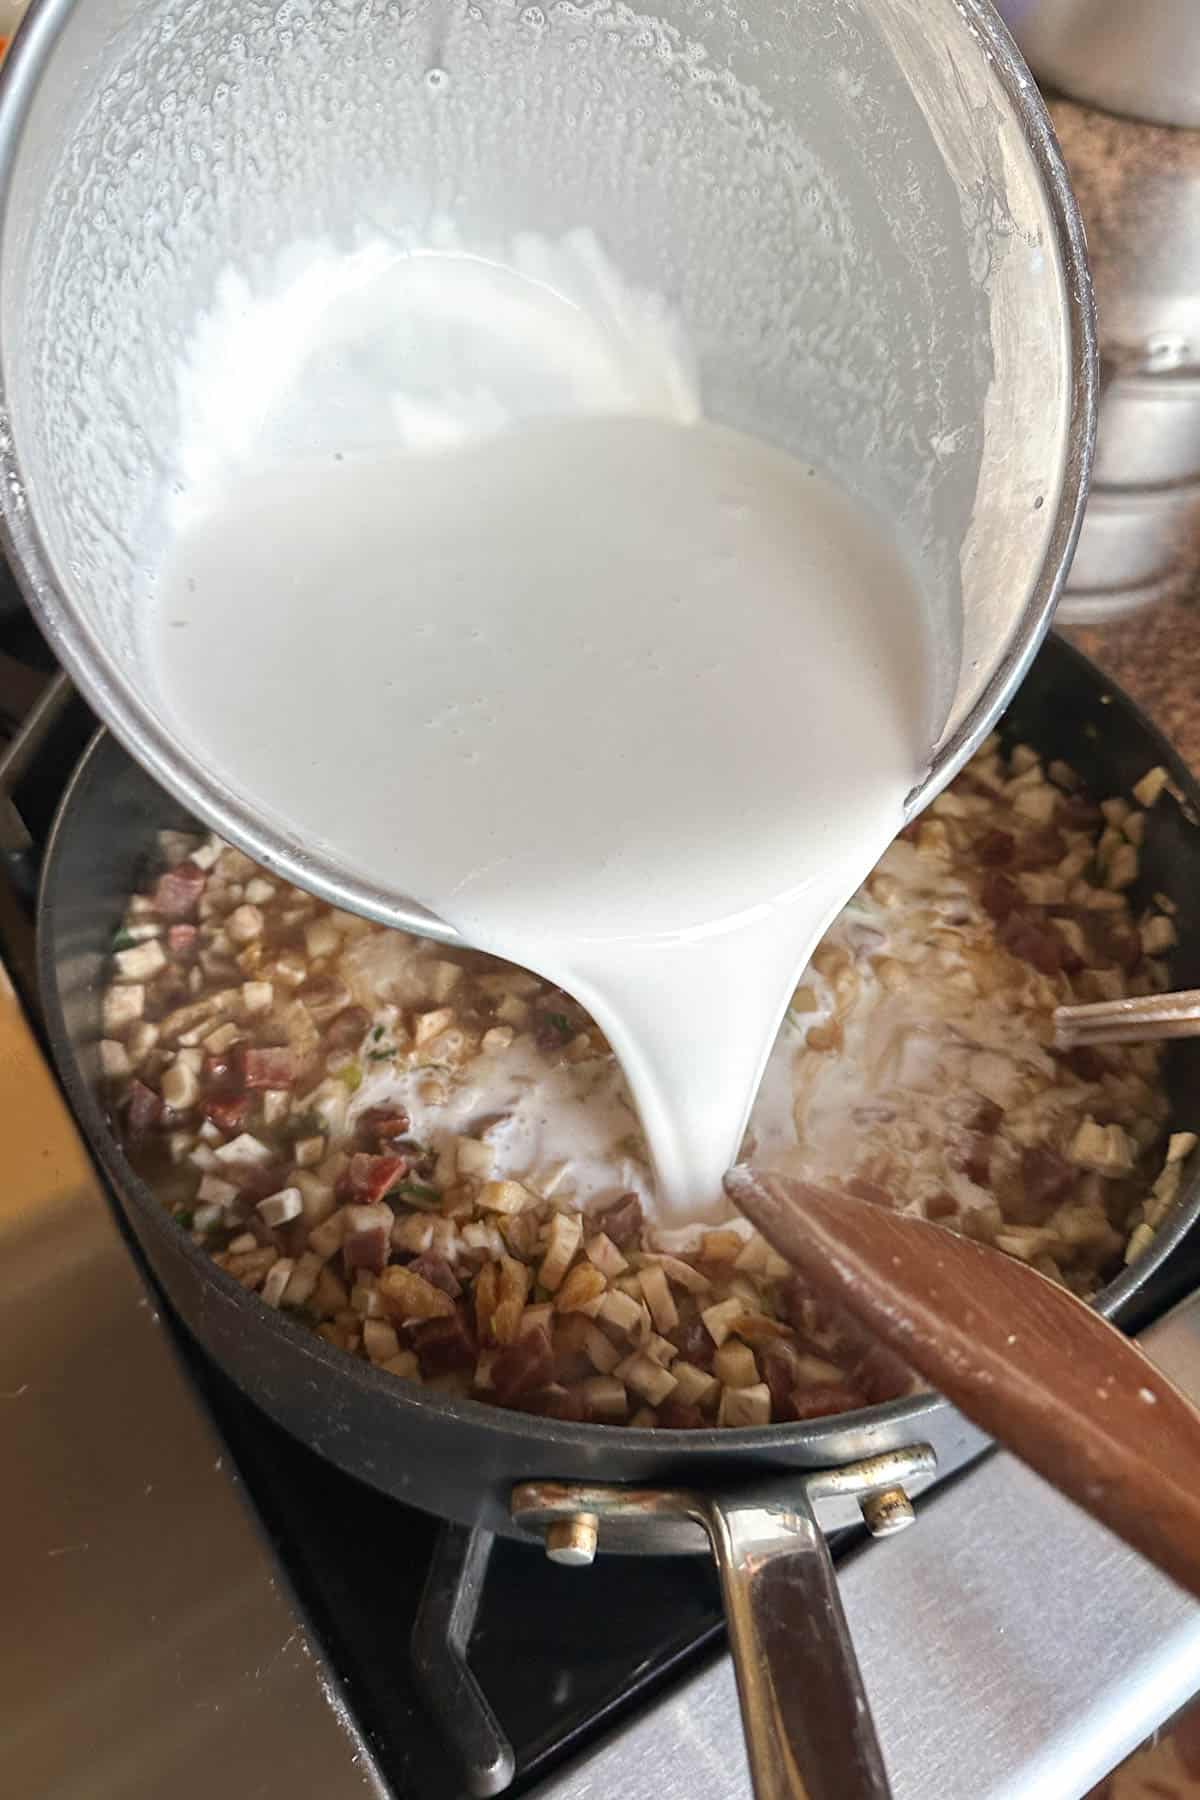
While the taro is cooking, prepare the flour mixture.
In a large bowl, combine the regular rice flour and 3 cups of water. Mix well and set aside.
Once the 5 minutes are up, slowly pour the flour/water mixture into the pan with the taro. Gently mix so that everything is evenly combined.
Cook for 1 minute and remove from heat.
Steam the taro cake.
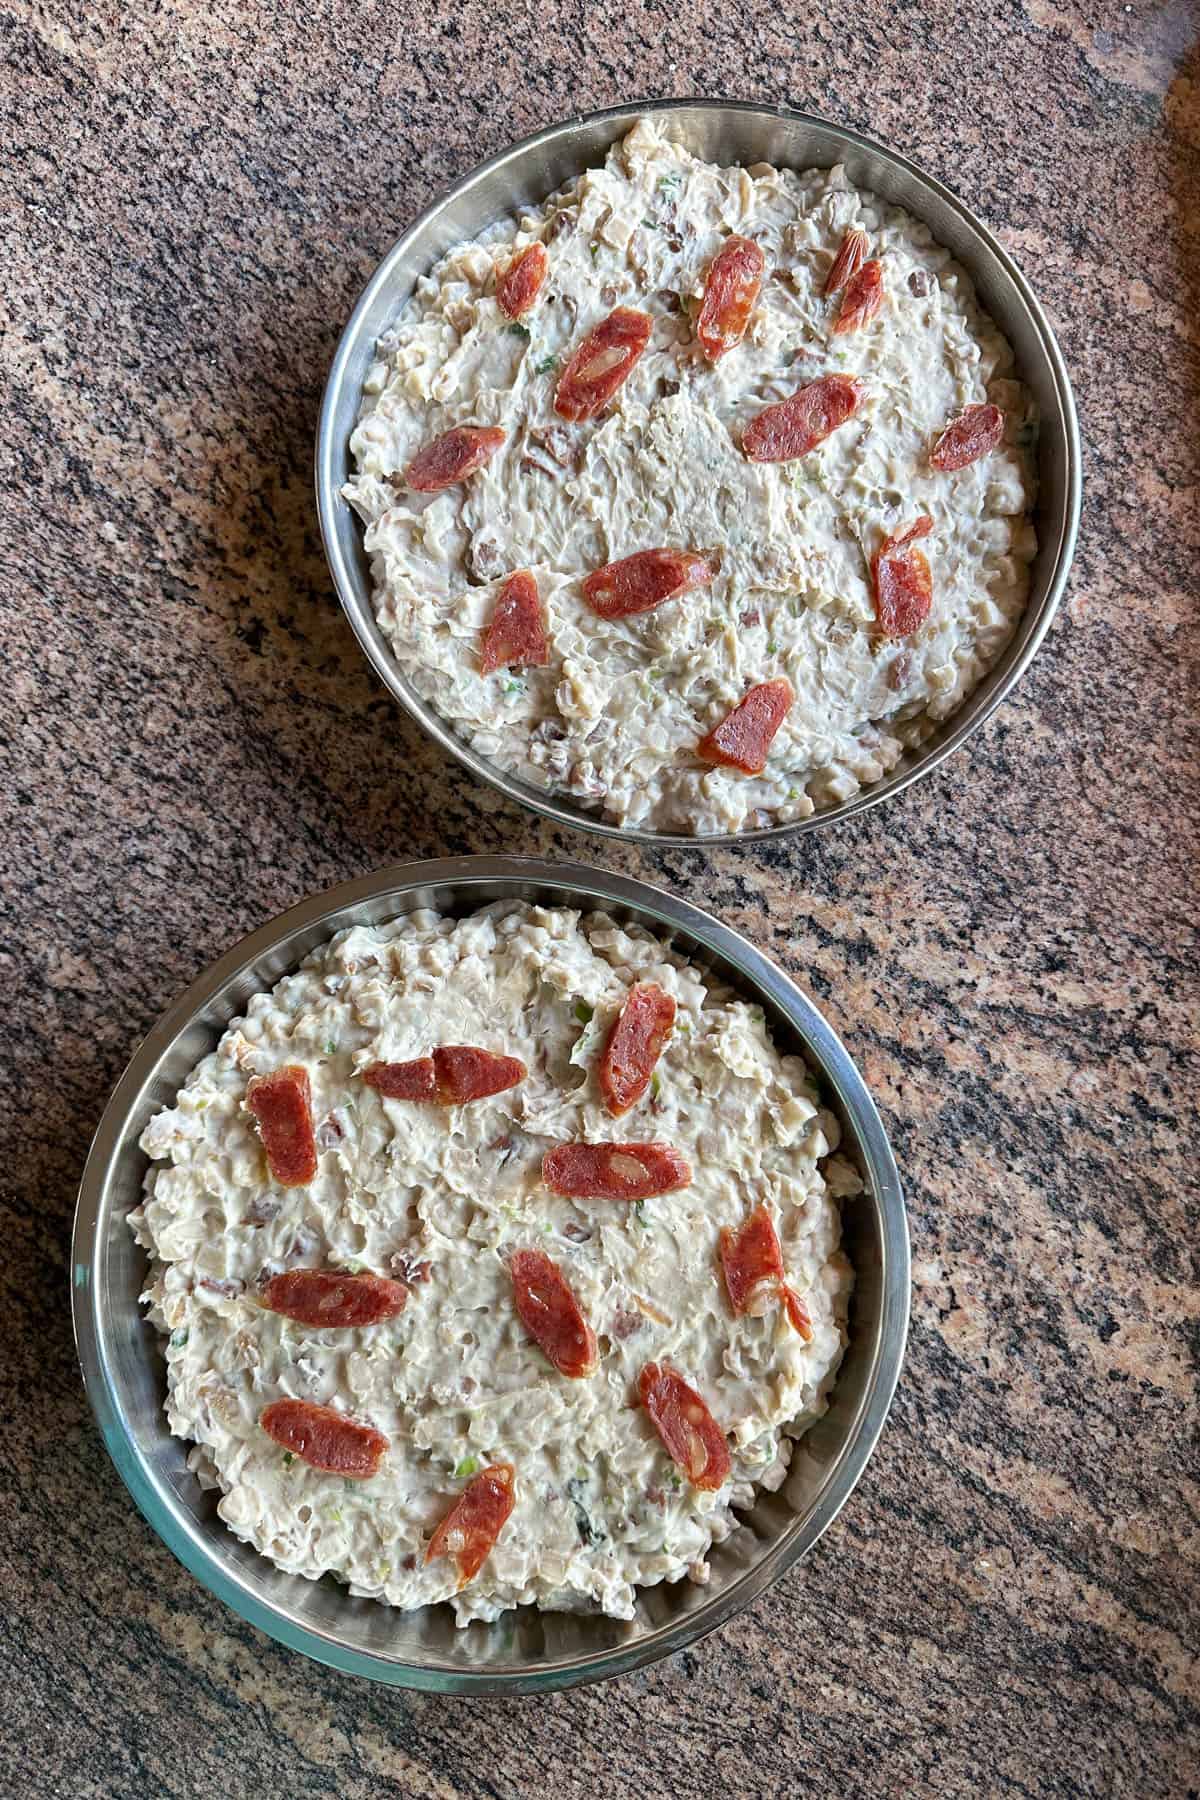
Divide the taro mixture into two pans. Make sure the pans are lightly oiled (so that the taro cake won't stick to the pan when it's done steaming).
If you like, you can top the taro cake with a few slices of lap cheong. That's what we did in the photo above. It's pretty but not something you have to do. I usually do this when gifting a whole steamed taro cake. Or if I'm making it for my parents heheh. It also won't matter once you slice and pan fry the taro cakes.

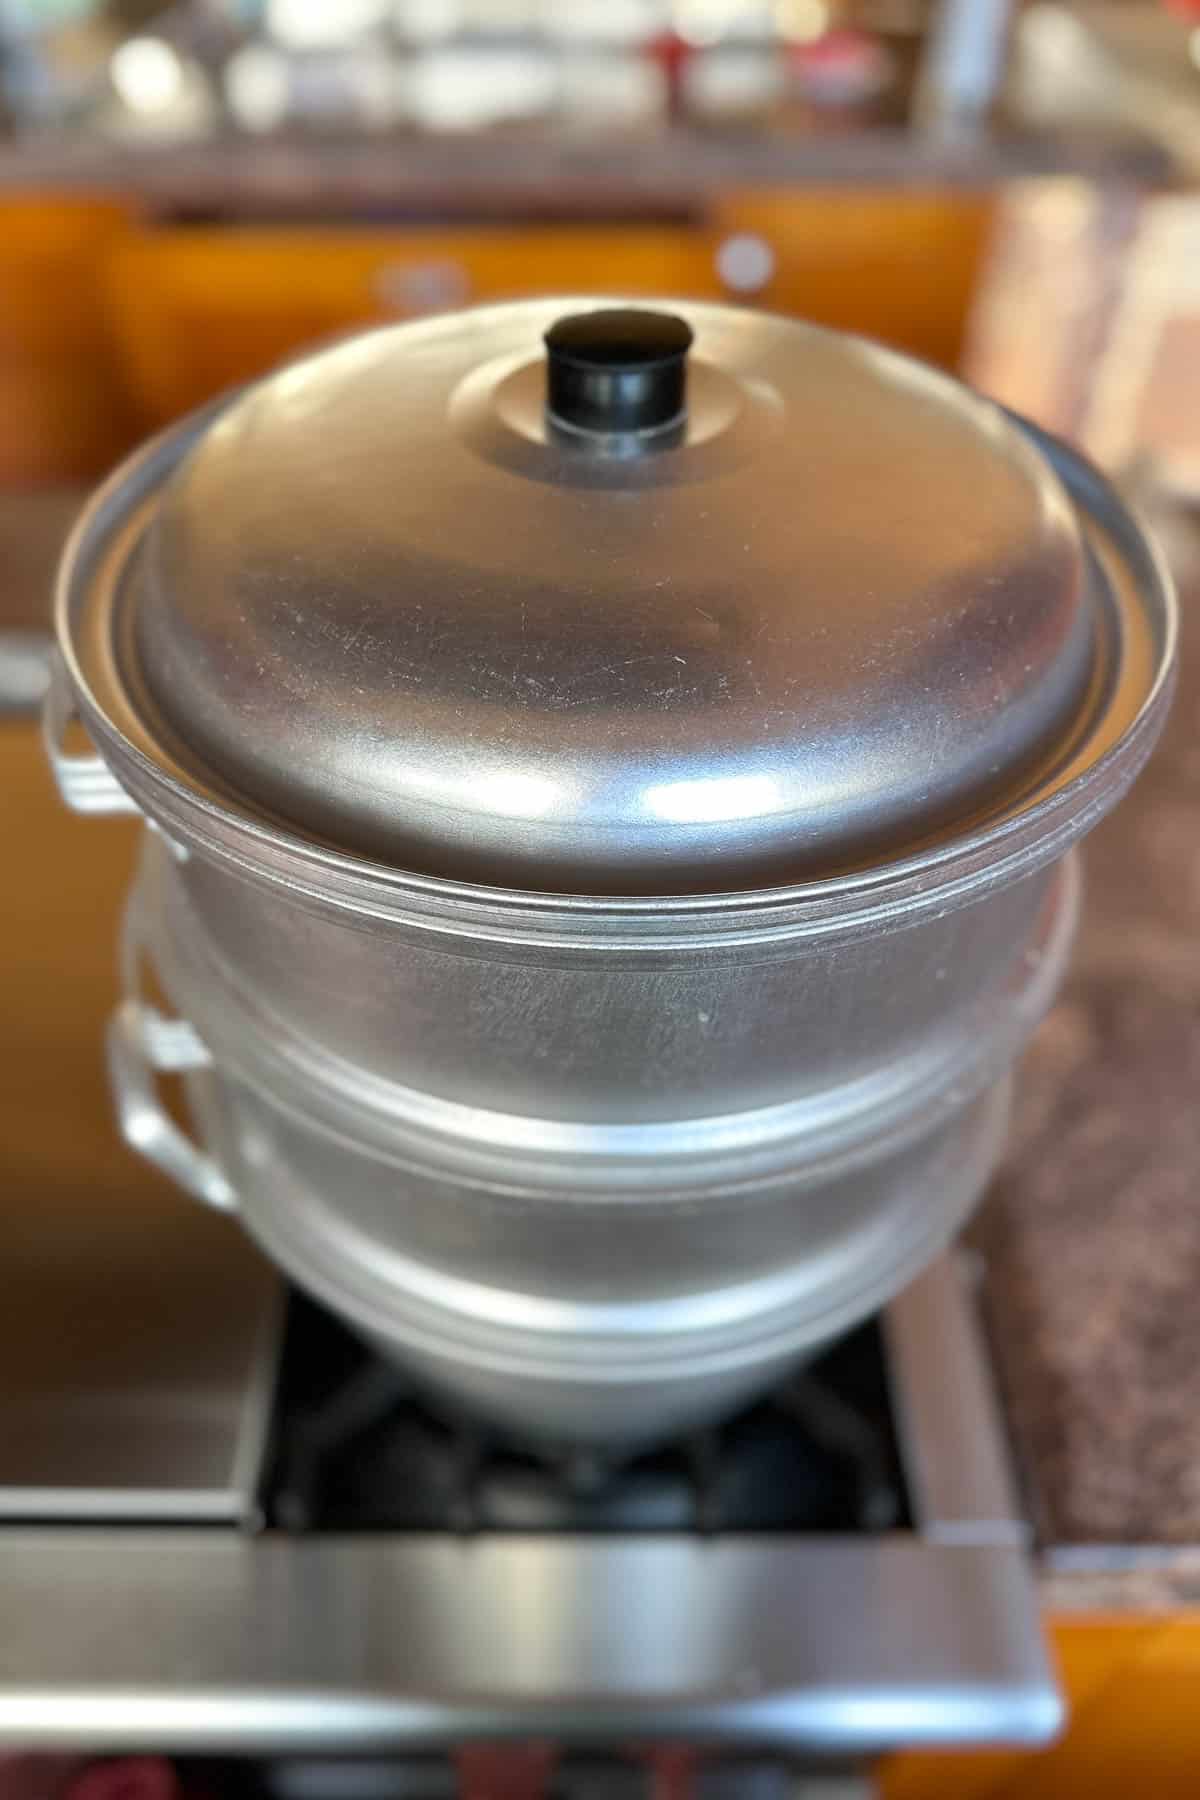
Use a 3 tier steamer (aka double decker steamer), and steam for 45 minutes.
If you don't have a 3 tier steamer, then steam the taro cakes one at a time.
Once the taro cakes are done steaming, turn off the heat and carefully remove it from the steamer.

Will you eat the taro cake steamed OR steamed and pan fried?
If you plan to eat the taro cake just steamed (which is delicious), let it cool for 30 minutes. Then remove the taro cake from the pan, slice, and eat!
When it's super fresh out of the steamer I like to sneak a few slices this way.
And then I slice and pan fry the rest (more on that below).

If you want to eat the taro cake pan-fried (this is how restaurants serve it): let the taro cake cool for 1 hour.
Then slice the taro cake into rectangles or squares.
Note: I like to slice thinner rectangles so that I can get more of the crisp pan fried surface area. Some people like to have it with more of the soft, creamy insides. So it's all personal preference!
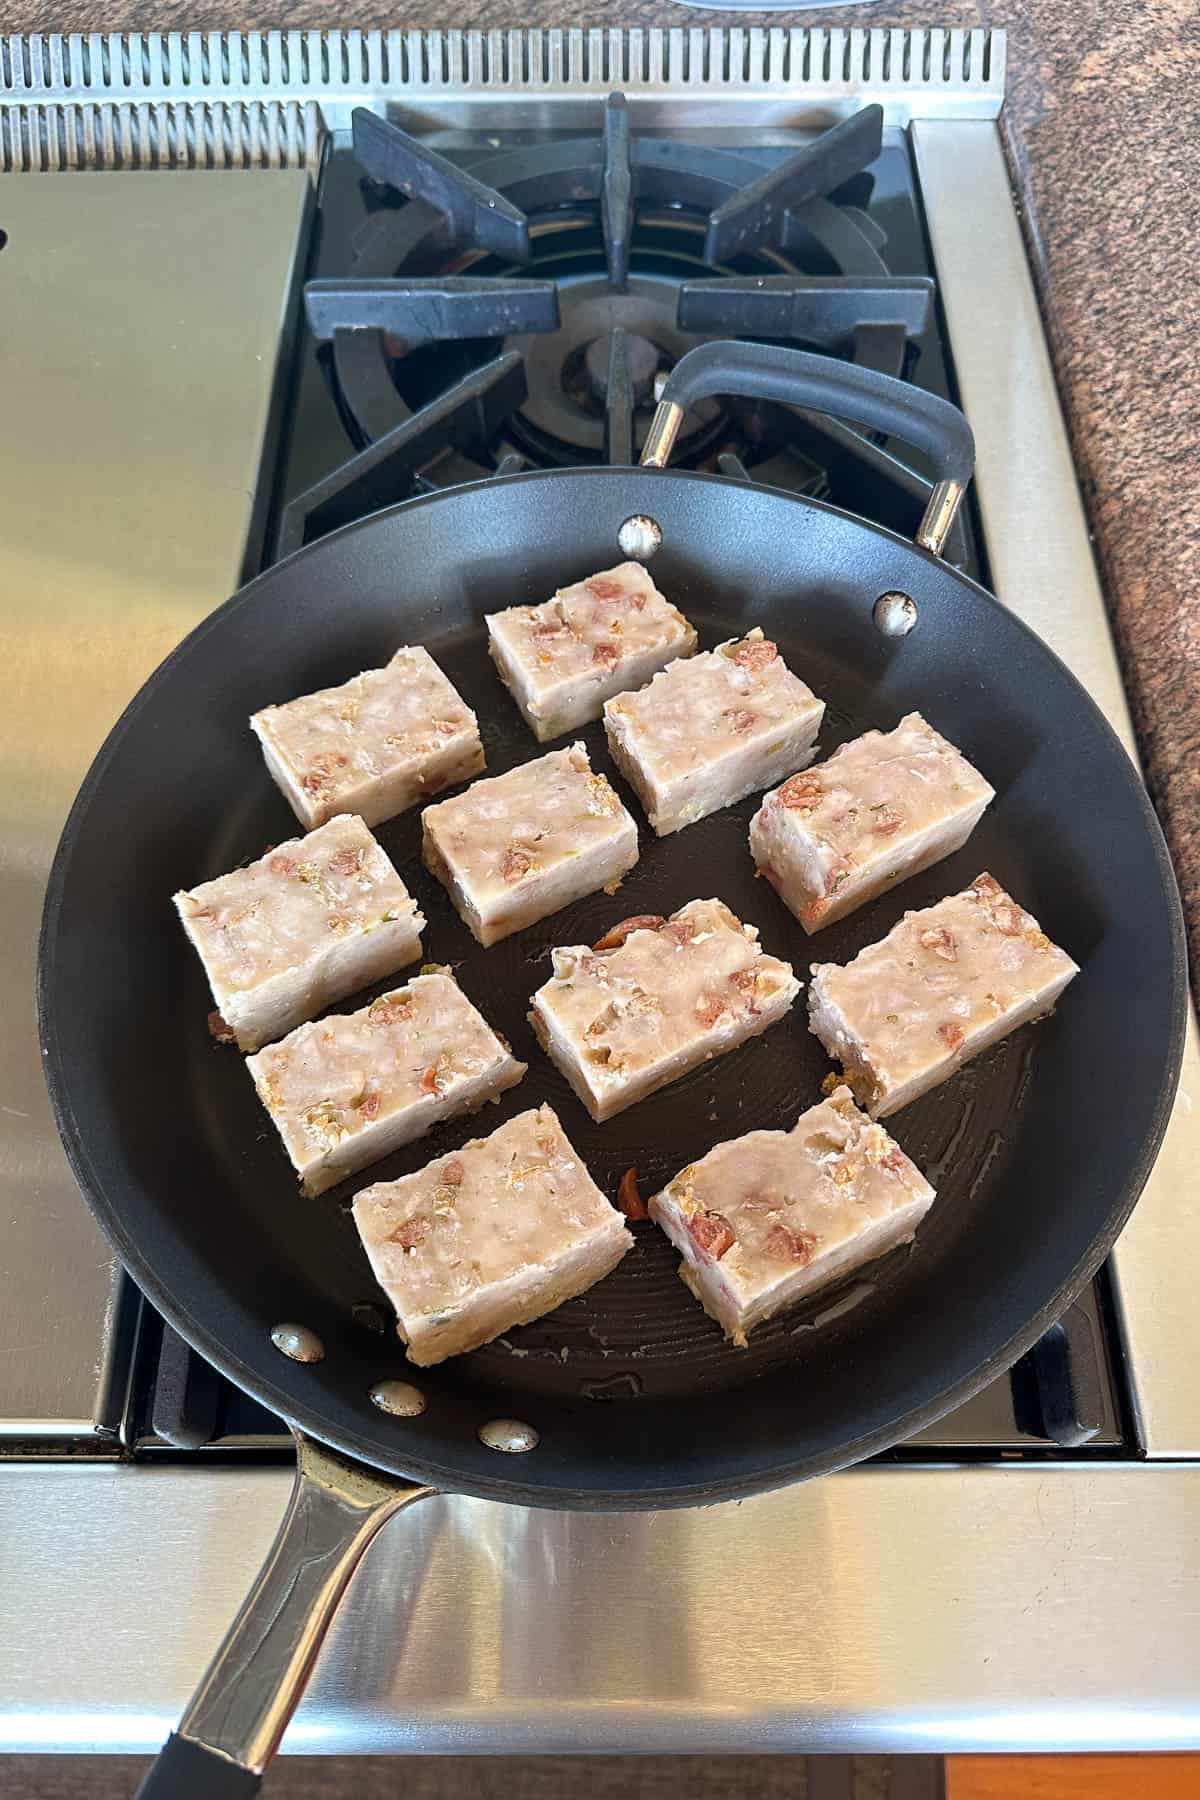
Pan fry the slices on medium-high heat for 2 minutes on each side until golden.
Make sure your pan is well-oiled so that the taro cake doesn't stick to the pan.
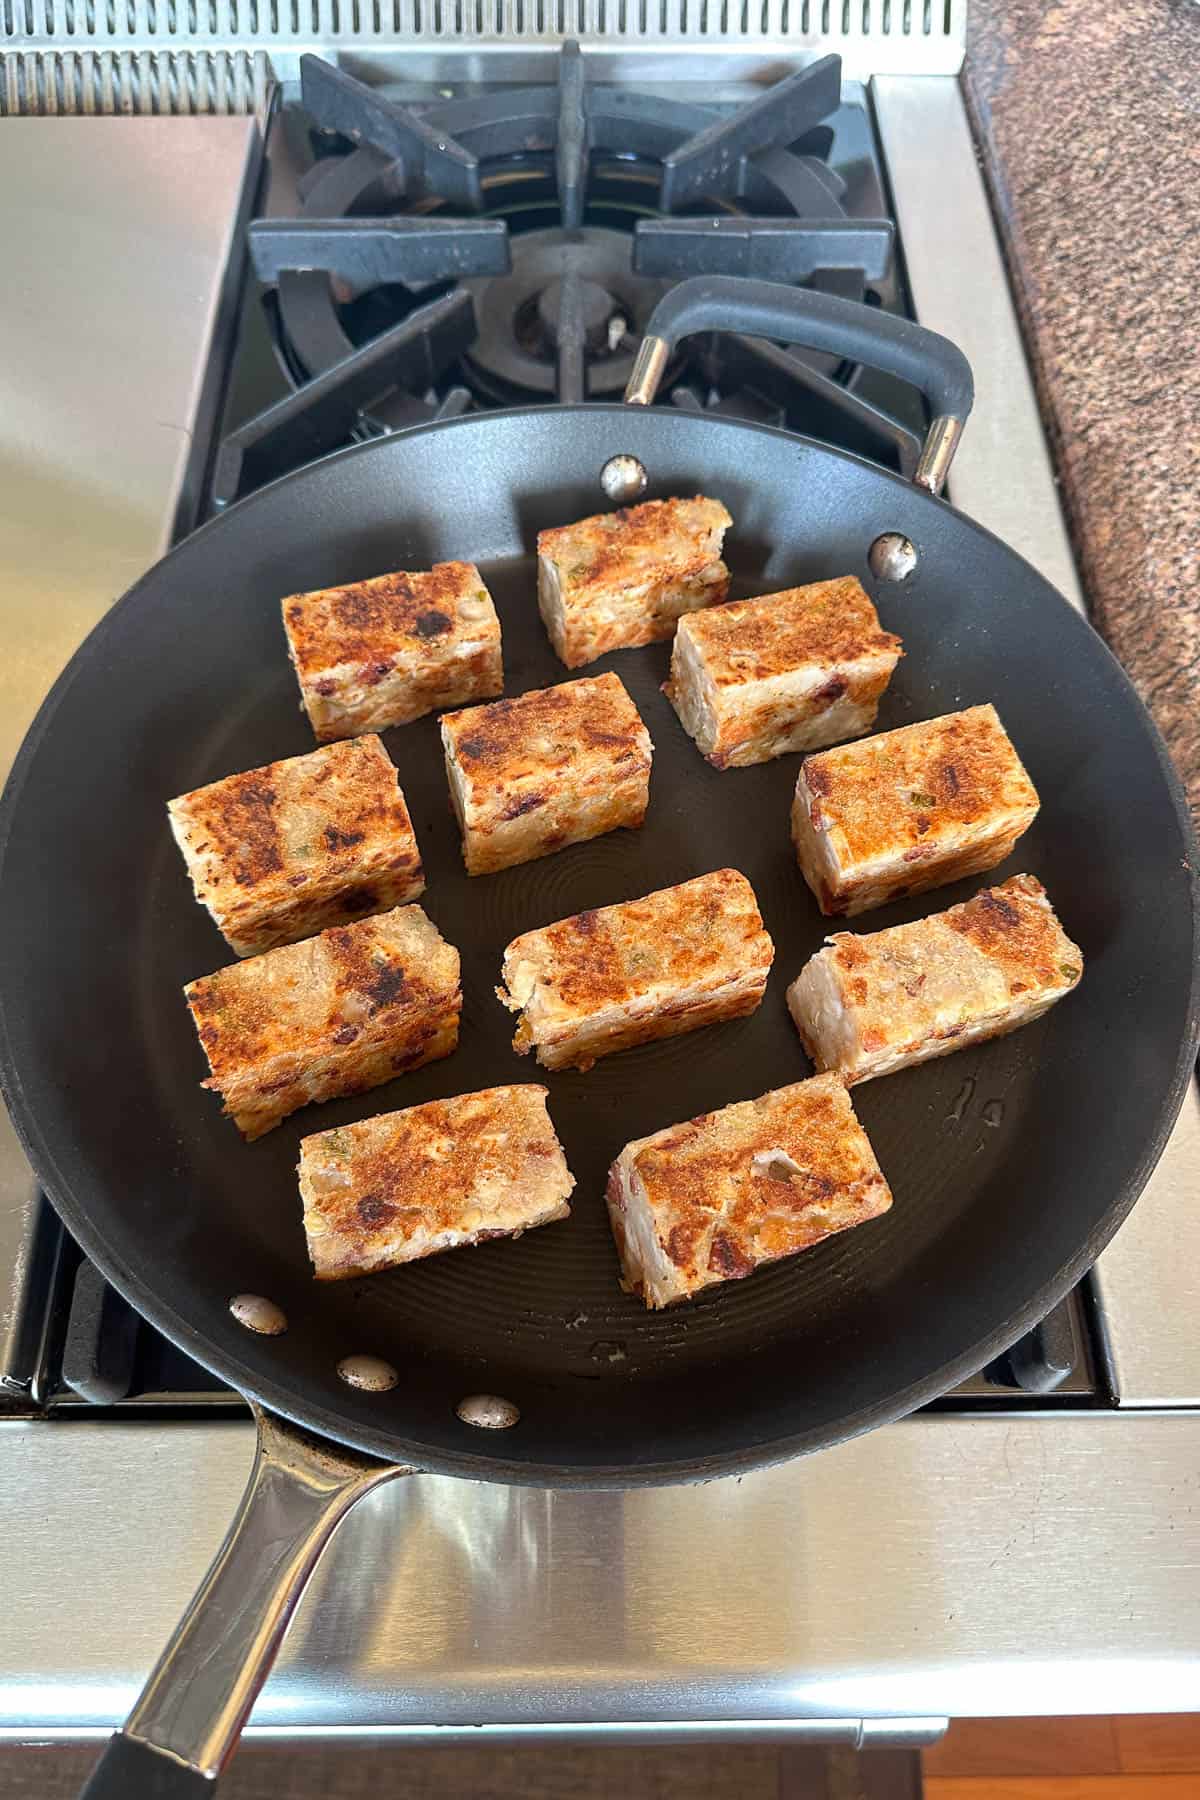
Eat hot and enjoy!
If you want a dipping sauce, we love dipping it in Chinese red vinegar. You can also add chili sauce to the red vinegar ^_^
Top Tip
Invest in a good steamer! We steam a lot of dishes at home. It's one of the healthiest ways to cook and one of the easiest.
Another bonus: minimal clean up.
A 3 tier steamer (also called a double decker steamer because you can steam two layers of food at once) may seem like an investment in cost and space, but it's 100% worth it. After the rice cooker, the steamer is my most used kitchen equipment.
We steam almost daily. We steam fish, sweet potato, tofu, eggs, pork and salted fish, chicken, pork hash. There are endless dishes you can make with a steamer.
We bought our steamer many years ago from a small grocery stores in Chinatown. You can still buy steamers from similar stores or from big Asian supermarkets like 99 Ranch or H Mart. You can also purchase steamers online, here are a couple of options.
FAQ
Once steamed, the taro cake can keep for 2-3 days in the refrigerator. To reheat taro cake, I always slice and pan fry over medium heat.
You can make a super tasty dessert of taro with coconut milk.
Or you can make taro and ground pork stir fry (good to eat with rice).
And if you're in Hawaii and love taro, make sure to seek out kulolo! I haven't tried making kulolo at home but I love buying it from the local places that make it fresh. So good!
We usually eat taro cake at dim sum, along with many other small dishes.
But when we make taro cake at home, it is the main course (because it is so labor intensive hahaha). We pair the taro cake with rice or jook / congee (either plain or with pidan and pork), a simple green like choy sum or bok choy, and another easy dish like cold tofu with sizzling sesame oil.
I like to have it both ways.
When it's just hot out of the steamer, I let the taro cake cool for 5 minutes and then slice a few pieces and eat that as-is. It's sooooo good and super "fresh" tasting.
Once it's cooled, I then slice the taro cake (just slice as much as you plan to eat) and pan fry the slices on both sides.
It's a good idea to slice only as much as you plan to eat. Because you can just refrigerate the rest of the (not yet pan fried) cake in the fridge. And whenever you want taro cake, just slice off another piece, pan fry, and eat!
Yes, make an easy dipping sauce of Chinese red vinegar with a little bit of chili sauce.
Taro Cake Recipe

Taro Cake
Ingredients
- 1 pound regular rice flour
- 3 pounds fresh taro
- 1 cup dried shrimp
- 8 cloves garlic minced
- 3 stalks green onions chopped
- 6 links lap cheong (Chinese sausage) chopped
- 2 tablespoons oyster sauce
- 1 tablespoon sesame oil
- 1 tablespoon ground white pepper
- 1 teaspoon salt
- 1 teaspoon five spice
Instructions
- First, rehydrate the dried shrimp:Place the dried shrimp in a medium size bowl. Pour hot water to cover and let sit for 15 minutes. Drain the shrimp and reserve the liquid. Set aside.
- Peel and dice the taro. Set aside.Note: make sure to wear gloves for this step - working with raw taro can make your hands itchy.
- In a large pan over medium-high heat, add the lap cheong (Chinese sausage) and saute for 2 minutes. Add the rehydrated dried shrimp and saute for 1 more minute. Then add minced garlic and chopped green onions. Saute for 1 minute.
- Add the seasonings: oyster sauce, sesame oil, ground white pepper, salt, and five spice.Cook for 1 more minute. Then add the taro. Stir to gently mix.
- Then add 3 cups of water (use the water you saved from rehydrating the dried shrimp PLUS additional water to make 3 cups total). Turn the heat up to high heat, and bring everything to a boil. Then turn the heat down to low heat, and cook for 5 minutes.
- While the taro is cooking, prepare the flour mixture:In a large bowl, combine the regular rice flour and 3 cups of water. Mix well and set aside.
- Once the 5 minutes are up, slowly pour the flour/water mixture into the pan with the taro. Gently mix so that everything is evenly combined. Cook for 1 minute and remove from heat.
- Divide the taro mixture into two pans. Make sure the pans are lightly oiled (so that the taro cake won't stick to the pan when it's done steaming).Use a double decker steamer and steam for 45 minutes. If you don't have a double decker steamer, then just steam the taro cakes one at a time.
- Once the taro cakes are done steaming, turn off the heat and carefully remove it from the steamer.If you plan to eat the taro cake just steamed (which is delicious), let it cool for 30 minutes. Then remove from the pan, slice, and eat!If you want to eat the taro cake pan fried (this is how it's usually served at dim sum restaurants): let the taro cake cool for 1 hour. Then slice into rectangles or squares. Pan fry on medium-high heat for 2 minutes on each side until golden. Eat hot and enjoy!
Related
Looking for other recipes like this? Try these:

Mahalo for Reading!