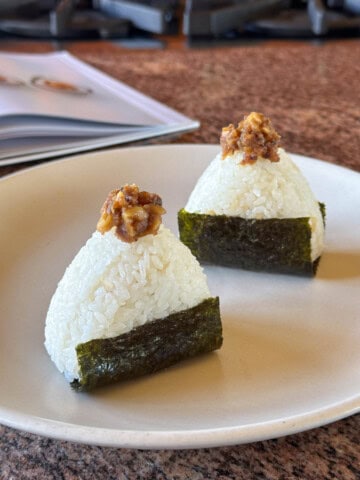
Tuna Mayo Onigiri (also called musubi) is the most popular flavor of onigiri in the world! Good rice plus a simple tuna-mayo filling make this a tasty classic you can make at home. Here's how ^_^

Is this tuna myo onigiri or musubi? Both names are correct!
The word "musubi" is more popular in Hawaii. "Onigiri" is more popular everywhere else in the world.
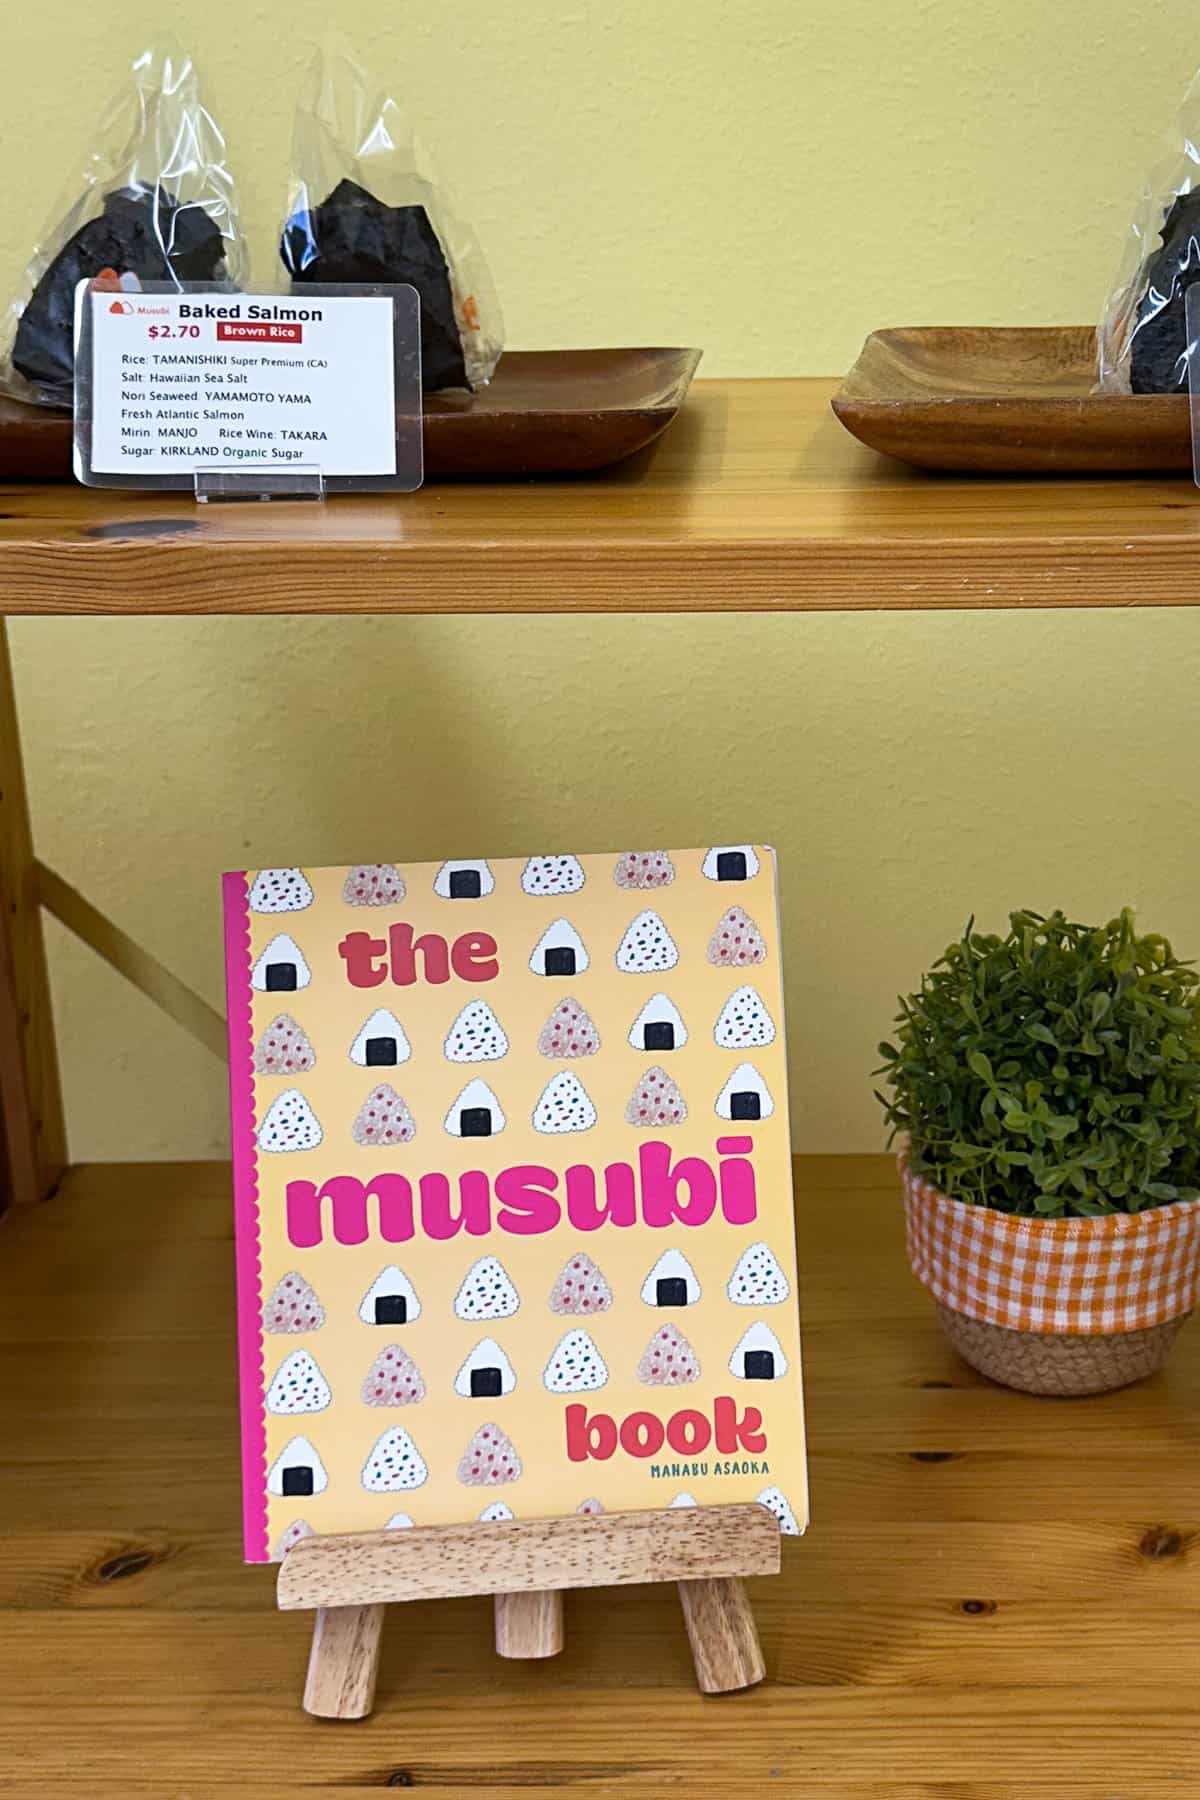
One of my favorite local musubi shops published The Musubi Book back in 2018 and I've been meaning to get it since! I finally got a copy last week and of course the first recipe I wanted to try was the tuna mayo musubi ^_^
You can get the book in store (that's his store display pictured above) or online.
Update: I made his Kombu Musubi and Bacon Almond Musubi recipes! And also made Mentaiko Onigiri / Musubi (with 3 easy and different filling!)
Manabu Asaoka (the store owner) talks a lot about tuna mayo musubi in his book. Tuna mayo is actually considered a modern filling in Japan...this is funny because I'm pretty sure we consider tuna mayo a traditional filling in Hawaii ahaha. Modern or not, tuna mayo is the permanent top seller at 7-Eleven stores in Japan!
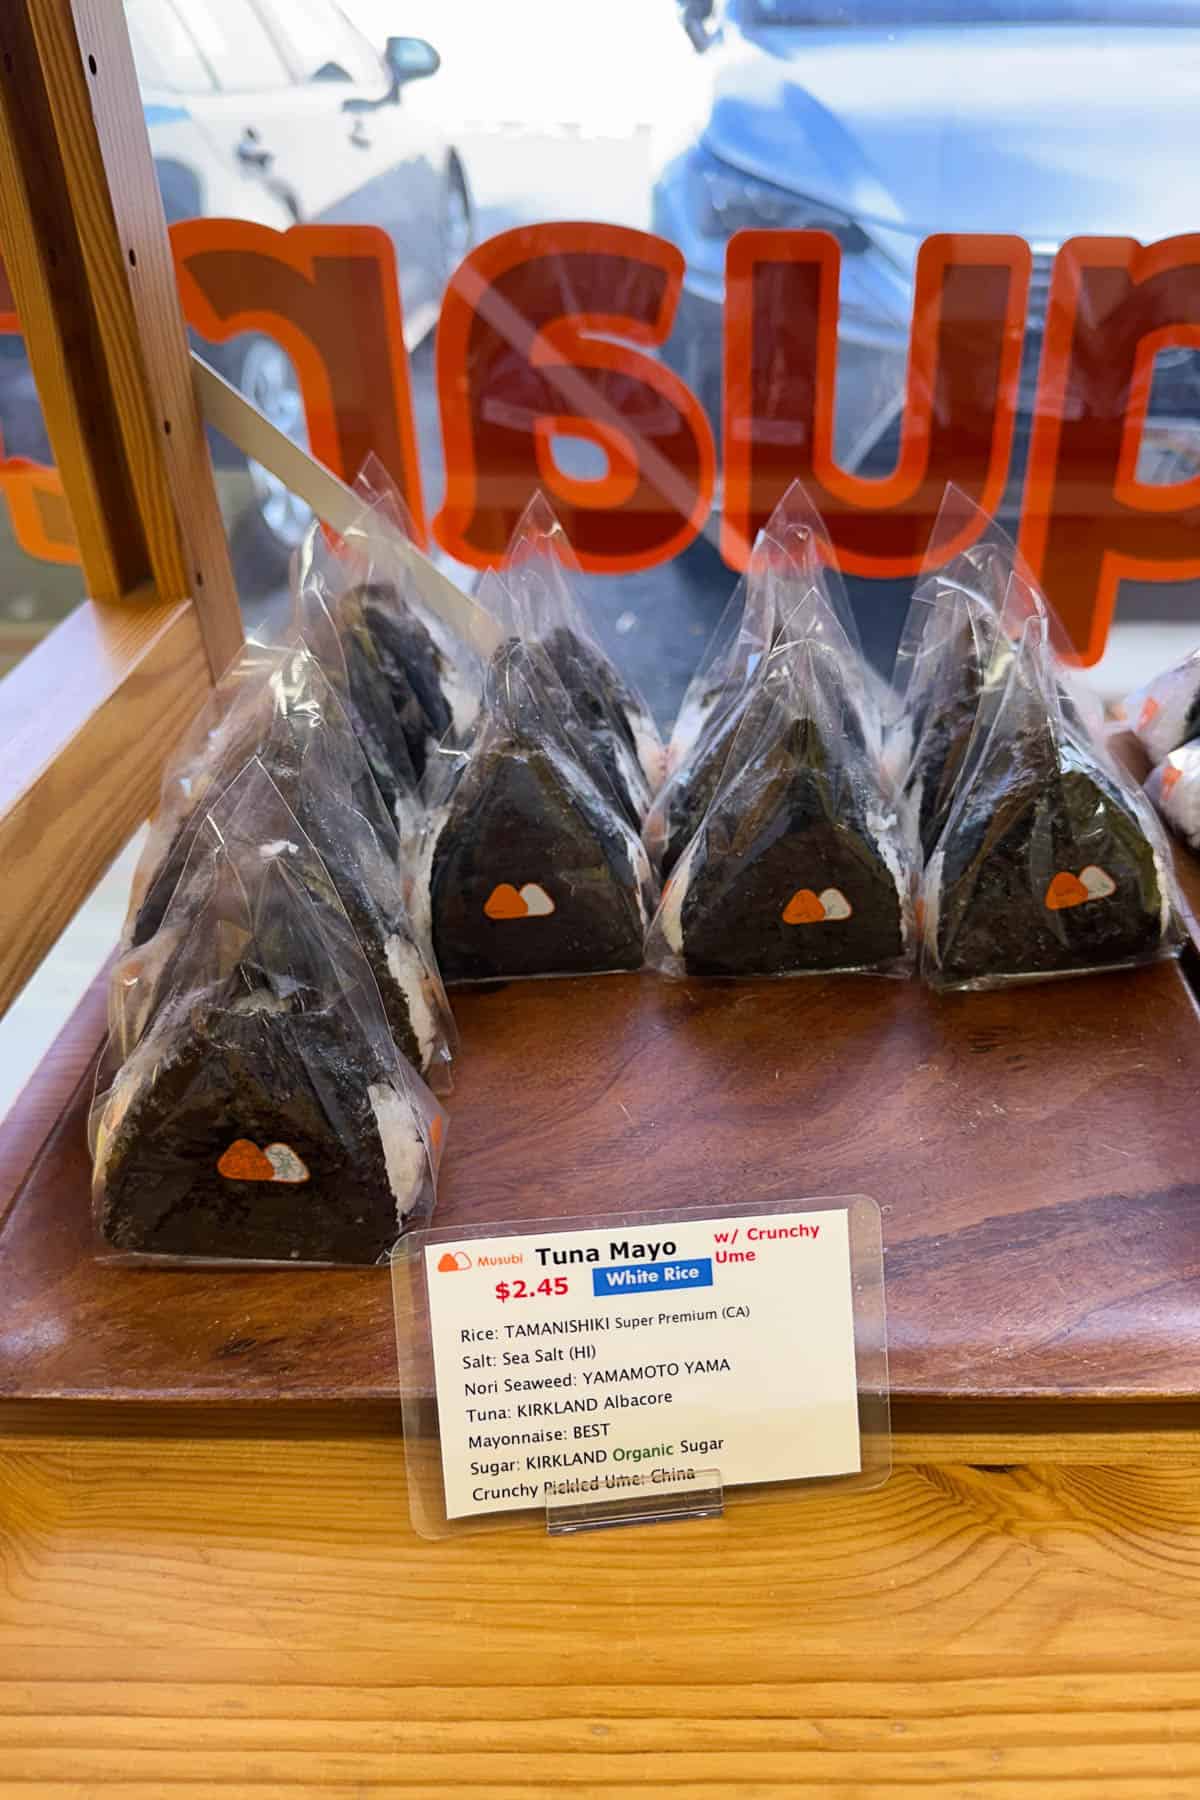
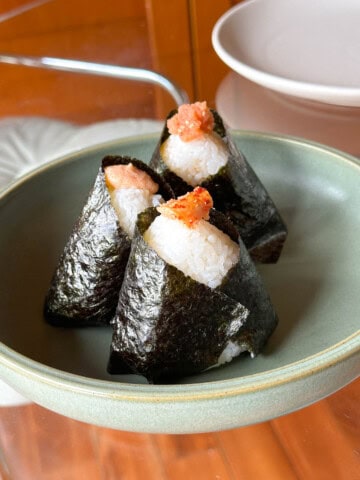
Manabu makes and sell very delicious tuna musubi at his shop. He does the classic tuna mayo and also great variations like spicy tuna mayo, and tuna mayo with crunchy ume, pictured above.
The recipe we're making today is adapted from Manabu's book. He has great tips and I'm excited to share them with you along with useful suggestions based on my personal onigiri / musubi making experience. I'm basically a beginner (though definitely an advanced musubi eater LOL) so we can learn together ^_^
Ingredients
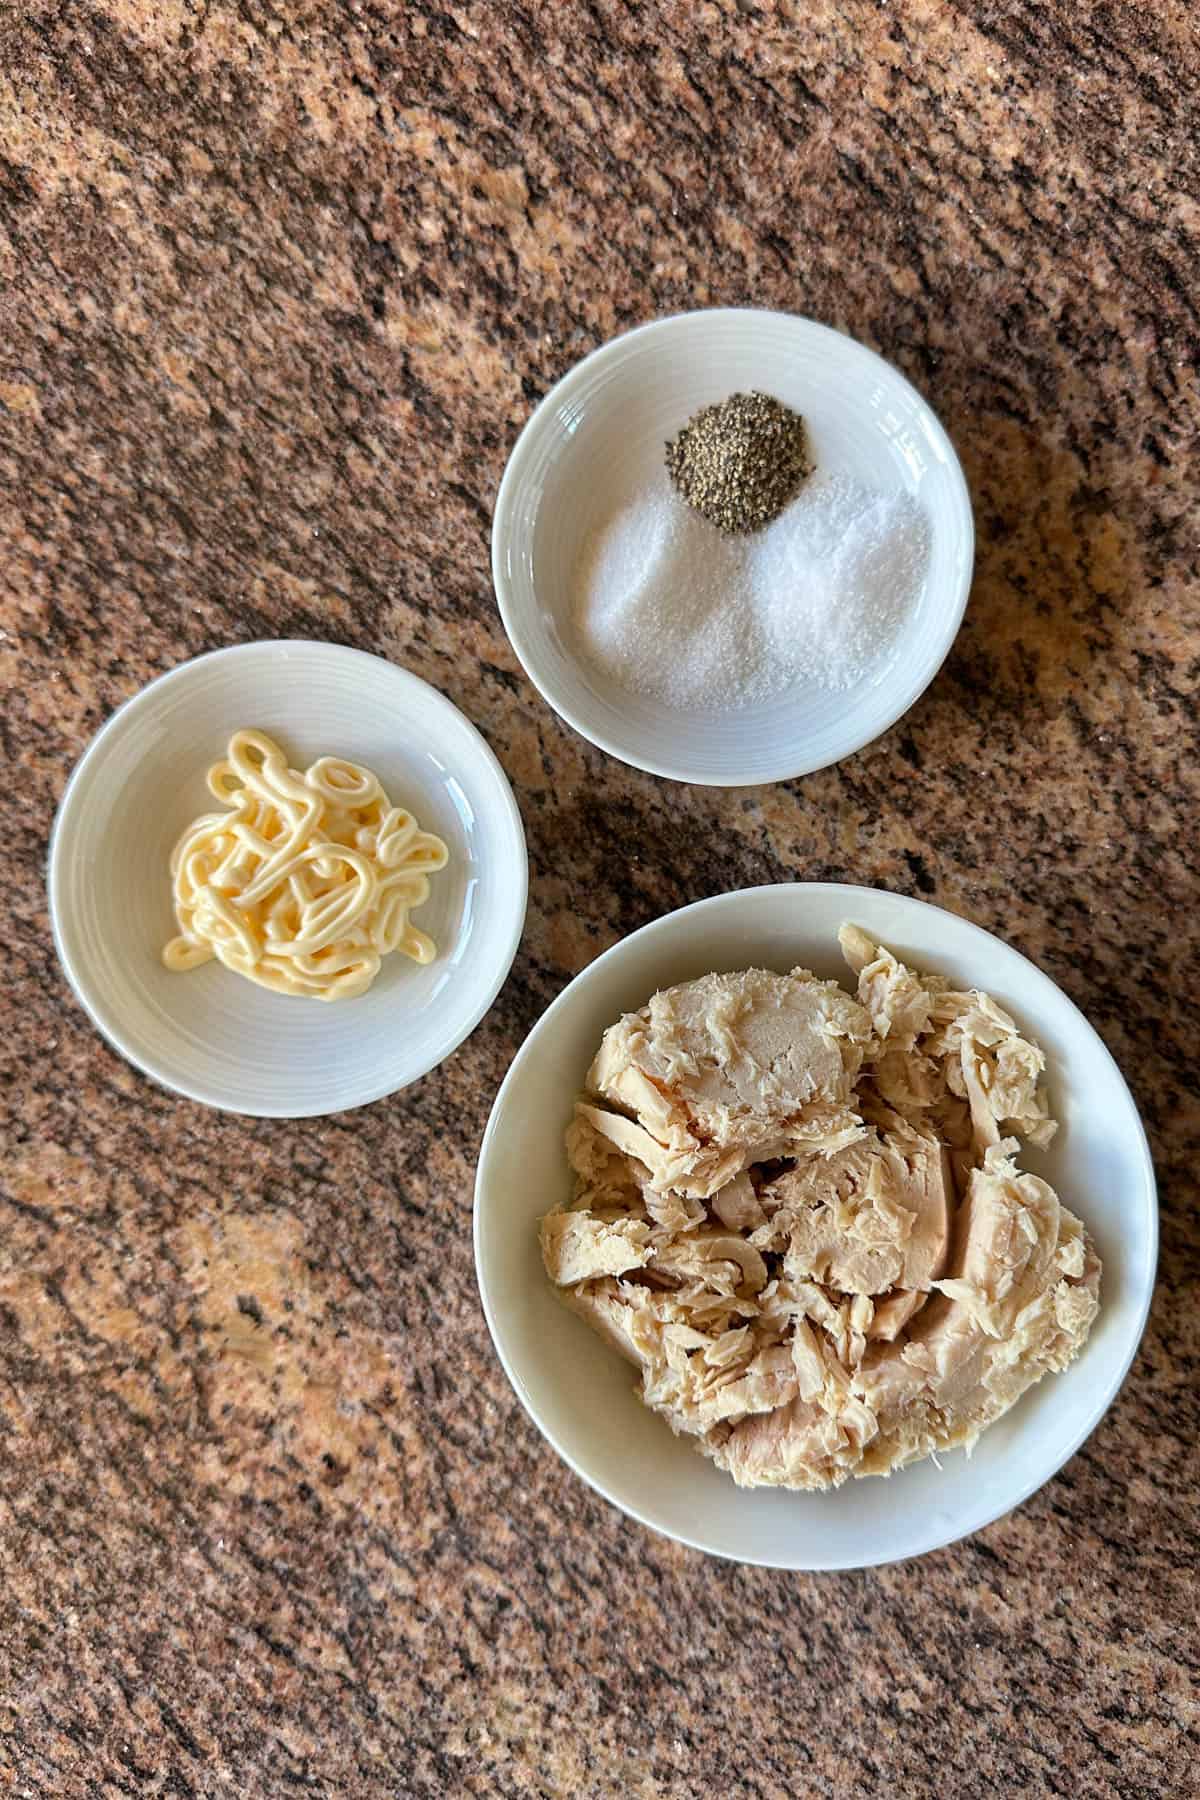
(Pictured above are all the ingredients for the tuna mayo filling. Not pictured is the rice and nori sheets which you'll also need.)
Here's what you'll need:
- Freshly cooked Japanese short grain rice, still warm - In Honolulu, we love to buy rice from The Rice Factory. Most Japanese supermarkets will also have a selection of Japanese short grain rice.
- Canned tuna - Costco Kirkland brand preferred
- Sea salt
- Sugar
- Ground black pepper
- Mayonnaise - Kewpie mayonnaise preferred
- Nori Sheets - You can buy full size nori sheets and cut each sheet into thirds. Or buy pre-cut nori sheets (I couldn't find pre-cut ones online but Nijiya sells it in-store, they're labeled as nori for onigiri).
Nori Sheets
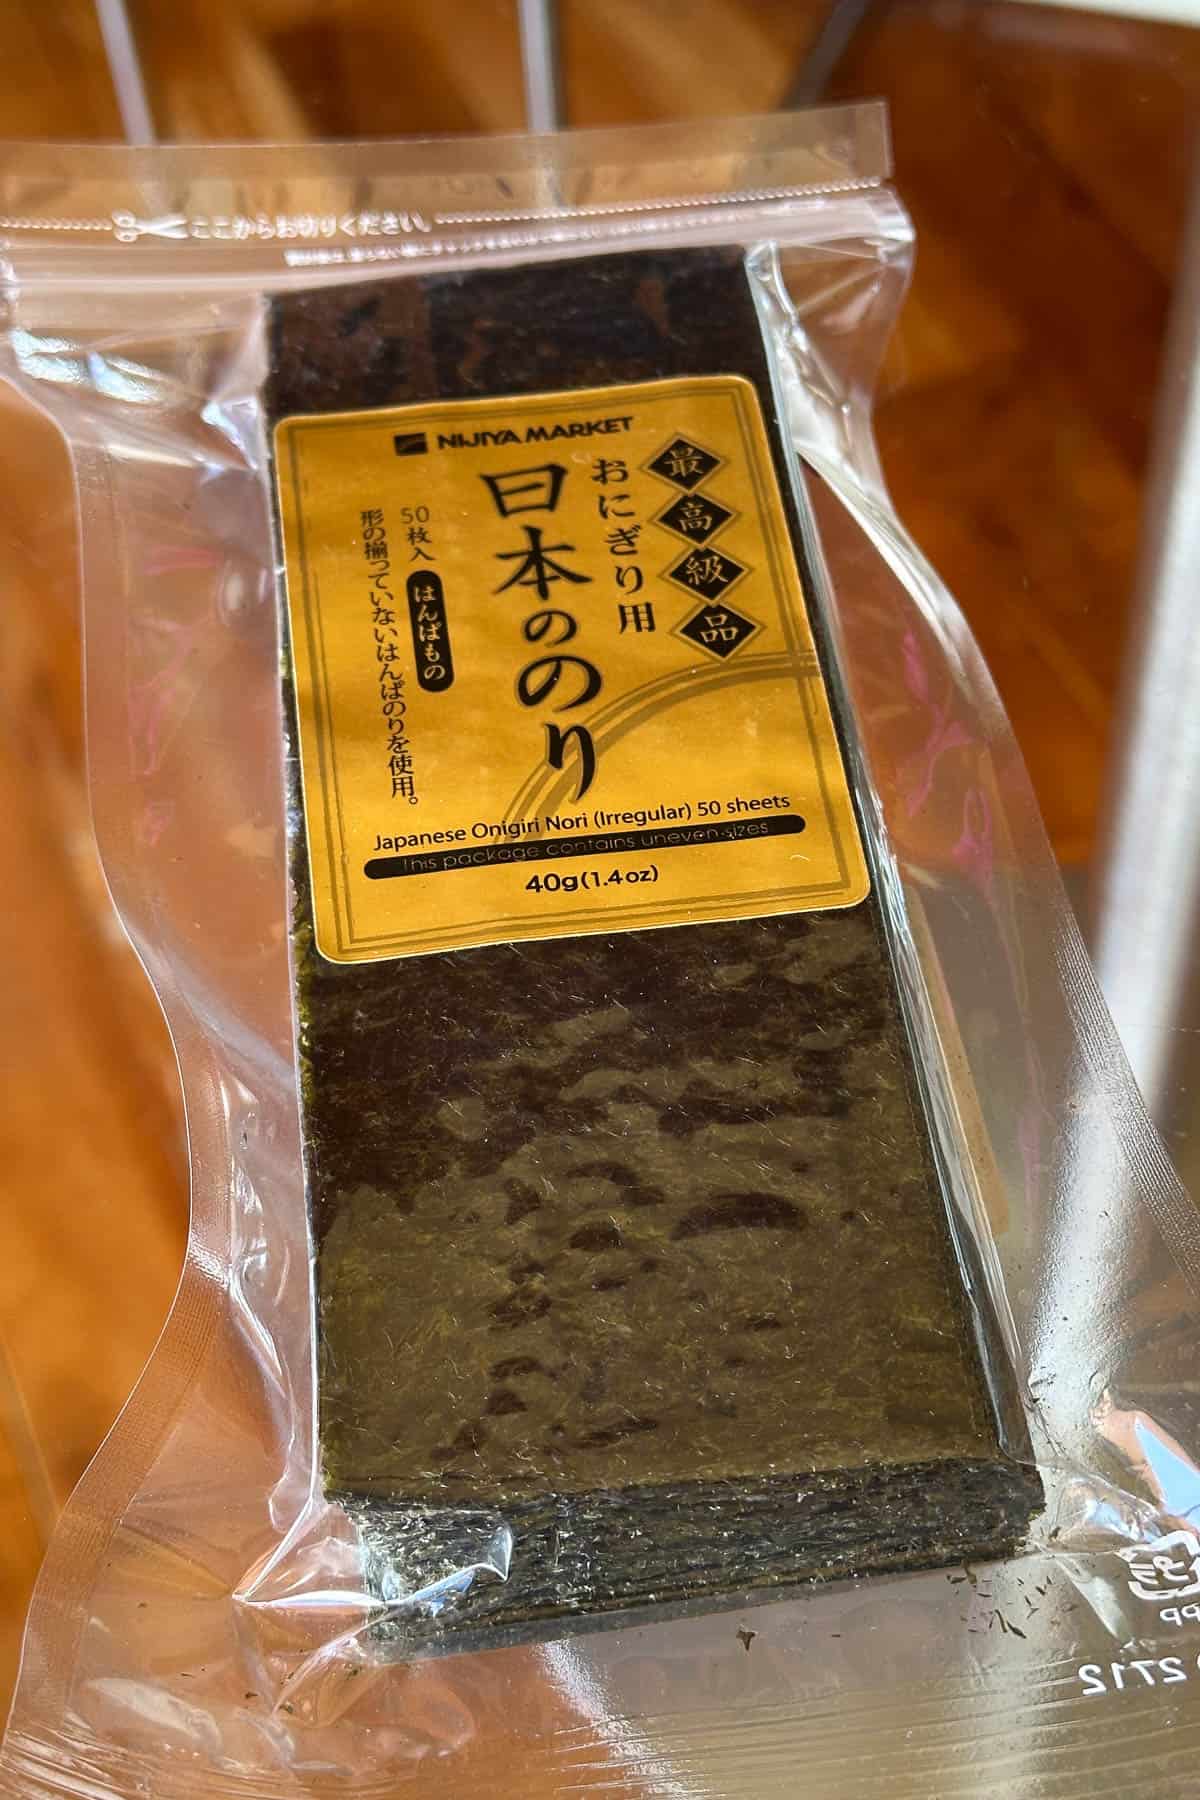
For the nori sheets, you can buy full regular size sheets of nori, and then cut them lengthwise in to thirds. That's the size you'll need to wrap the onigiri. Or you can sometimes find nori that's pre-cut for onigiri. I got the above 50 pack of pre-cut nori sheets for $5.99 at the Ala Moana location of Nijiya.
Canned Tuna
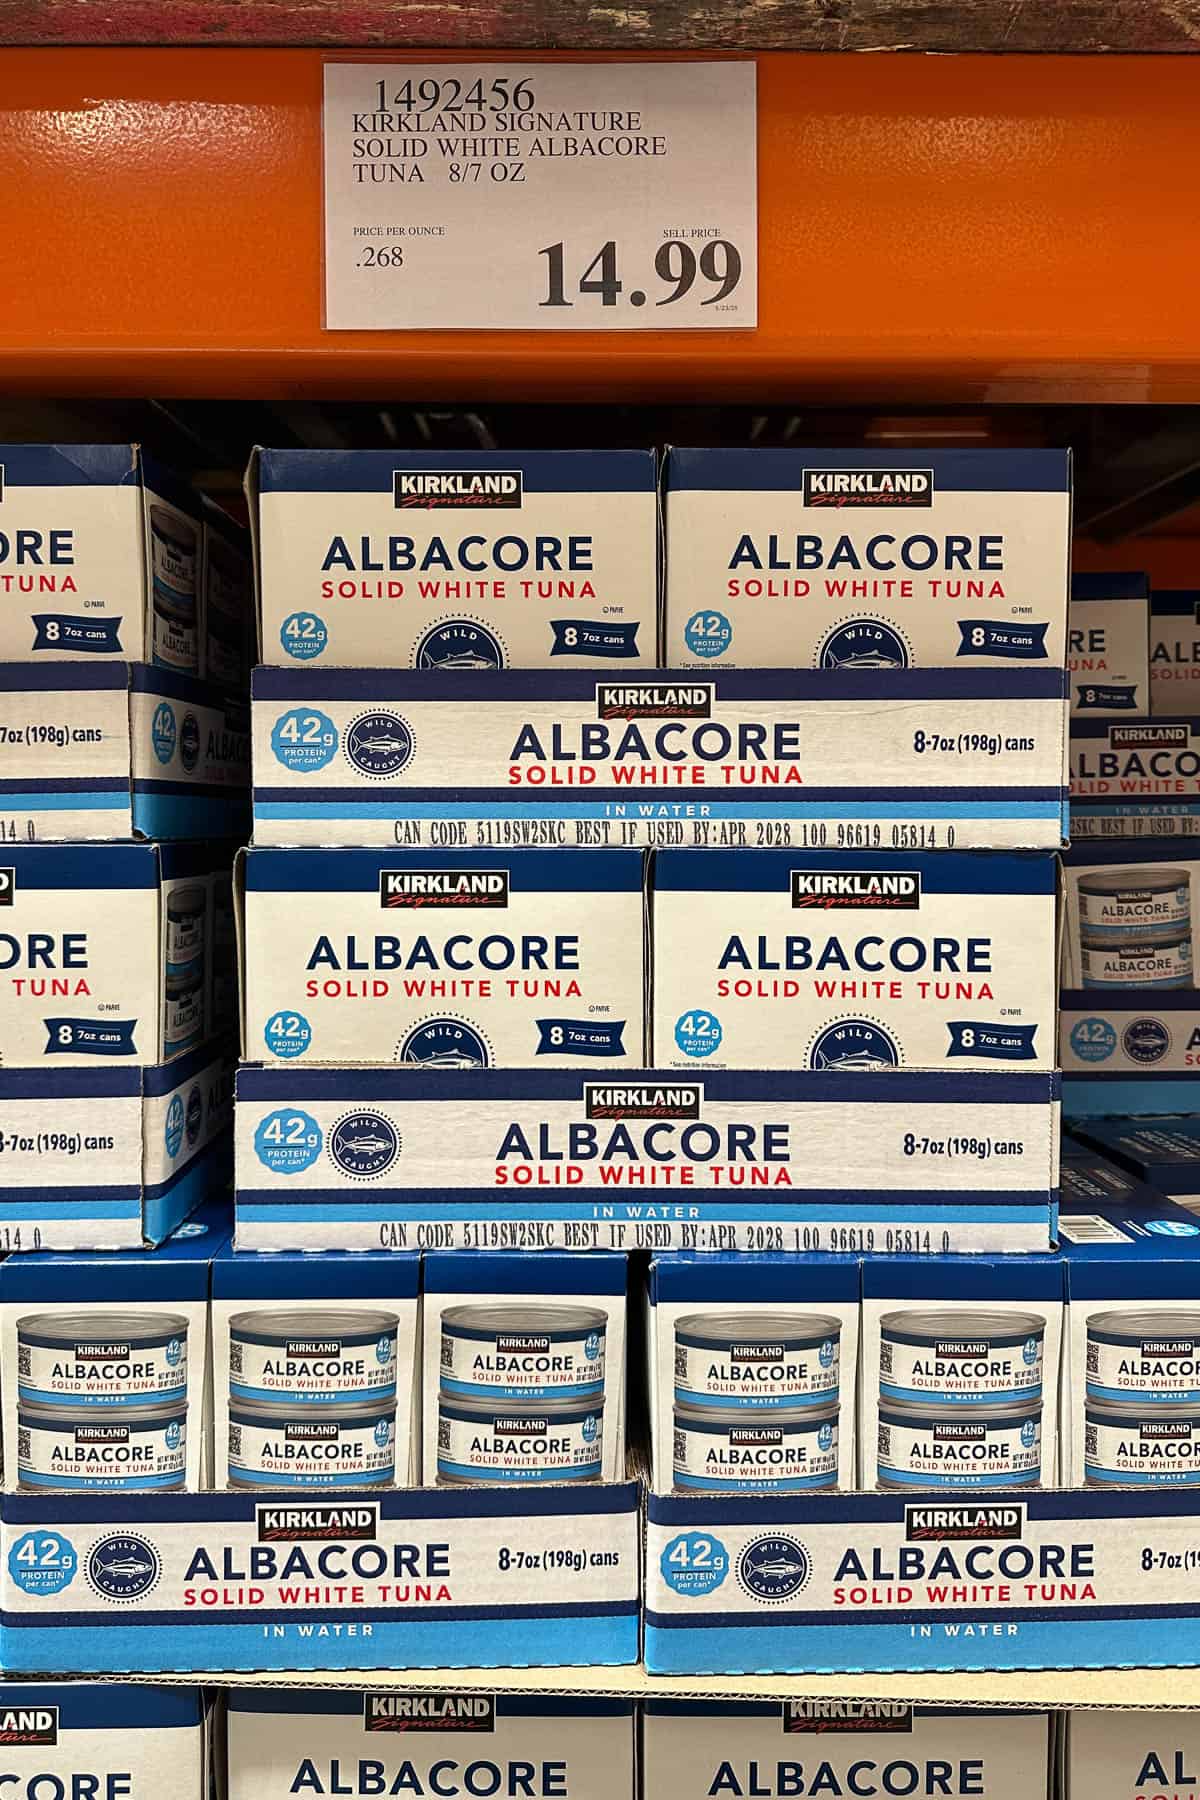
In The Musubi Book, Manabu recommends the Costco Kirkland brand of canned tuna. He says,
"When it comes to choosing the tuna, the Costco Kirkland brand of solid albacore in water is very good."
I loved how he specially mentioned that. I've long been a fan of the Kirkland canned tuna...tasty and a good value.
Onigiri Mold
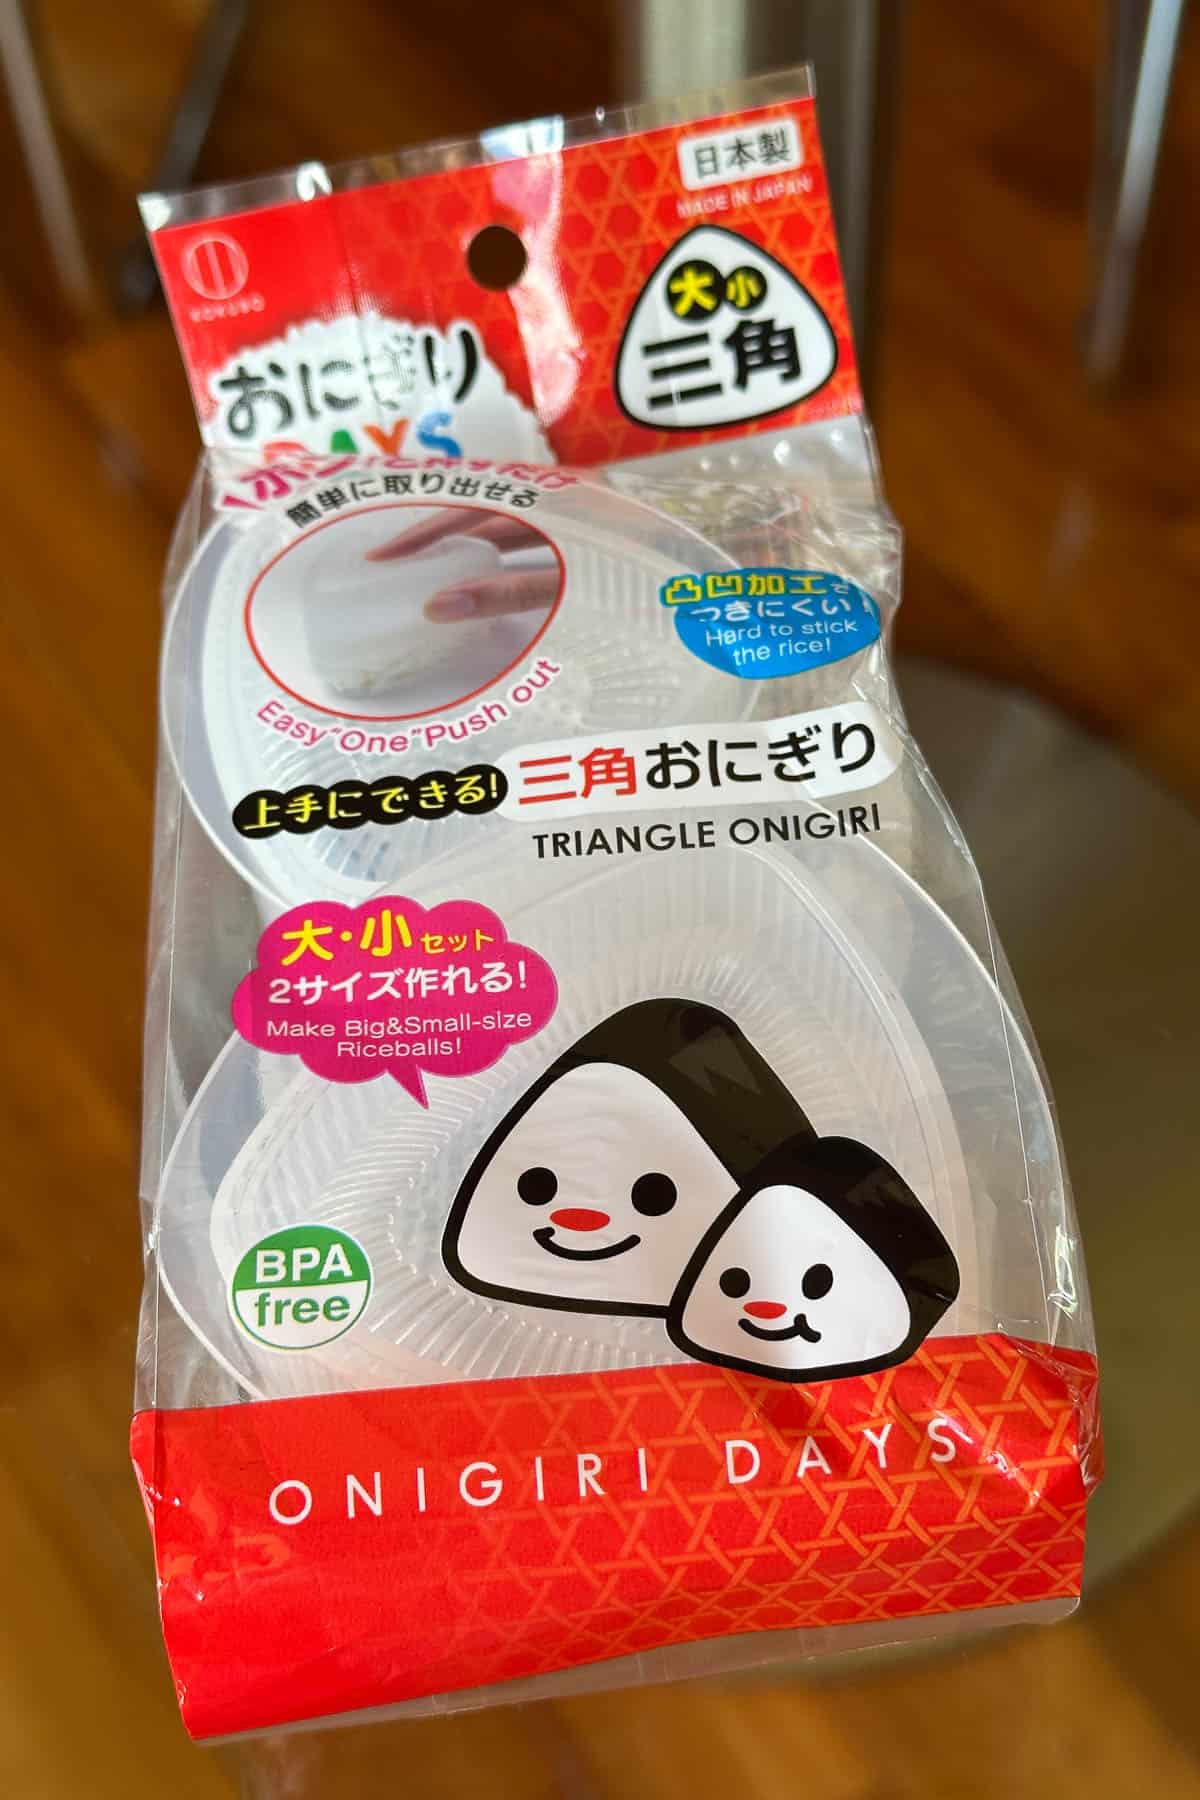
The one piece of special equipment you'll need for this recipe is an onigiri mold. You can buy them easily online or at most Japanese markets.
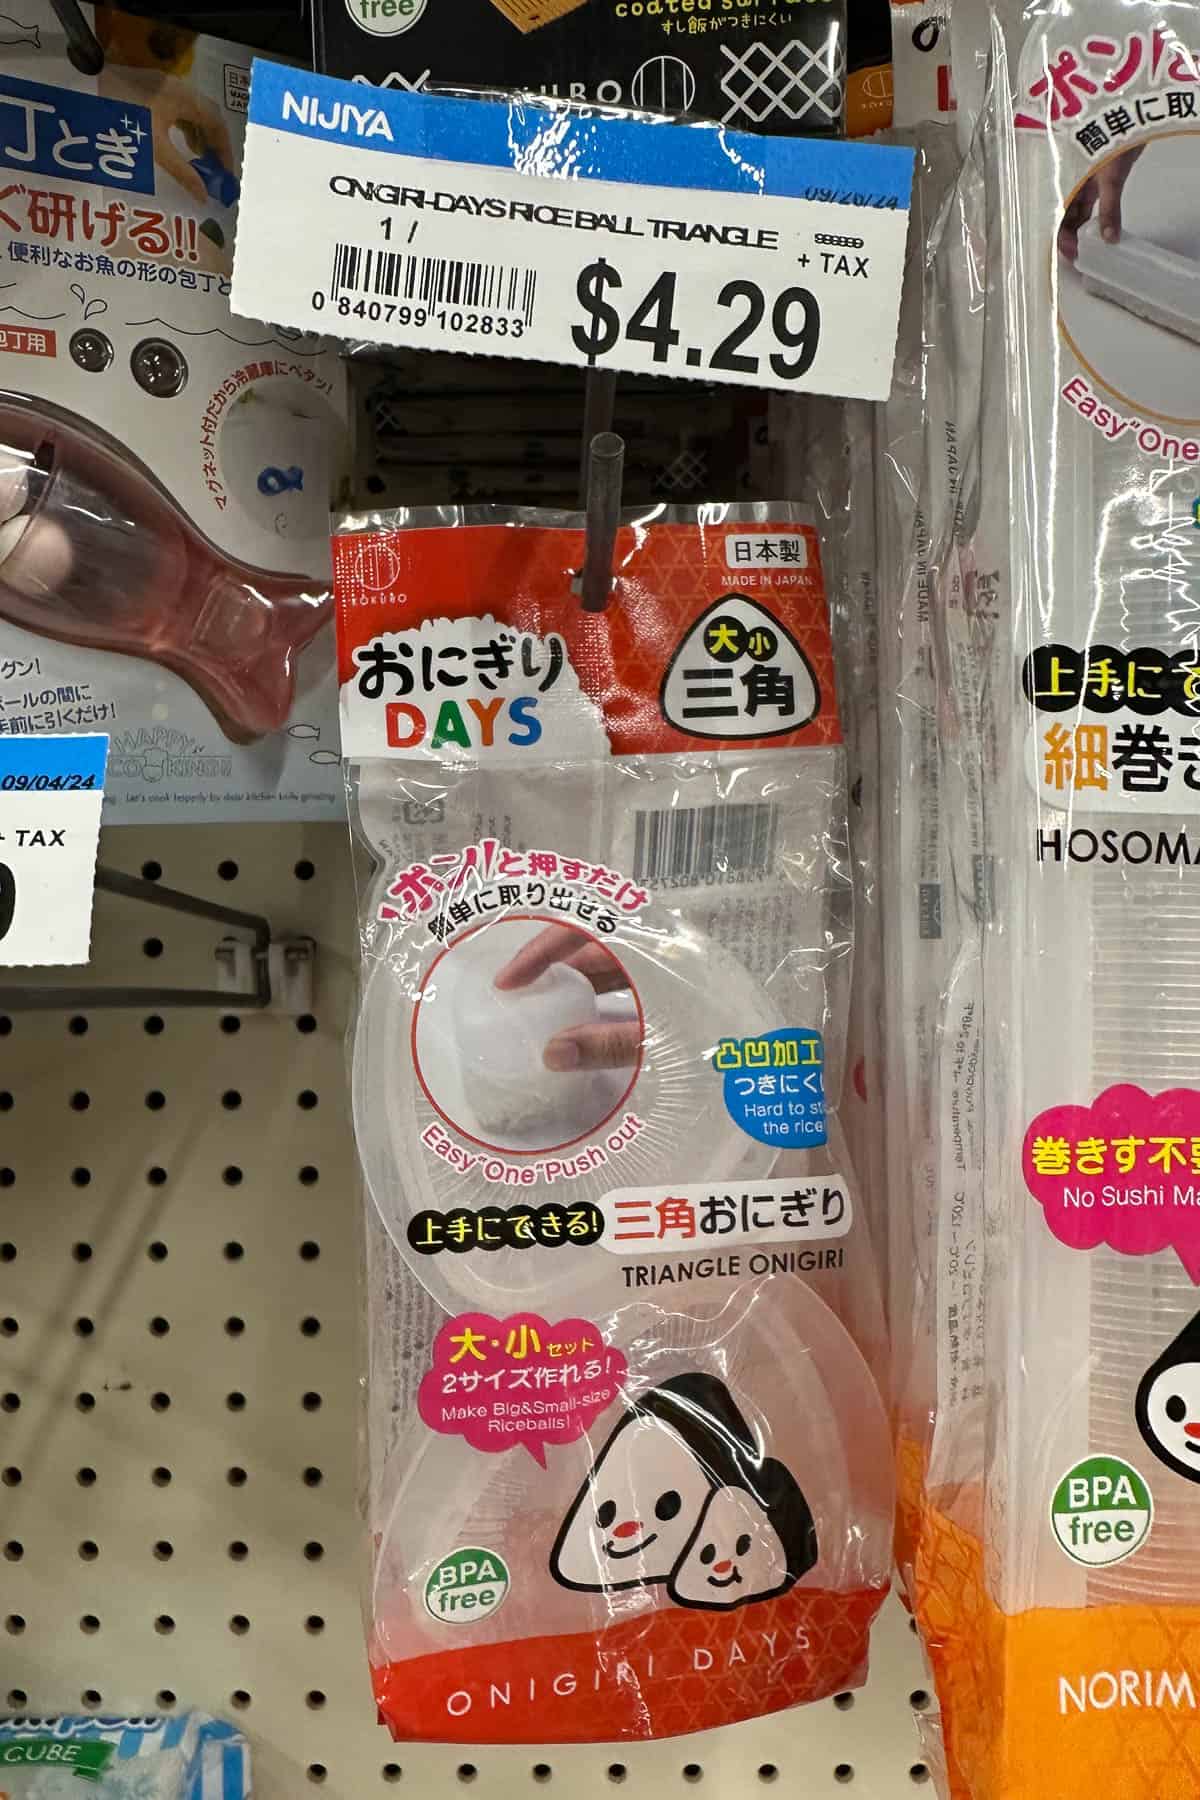
I got this from the Ala Moana location of Nijiya. It is a two-pack with one each of a regular and mini size onigiri mold. I used the regular size mold for this post (though am excited to use the mini mold for my son's lunchbox!)
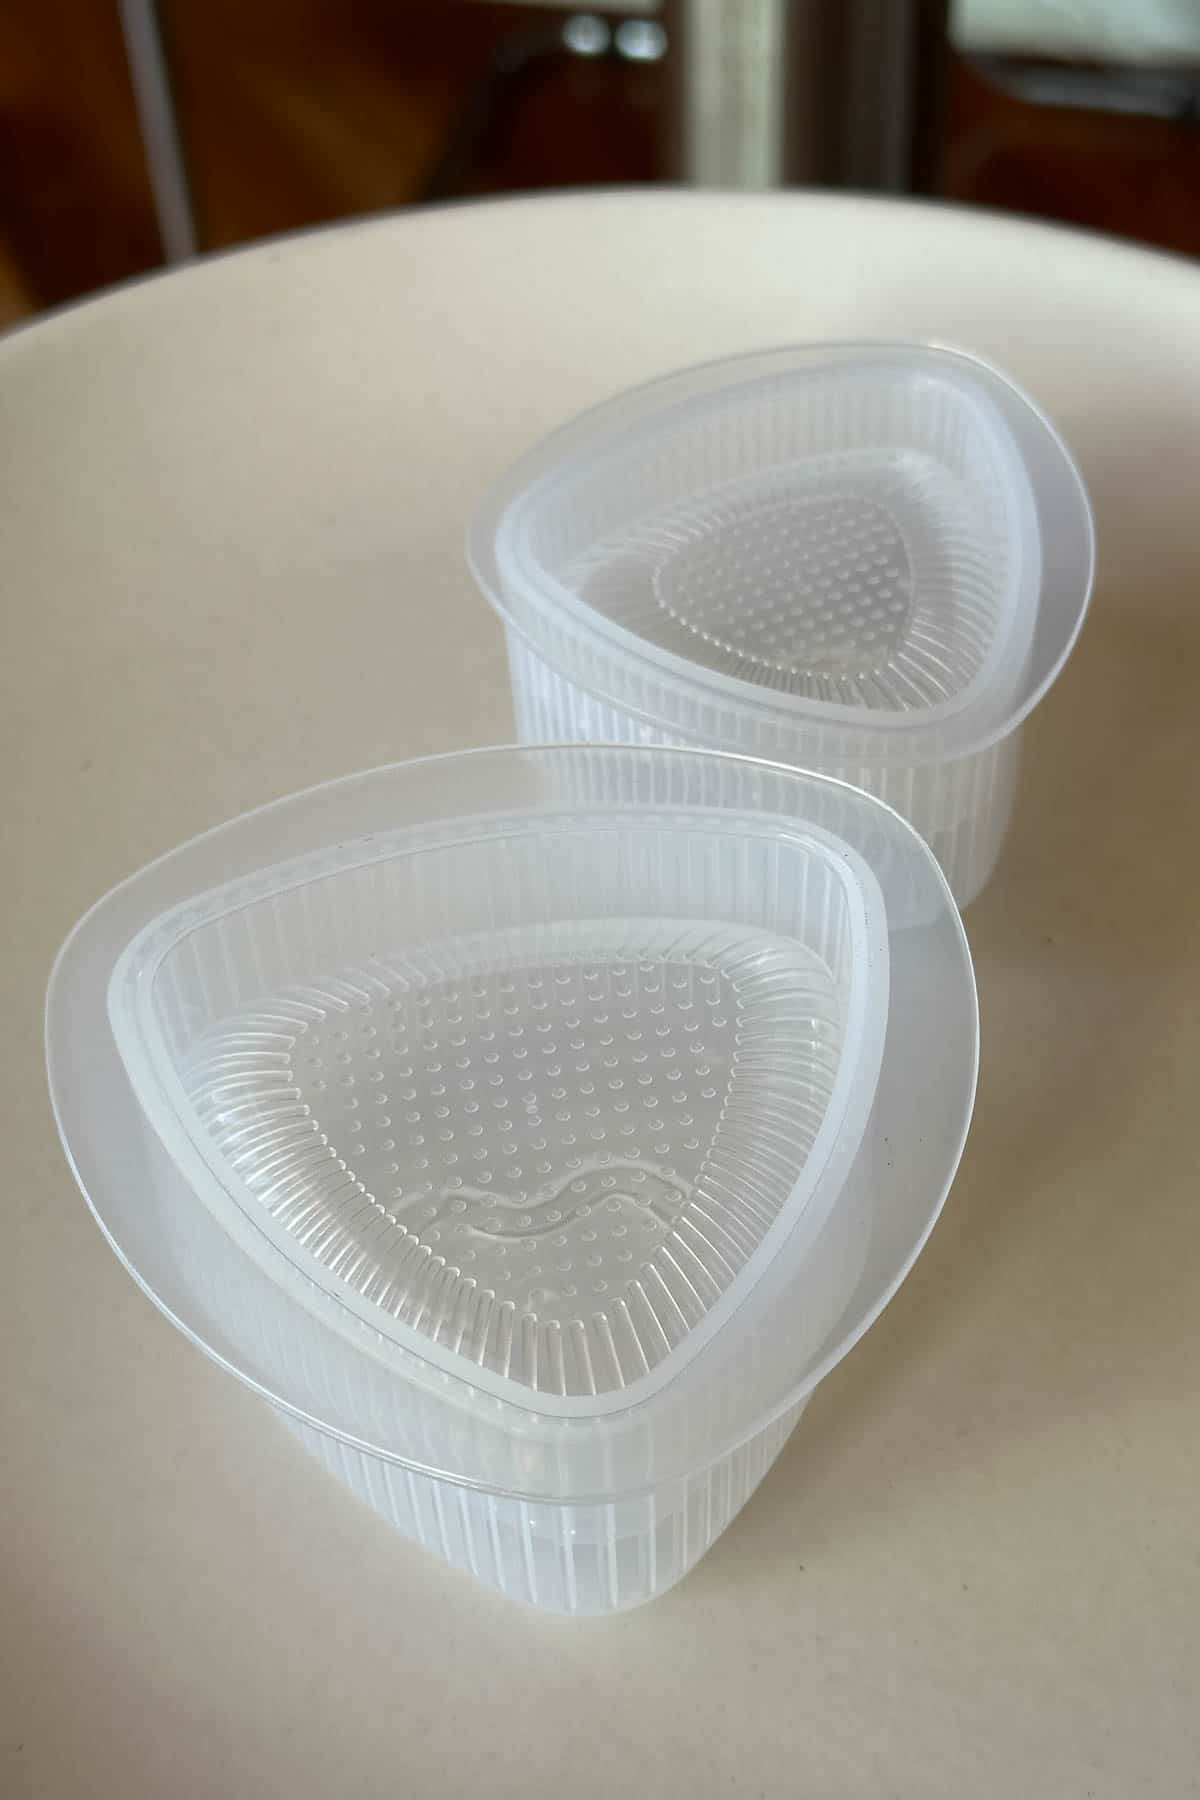
There are many different types of onigiri molds including some beautiful ones made of hinoki wood. I haven't been able to find a hinoki wood mold in person in Honolulu, so will probably have to order online or wait until our next Japan trip.
Instructions
Let's get cooking:

Make the tuna-mayo filling.
Drain all the water from the canned tuna. In a bowl combine the canned tuna, sea salt, sugar, and ground black pepper. Use a fork and mix until well combined. Then cover and refrigerate for 30 minutes.
Prepare the rice.
If the rice is still in the rice cooker, fluff the rice and then use a rice paddle to move all the rice into a large bowl. Set aside.

Prepare your onigiri making station.
Use a large plate or cutting board as your onigiri station. Wash the onigiri mold and place it on the plate. Sprinkle some sea salt into a small dish and place that on the side (we will need to salt the onigiri mold later).
Remove the tuna-mayo filling from the refrigerator.
The purpose of letting the tuna-mayo filling sit in the refrigerator is so that the flavors can soften and meld together. More importantly, this step is also to let any extra liquid/water come out. Drain off any excess liquid.
Now your onigiri making station should have 3 main "components."
- The bowl of still-warm rice.
- The bowl with the tuna-mayo filling.
- The onigiri mold, plate (or cutting board), and dish of sea salt.
Now let's get assembling!
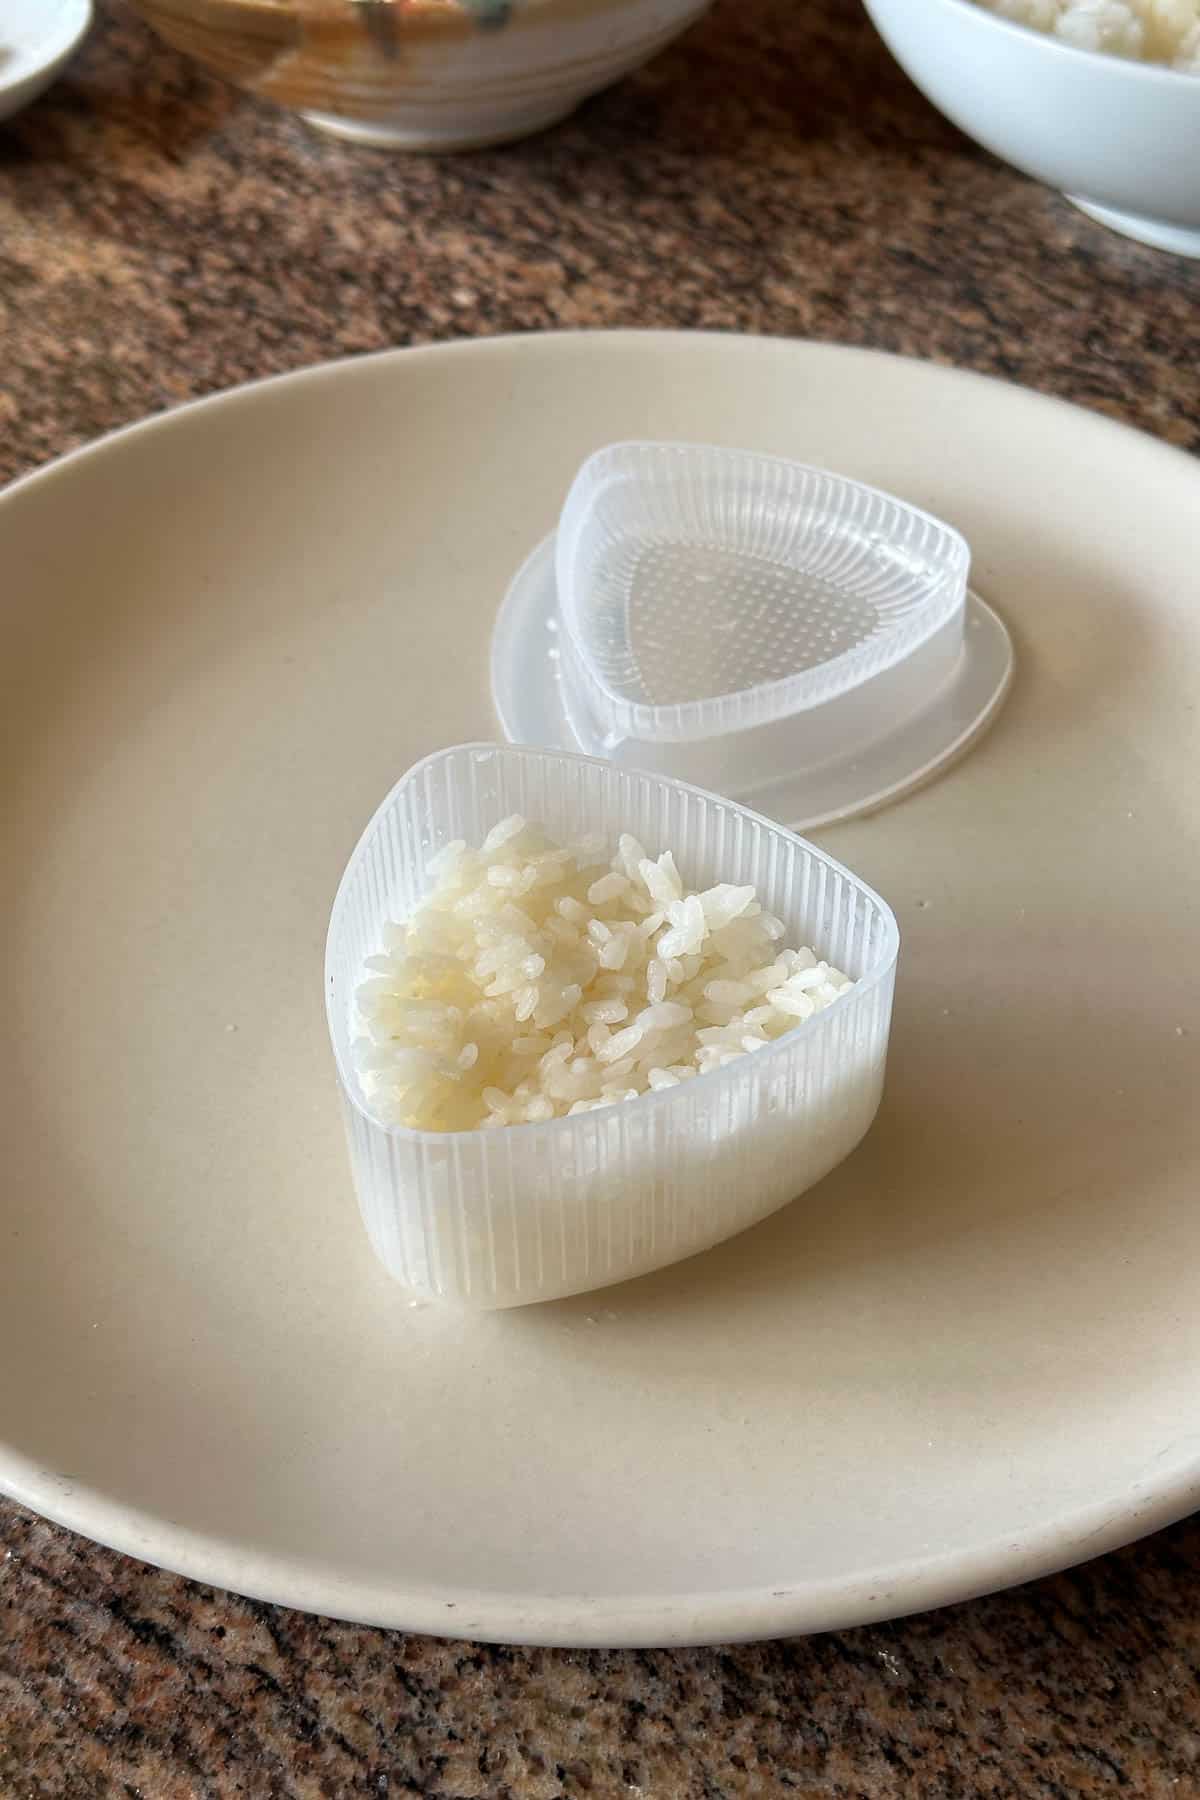
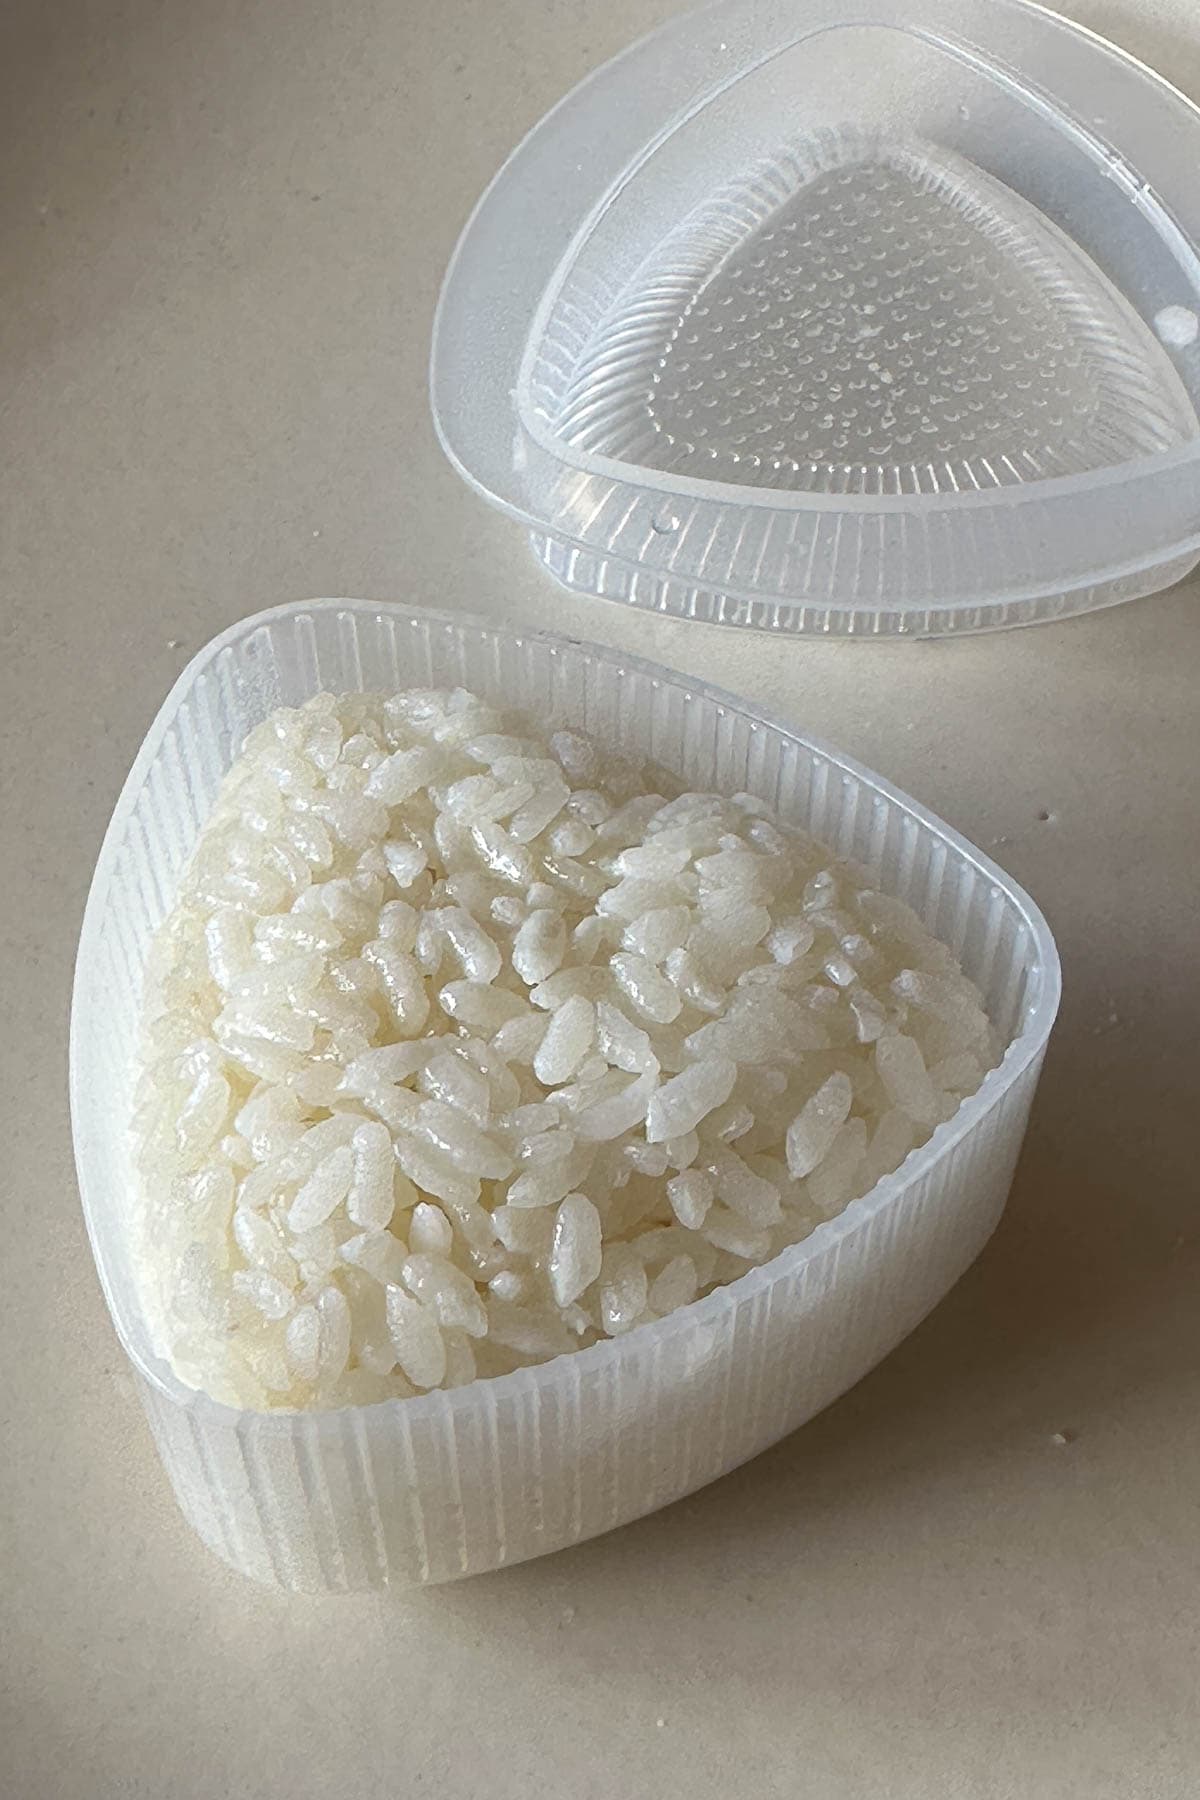
Wet and salt the onigiri mold.
Lightly wet the onigiri mold with a splash of water (shake out the excess water). Then using some sea salt from the dish, sprinkle a little salt inside the mold.
Add the first layer of rice.
Fill the onigiri mold 40% full with the rice. Gently pat the rice in using a rice paddle. Never ever smash the rice.
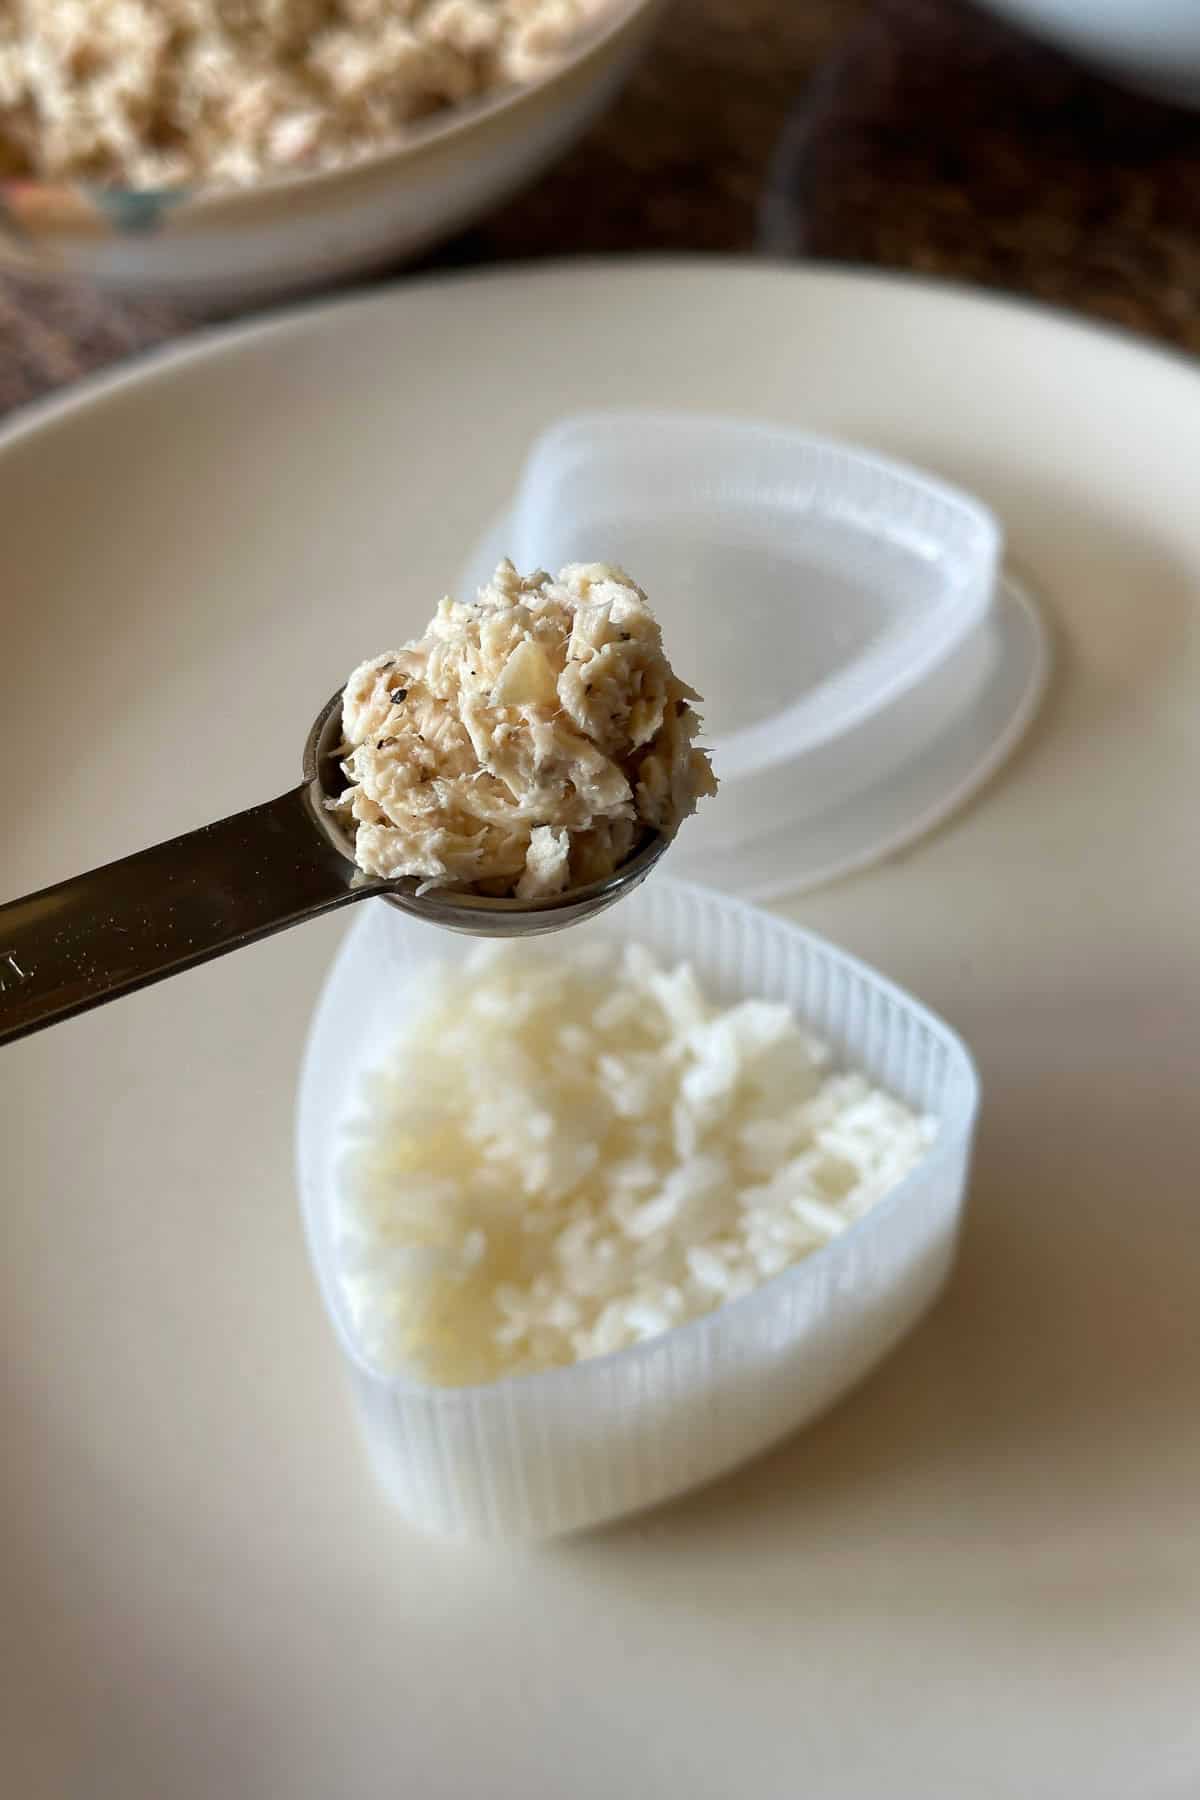
Add the filling.
Then add a teaspoon of the tuna-mayo filling on top of the rice, position it in the center of the mold.
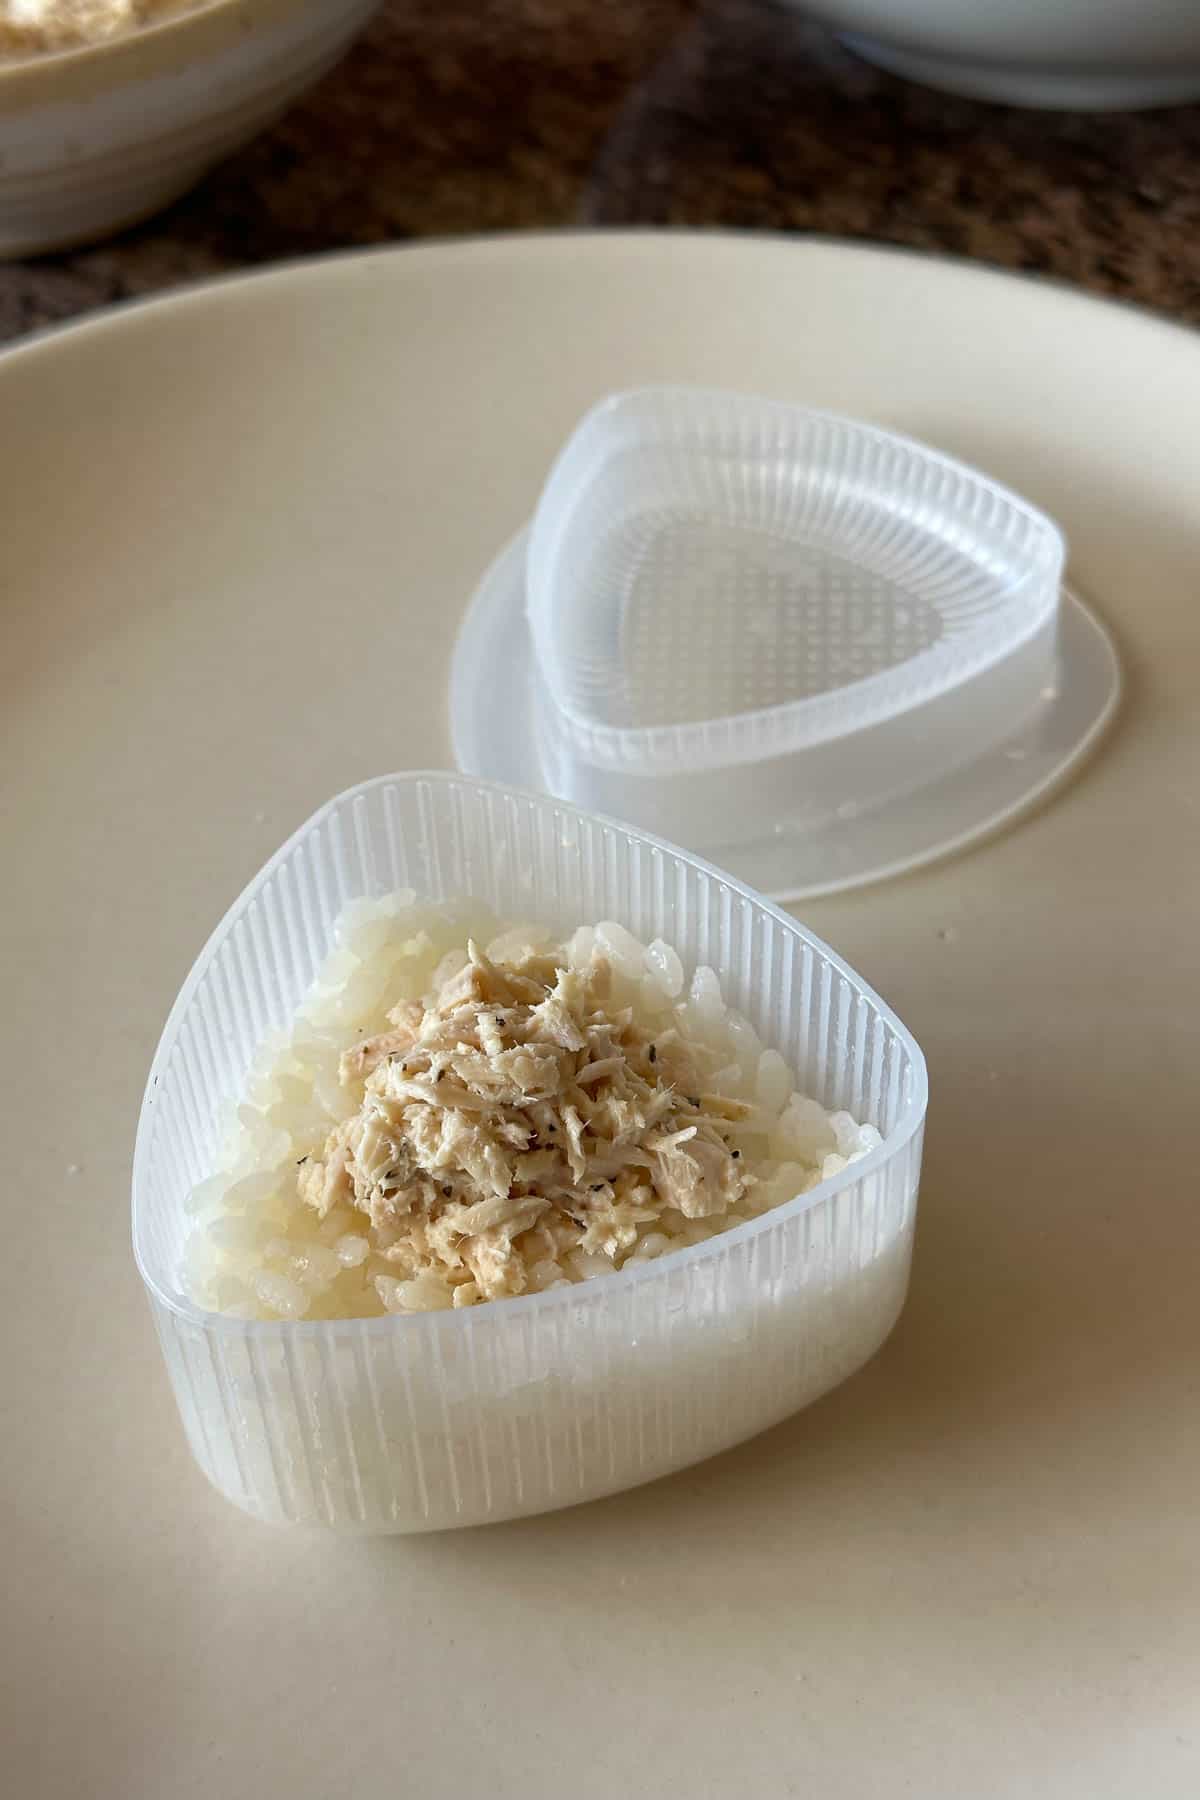
Then use a spoon to gently pat the tuna-mayo filling down a little bit.
Add the second layer of rice.
Cover the filling with some more rice until you reach the top of the mold.
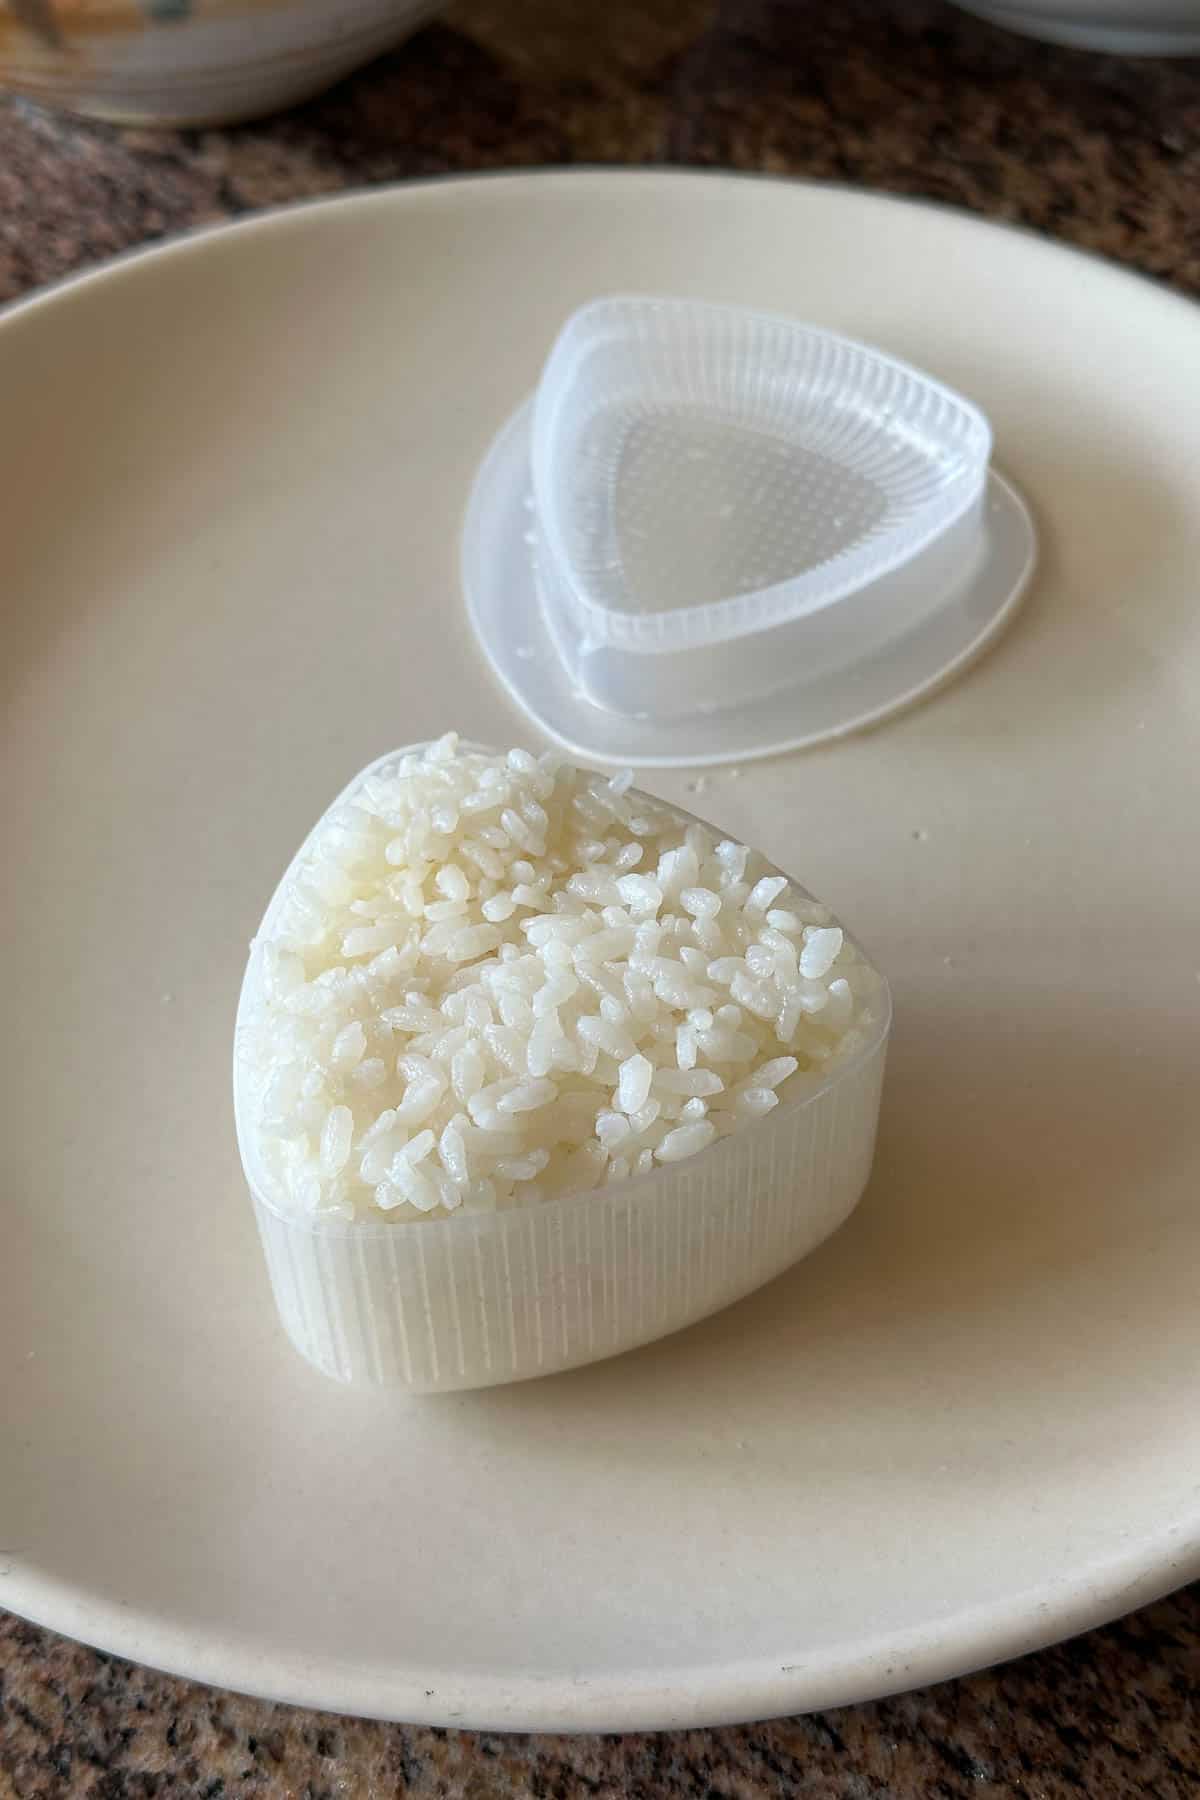
Seal the onigiri.
Use the top/lid of the onigiri mold to gently press and "seal" the onigiri.

Remove onigiri from the mold.
Then flip the mold over and lighlty press the back of the mold to "pop" the onigiri out of the mold. Place the onigiri on another plate.
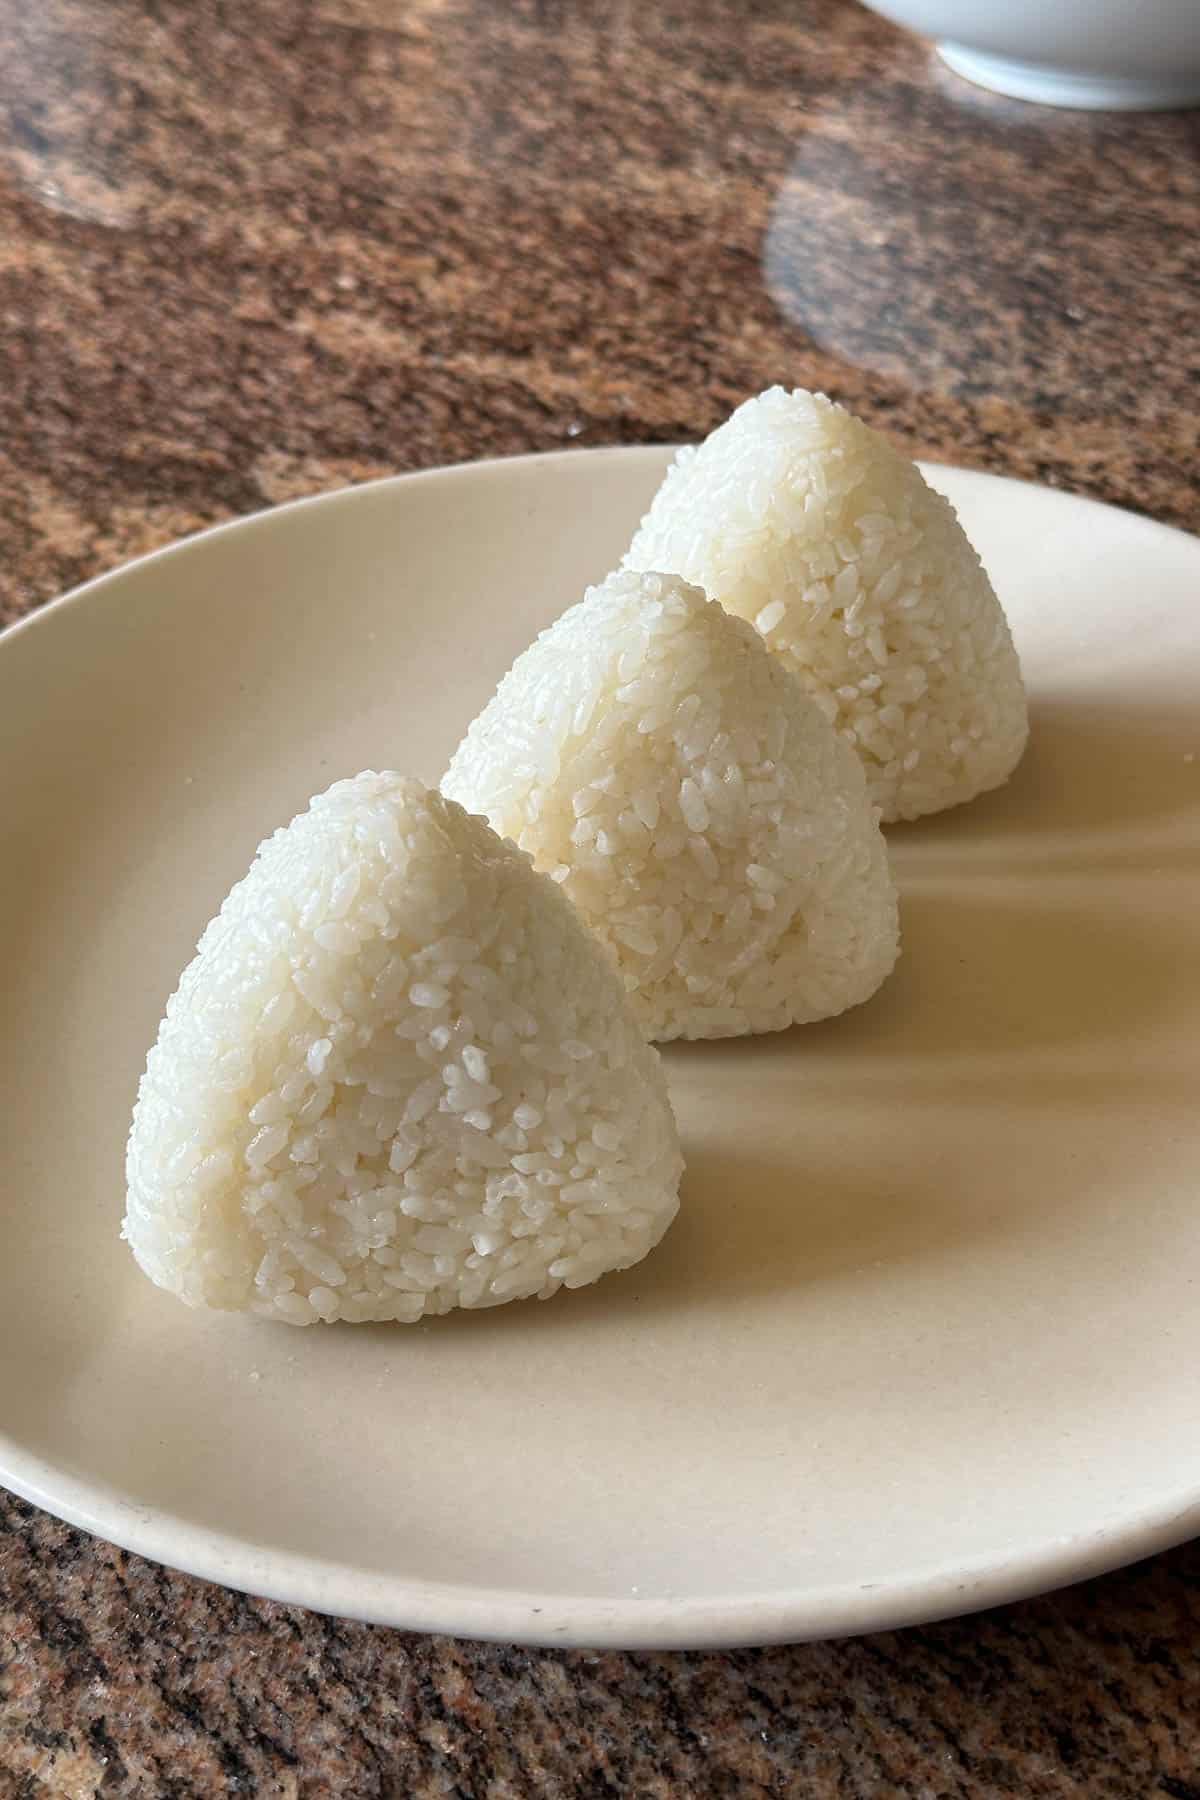
Repeat, repeat.
Then repeat the above steps until you use all the rice. You should have about 6 onigiri pieces.
Note: You will have a lot of extra tuna-mayo filling left...use this to make tuna-mayo handrolls/diy sushi.
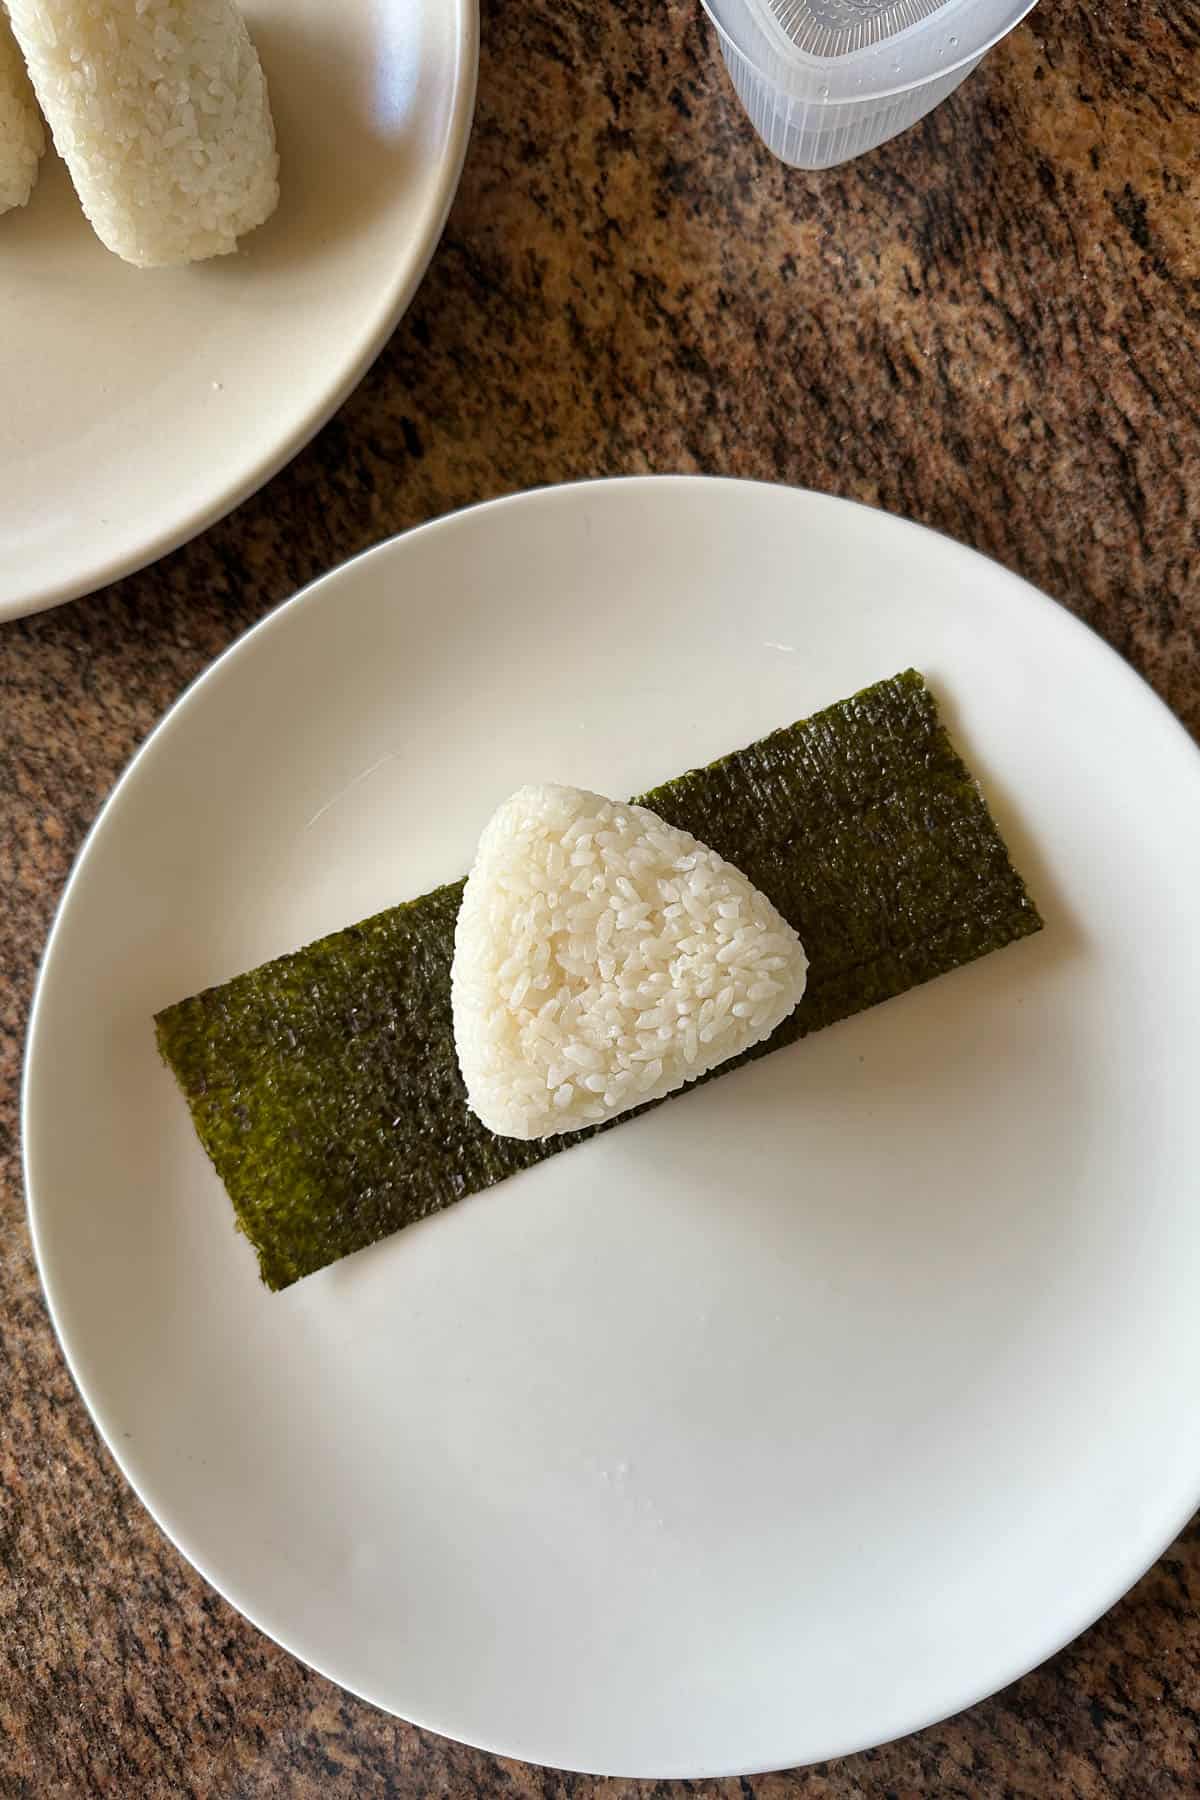
Wrap the onigiri, part 1.
Now it is time to wrap the onigiri! Place a strip of nori on a clean plate. Place the onigiri in the center of the nori.
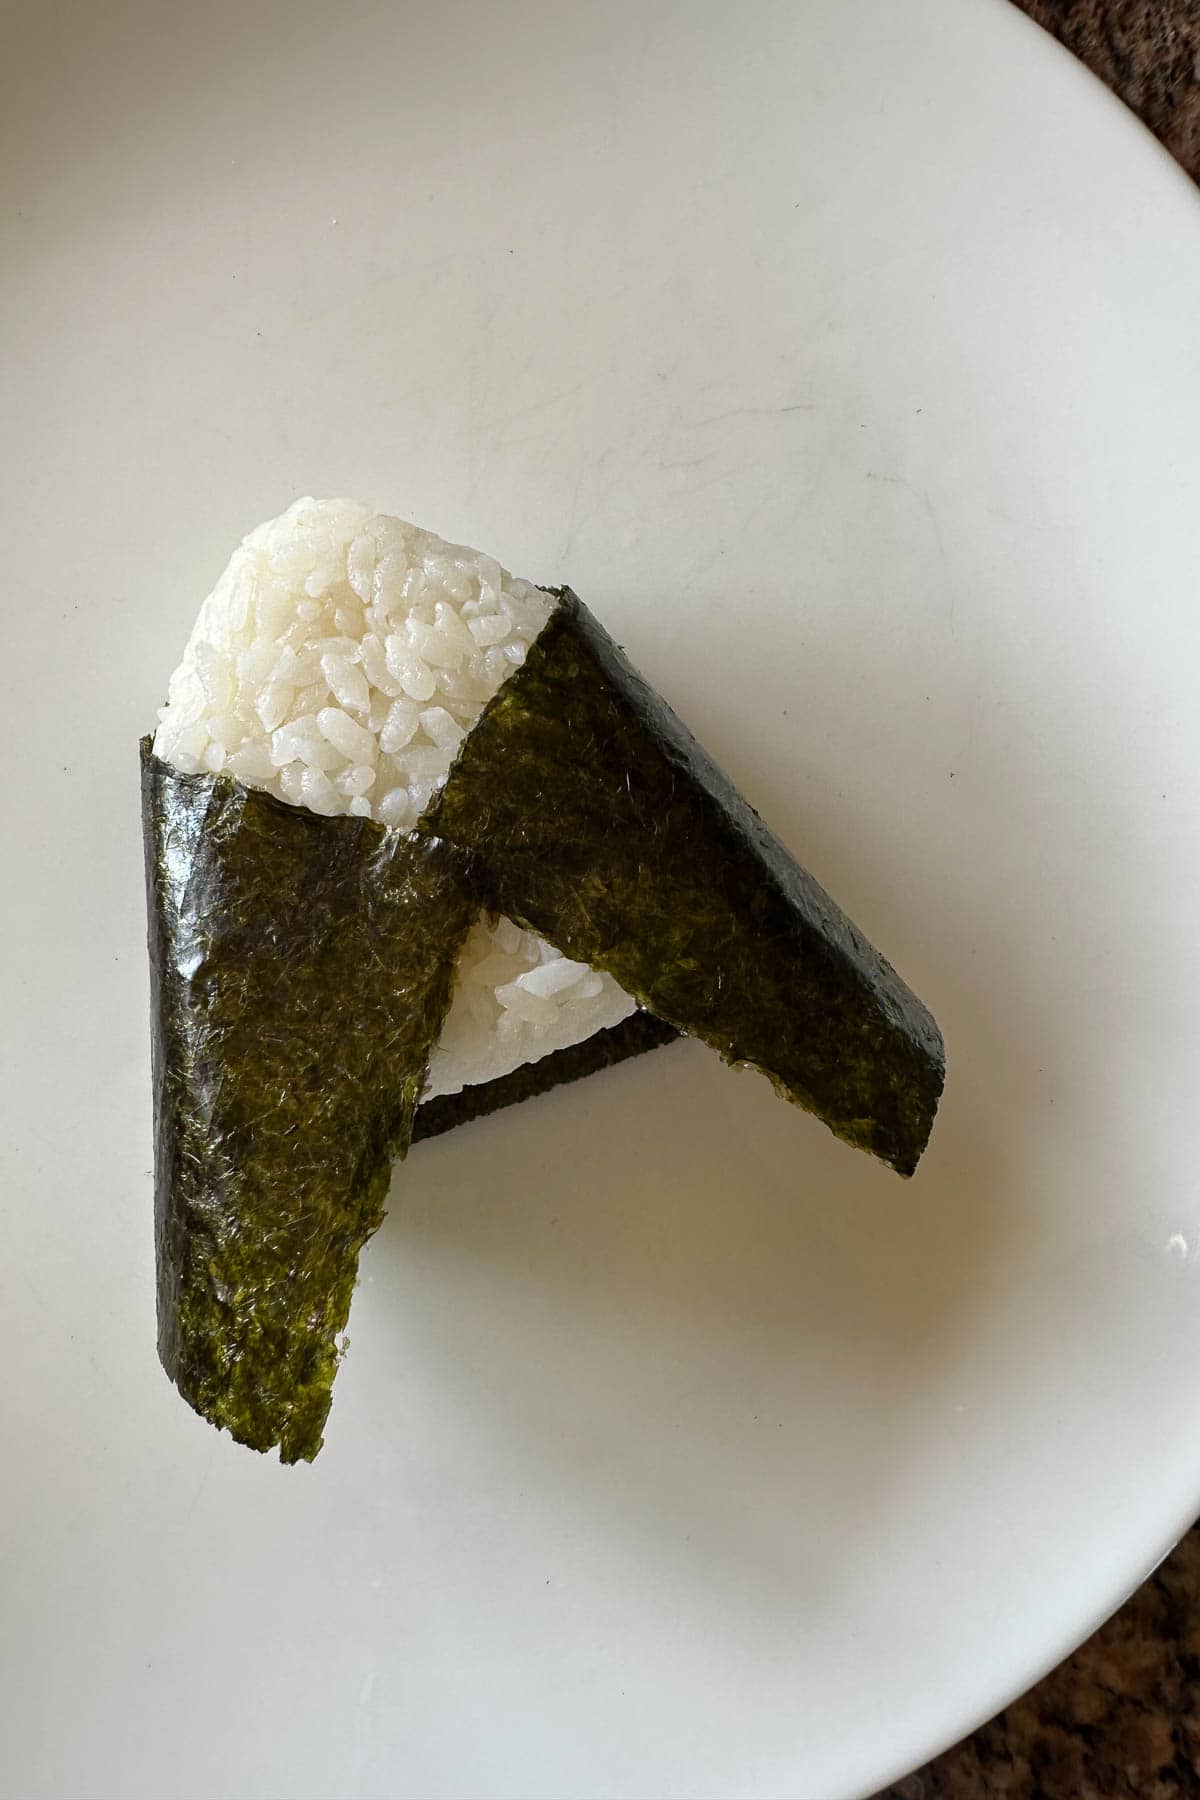
Wrap the onigiri, part 2.
Then stand the onigiri (with the nori attached) upright. And wrap both side of the nori strip around the onigiri to form a sort of "jacket." Fold the excess nori underneath. Repeat with all the remaining onigiri.
Enjoy!
Eat warm and enjoy ^_^
FAQ and Useful Tips
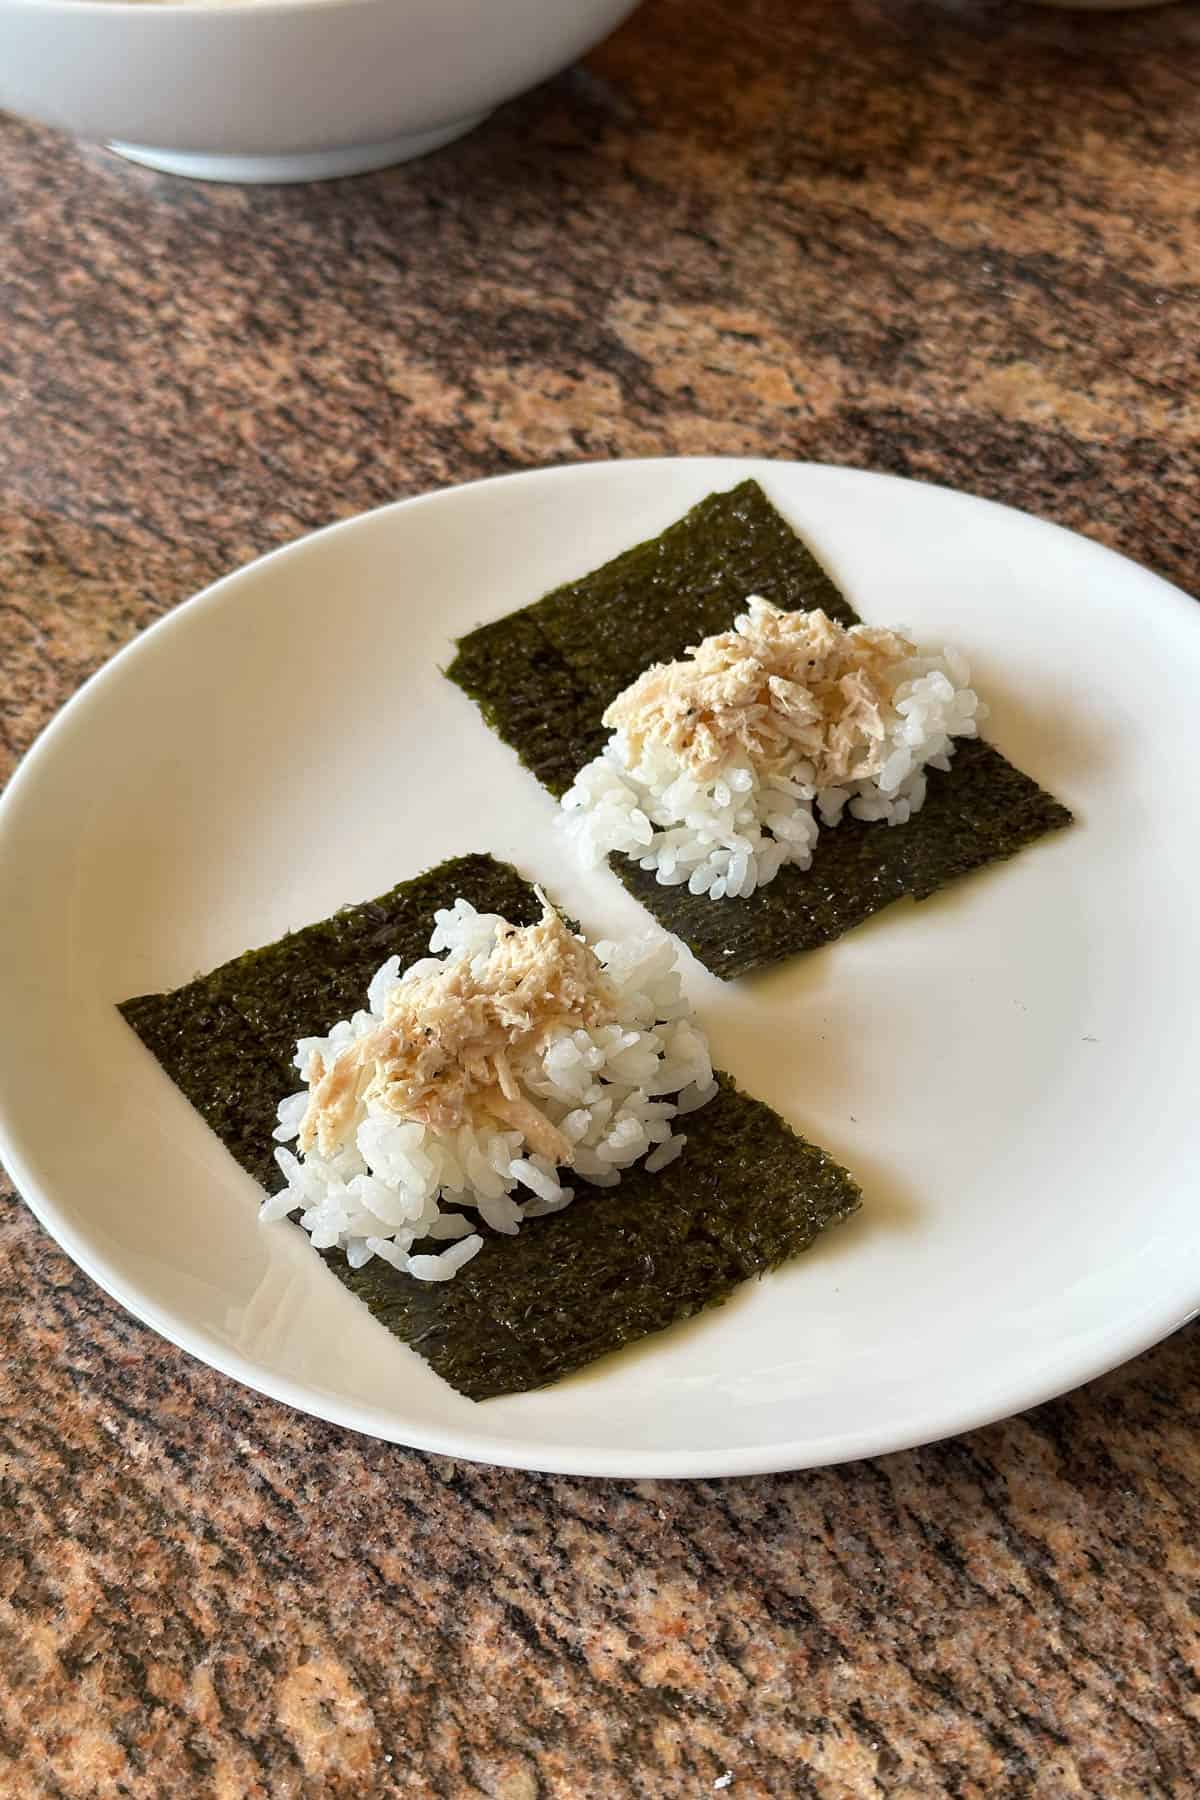
See that photo above? Use it to make tuna-mayo handrolls! Also known as DIY sushi, we actually make this often for quick lunch and snacks.
If you can get Kewpie mayonnaise, yes please. It can be found online and at all Japanese markets. If not, it's ok to use regular mayonnaise.
Turn this into a spicy tuna mayo onigiri but adding a teaspoon of Sriracha to the tuna mayo filling mixture.
You can shape onigiri by hand! It takes a lot more practice, but can be done. I'm not an expert onigiri make so I prefer to use the mold (using the mold also feels more sanitary), but shaping onigiri by hand is definitely possible.
Please wrap the nori sheet around the onigiri right before serving. That way the nori stays crispy!
An exception: Some places prefer to wrap the nori in advance. The nori will get soft, but it also helps absorb the moisture. This way of doing it is also tasty, just different. It is also a good option if you're packing a home lunch.
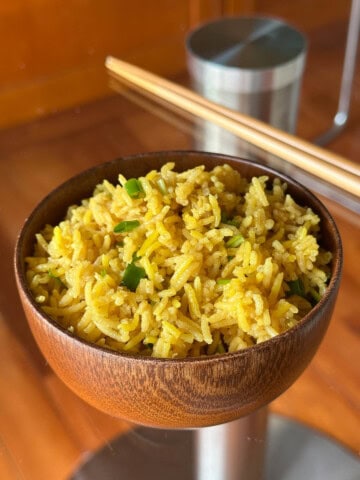
For a more simple recipe with similar flavors, try making Tuna Rice! It's a local staple ^_^
Tuna Mayo Onigiri Recipe

Tuna Mayo Onigiri
Equipment
Ingredients
- 6 cups freshly cooked Japanese short grain rice, still warm 2 cups uncooked rice = 6 cups cooked rice
- 7 ounces canned tuna Costco Kirkland brand preferred
- 1 teaspoon sea salt
- 1 teaspoon sugar
- ½ teaspoon ground black pepper
- 1-2 tablespoons Mayonnaise Kewpie mayonnaise preferred
- 2 full size nori sheets Use 2 full size sheets cut lengthwise into thirds (to make 6 sheets that are sizes for onigiri).
Instructions
- First make the tuna-mayo filling: Drain all the water from the canned tuna. In a bowl combine the canned tuna, sea salt, sugar, and ground black pepper. Use a fork and mix until well combined. Then cover and refrigerate for 30 minutes.
- Now prepare the rice:If the rice is still in the rice cooker, fluff the rice and then use a rice paddle to move all the rice into a large bowl. Set aside.
- Then prepare your onigiri making station:Use a large plate or cutting board as your onigiri station. Wash the onigiri mold and place it on the plate. Sprinkle some sea salt into a small dish and place that on the side (we will need to salt the onigiri mold later).
- Remove the tuna-mayo filling from the refrigerator. Drain off any excess water.
- Now your onigiri making station should have 3 main "components": - the bowl of still warm rice. - the bowl with the tuna-mayo filling. - the onigiri mold, plate (or cutting board), and dish of sea salt. Now let's get assembling!
- Lightly wet the onigiri mold with a splash of water (shake out the excess water). Then using some sea salt from the dish, sprinkle a little salt inside the mold.
- Fill the onigiri mold 40% full with the rice. Gently pat the rice in using a rice paddle. Never ever smash the rice.
- Then add a teaspoon of the tuna-mayo filling on top of the rice, position it in the center of the mold.
- Cover the filling with some more rice until you reach the top of the mold.
- Use the top/lid of the mold to gently press and "seal" the onigiri.
- Then flip the mold over and lighlty press the back of the mold to "pop" the onigiri out of the mold. Place the onigiri on another plate.
- Then repeat steps 6-11 until you use all the rice. You should have about 6 onigiri pieces.(You'll also have a lot of extra tuna-mayo filling left...use this to make tuna-mayo handrolls/diy sushi.)
- Now it is time to wrap the onigiri! Place a strip of nori on a clean plate. Place the onigiri in the center of the nori.
- Then stand the onigiri (with the nori attached) upright. And wrap both side of the nori strip around the onigiri to form a sort of "jacket." Fold the excess nori underneath. Repeat. Eat warm and enjoy!
Is it 2 rice cooker cups or 2 measuring cups of rice. I can always eat the extra rice but want to make sure I have enough rice.
I haven't made musubi in a long time, but I used to love musubi's with my home-made bento meals. In the olden days, when canned tuna and canned sardines were dirt cheap, I used to make these all the time for my fishing trips. Musubi's and fried spam and egg omelets were the standard meal I would on my fishing trips. Yup, those were the good old days!
Alan! Hope all is well! I am a big fan of spam and egg omelets ^_^
Kathy