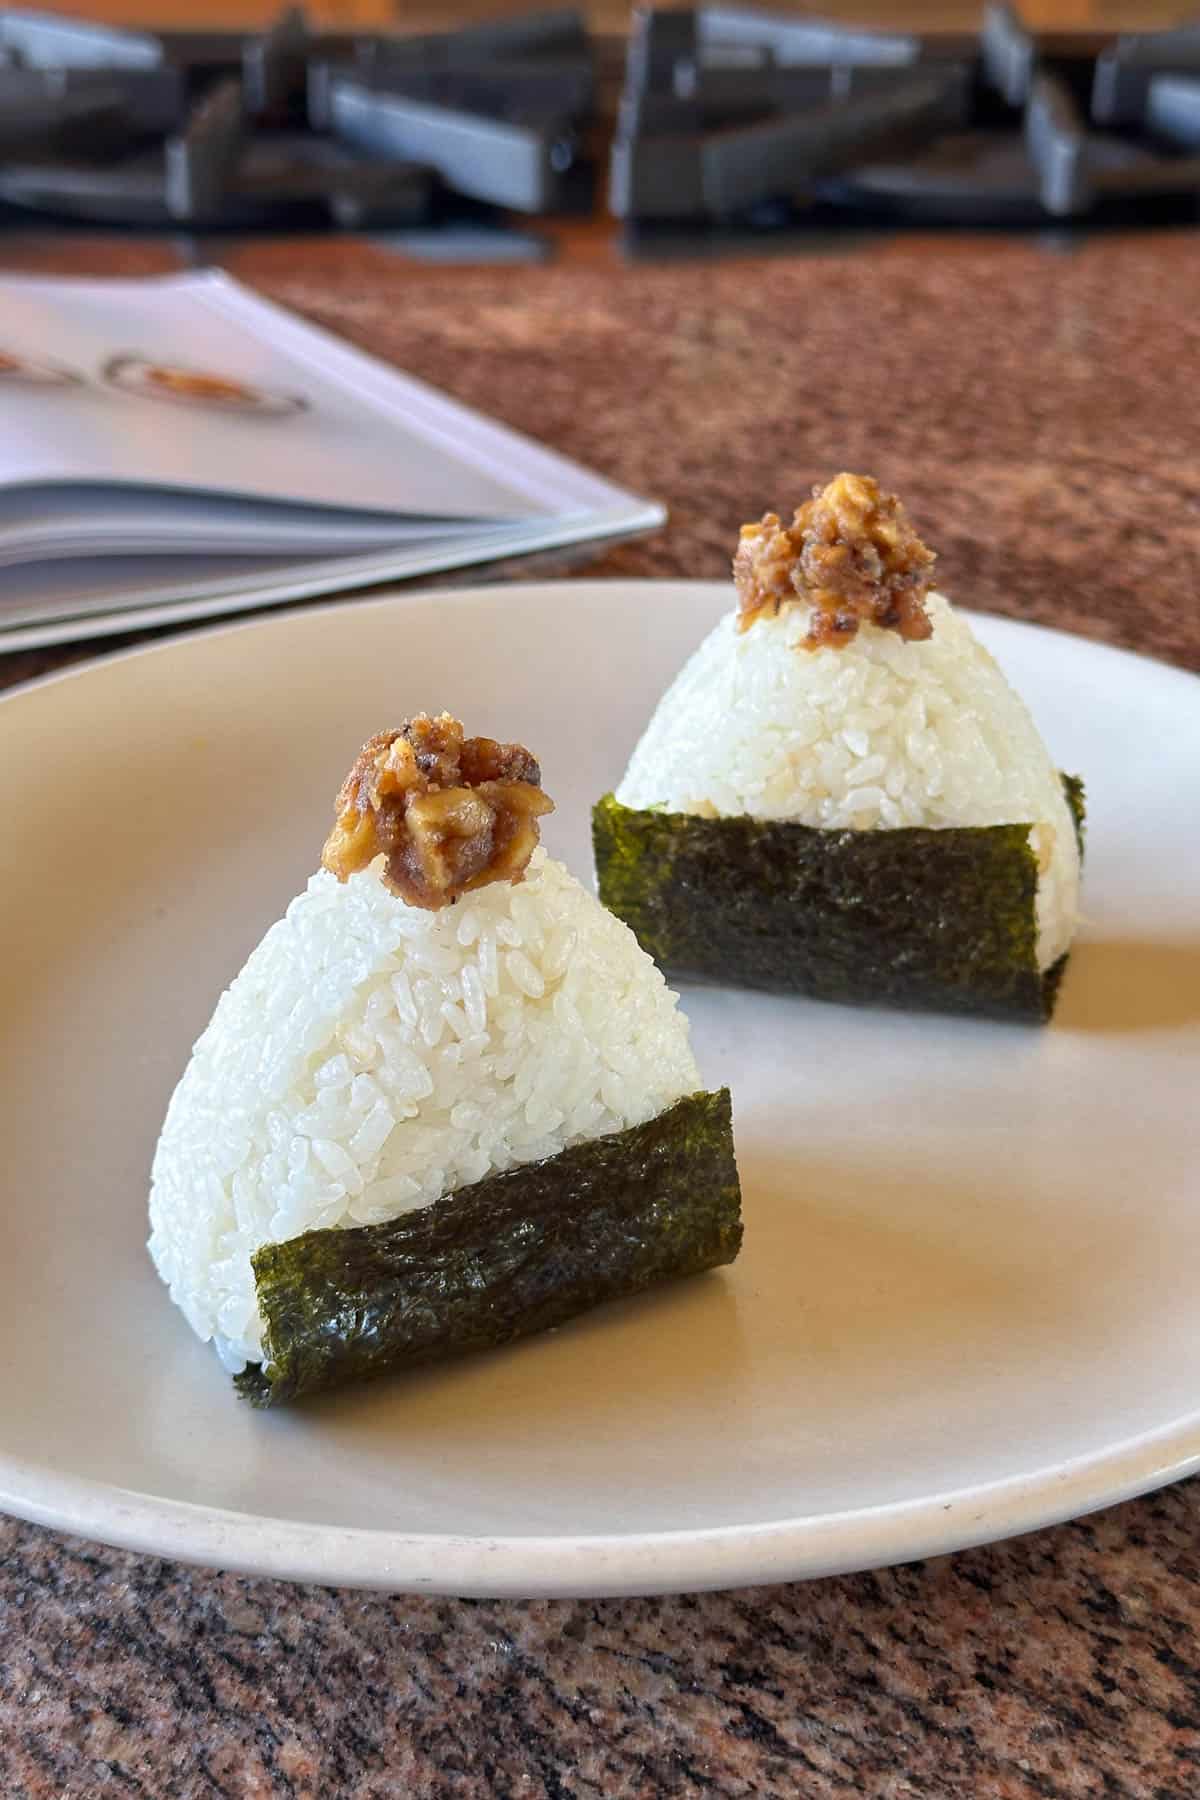
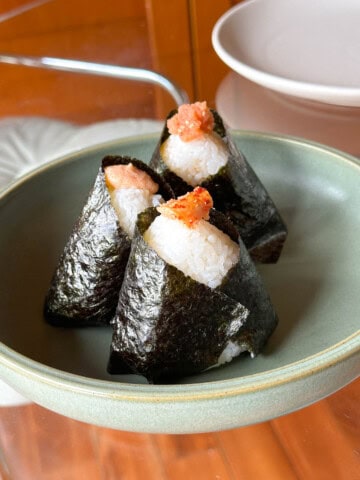
Flavorful and nutty, this Miso Walnut Onigiri / Musubi is a little different and very tasty! The secret? A touch of peanut butter. It's easy to make and a fun addition to your onigiri repertoire ^_^
We've been on an onigiri / musubi journey and it is a delicious one! We started with Tuna Mayo, and then made Bacon Almond followed by Kombu and Mentaiko Musubi...with 3 styles of filling. And of course, Spam Musubi ^_^
Many of my onigiri were inspired by The Musubi Book by Manabu Asaoka. He owns a popular store in Honolulu called Mana Musubi.
While looking for more onigiri cookbooks, I came another fun one I've referenced a lot lately...
The Onigiri Cookbook

It's called Onigiri and written by Ai Watanabe and Samuel Trifot. They own a onigiri shop in Paris called Gili-Gili, so neat!
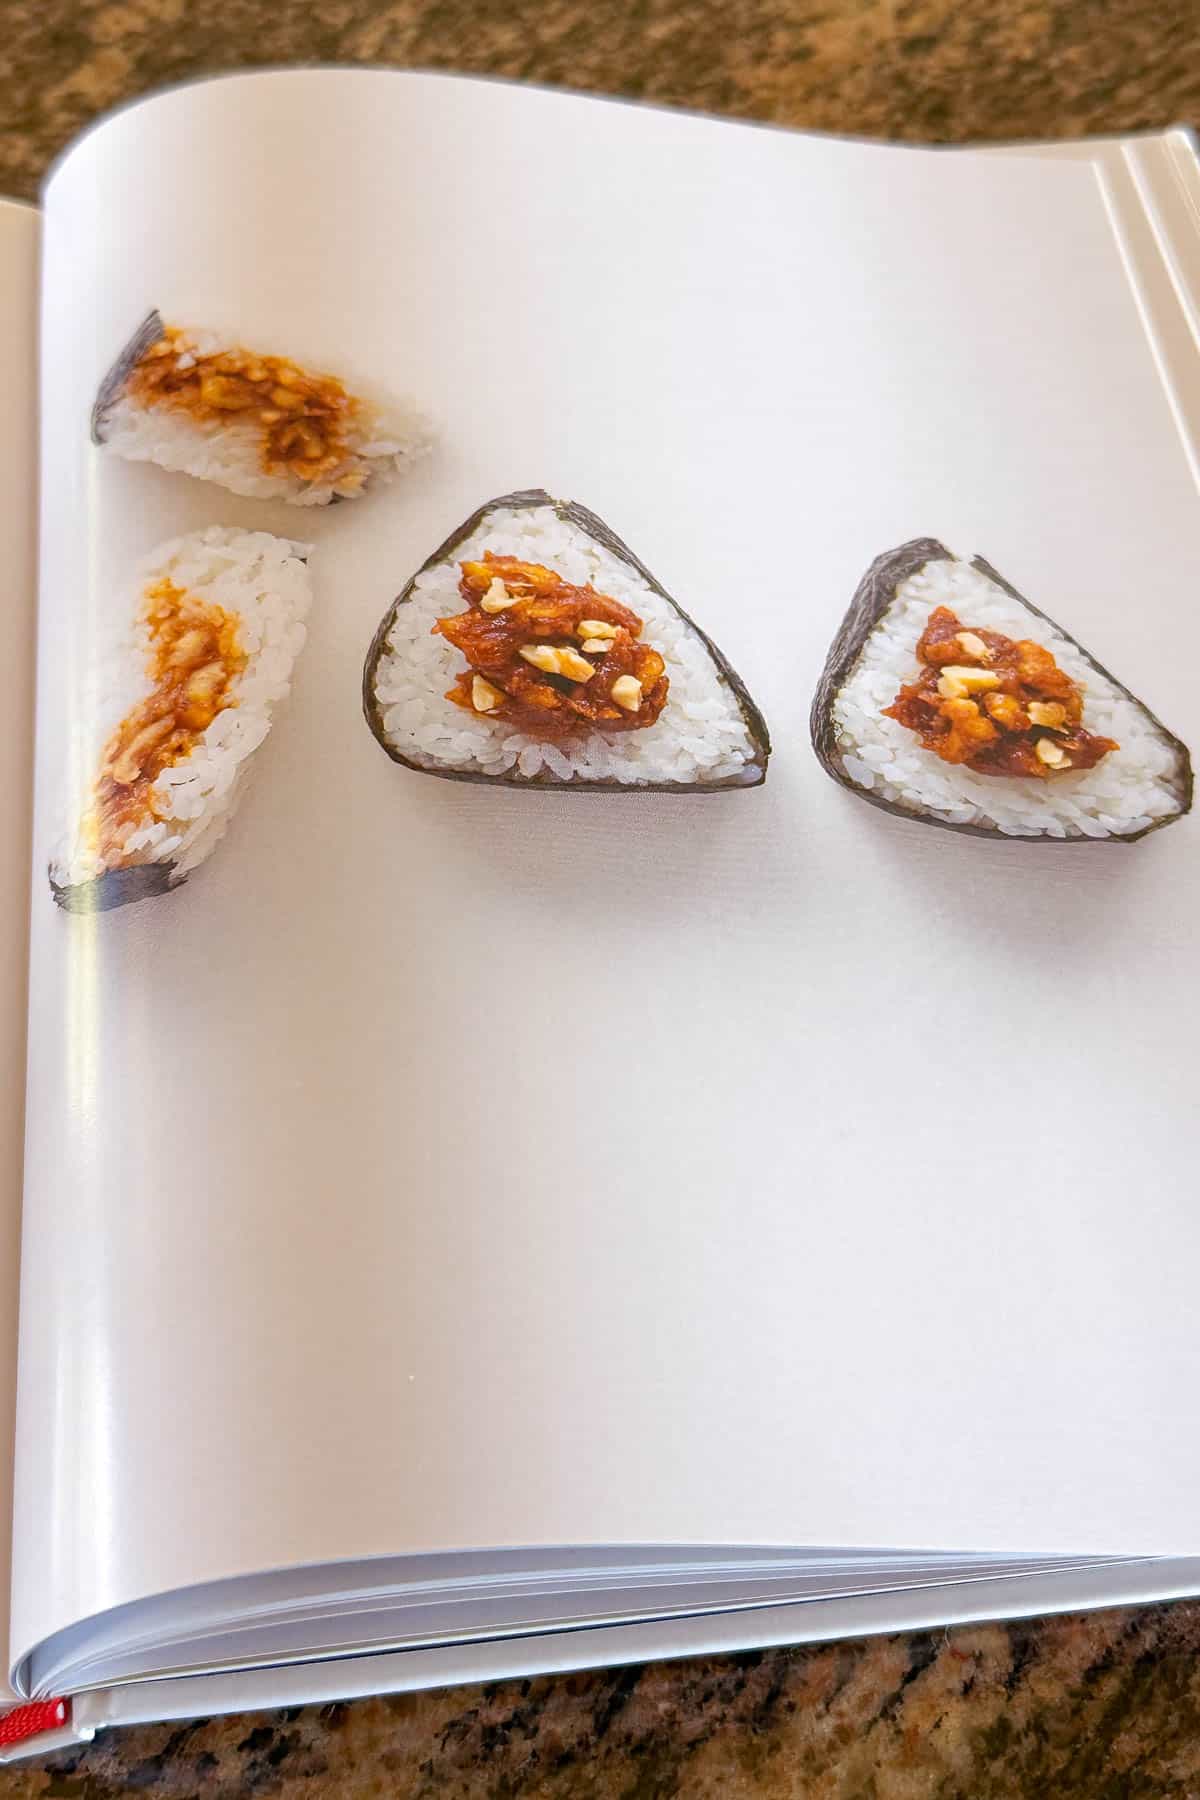
Whereas The Musubi Book focuses more on traditional musubi (with some modern recipes), Onigiri is focused on more unusual combinations (but still has classics). They are both very different and very good cookbooks. Today's miso walnut recipe was adapted from the Onigiri book.
Ingredients
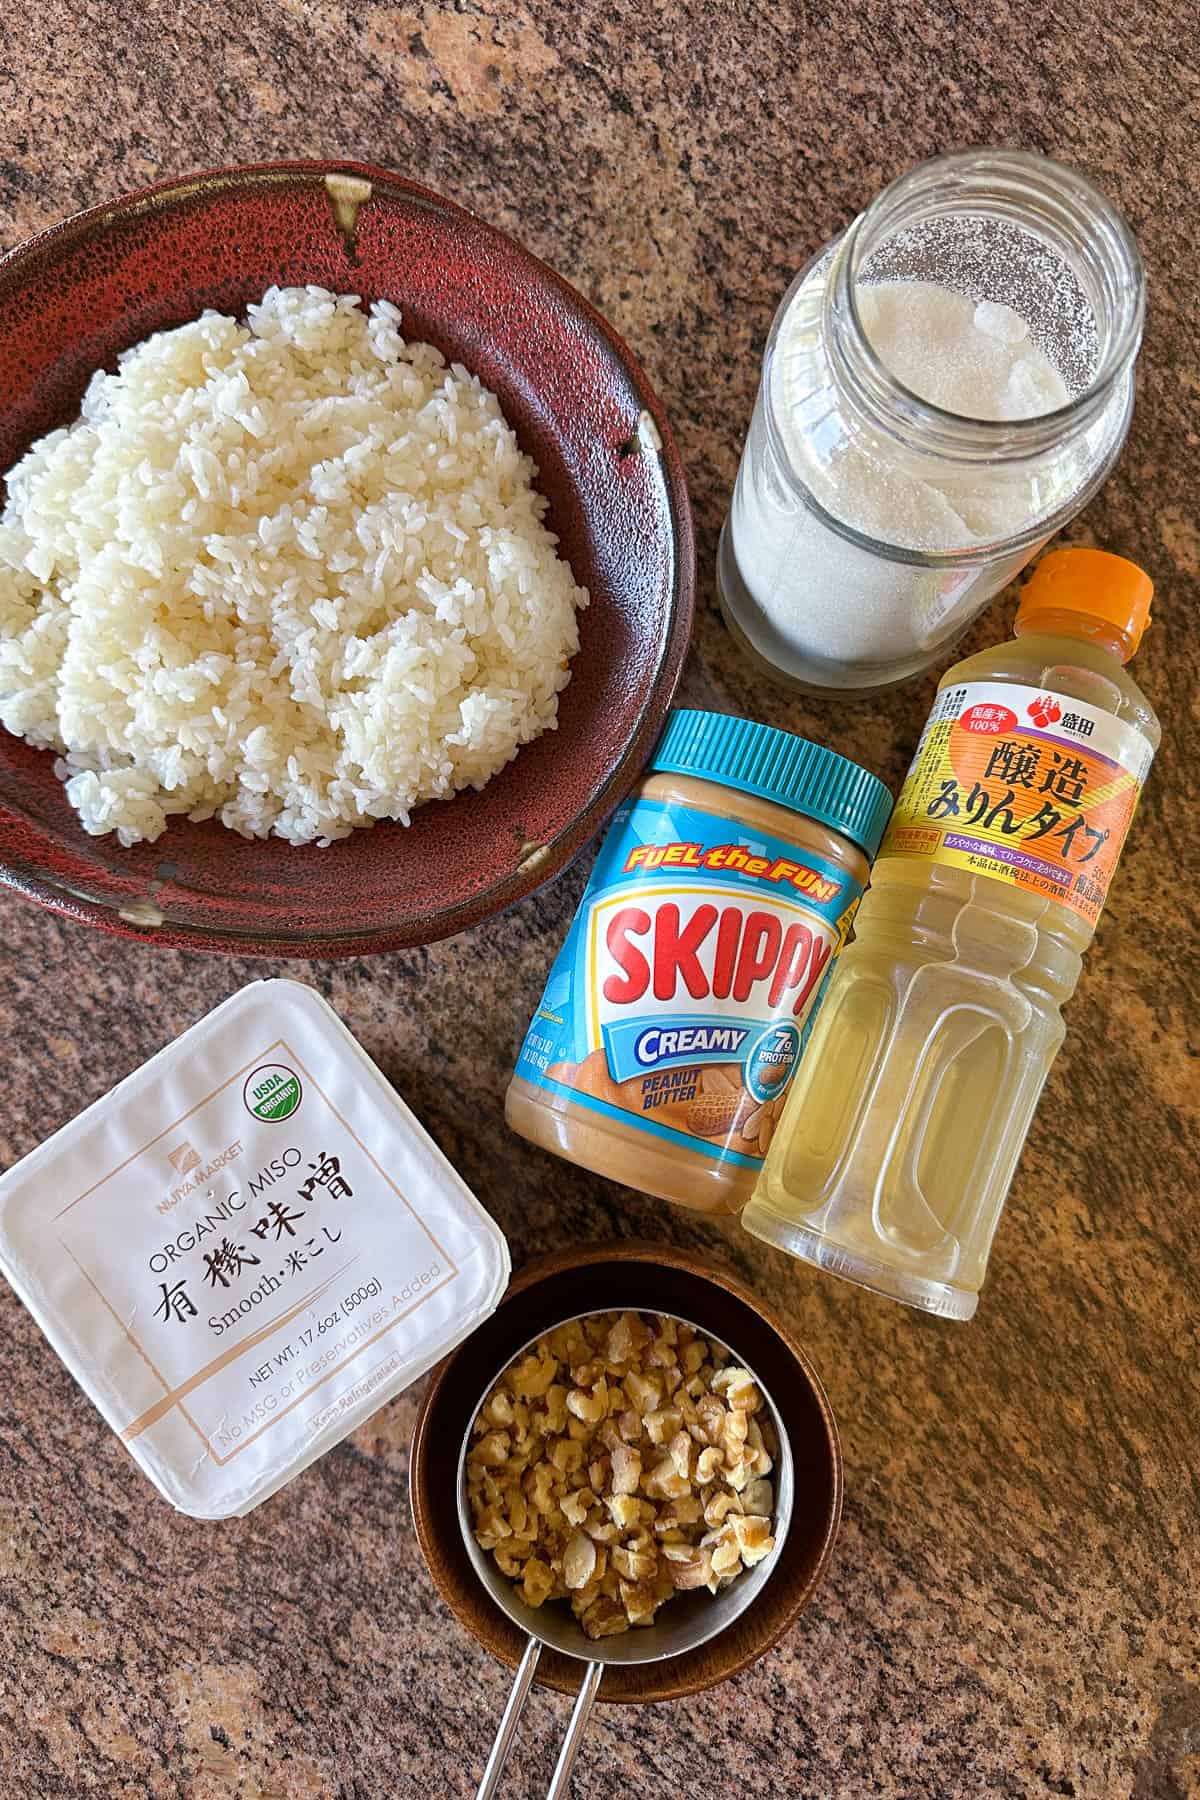
Here's what you'll need:
- Freshly cooked Japanese short grain rice, still warm - The Rice Factory is my go-to rice shop in Honolulu.
- Chopped walnuts - I buy the big bag of whole walnuts from Costco Hawaii and just chop it at home.
- Mirin
- White or red miso paste - The cookbook called for red miso paste, but I used white miso paste because that's what I had at home. Red miso is more intense in flavor. Either way is tasty.
- Sugar
- Creamy peanut butter - also works with crunchy peanut butter.
- Full size nori sheets - use 2 full size sheets and cut them lengthwise into thirds (to make 6 sheets that are sized for onigiri). Many Japanese markets also sell nori sheets that are already cut and sized for onigiri making.
Instructions
Let's get cooking!
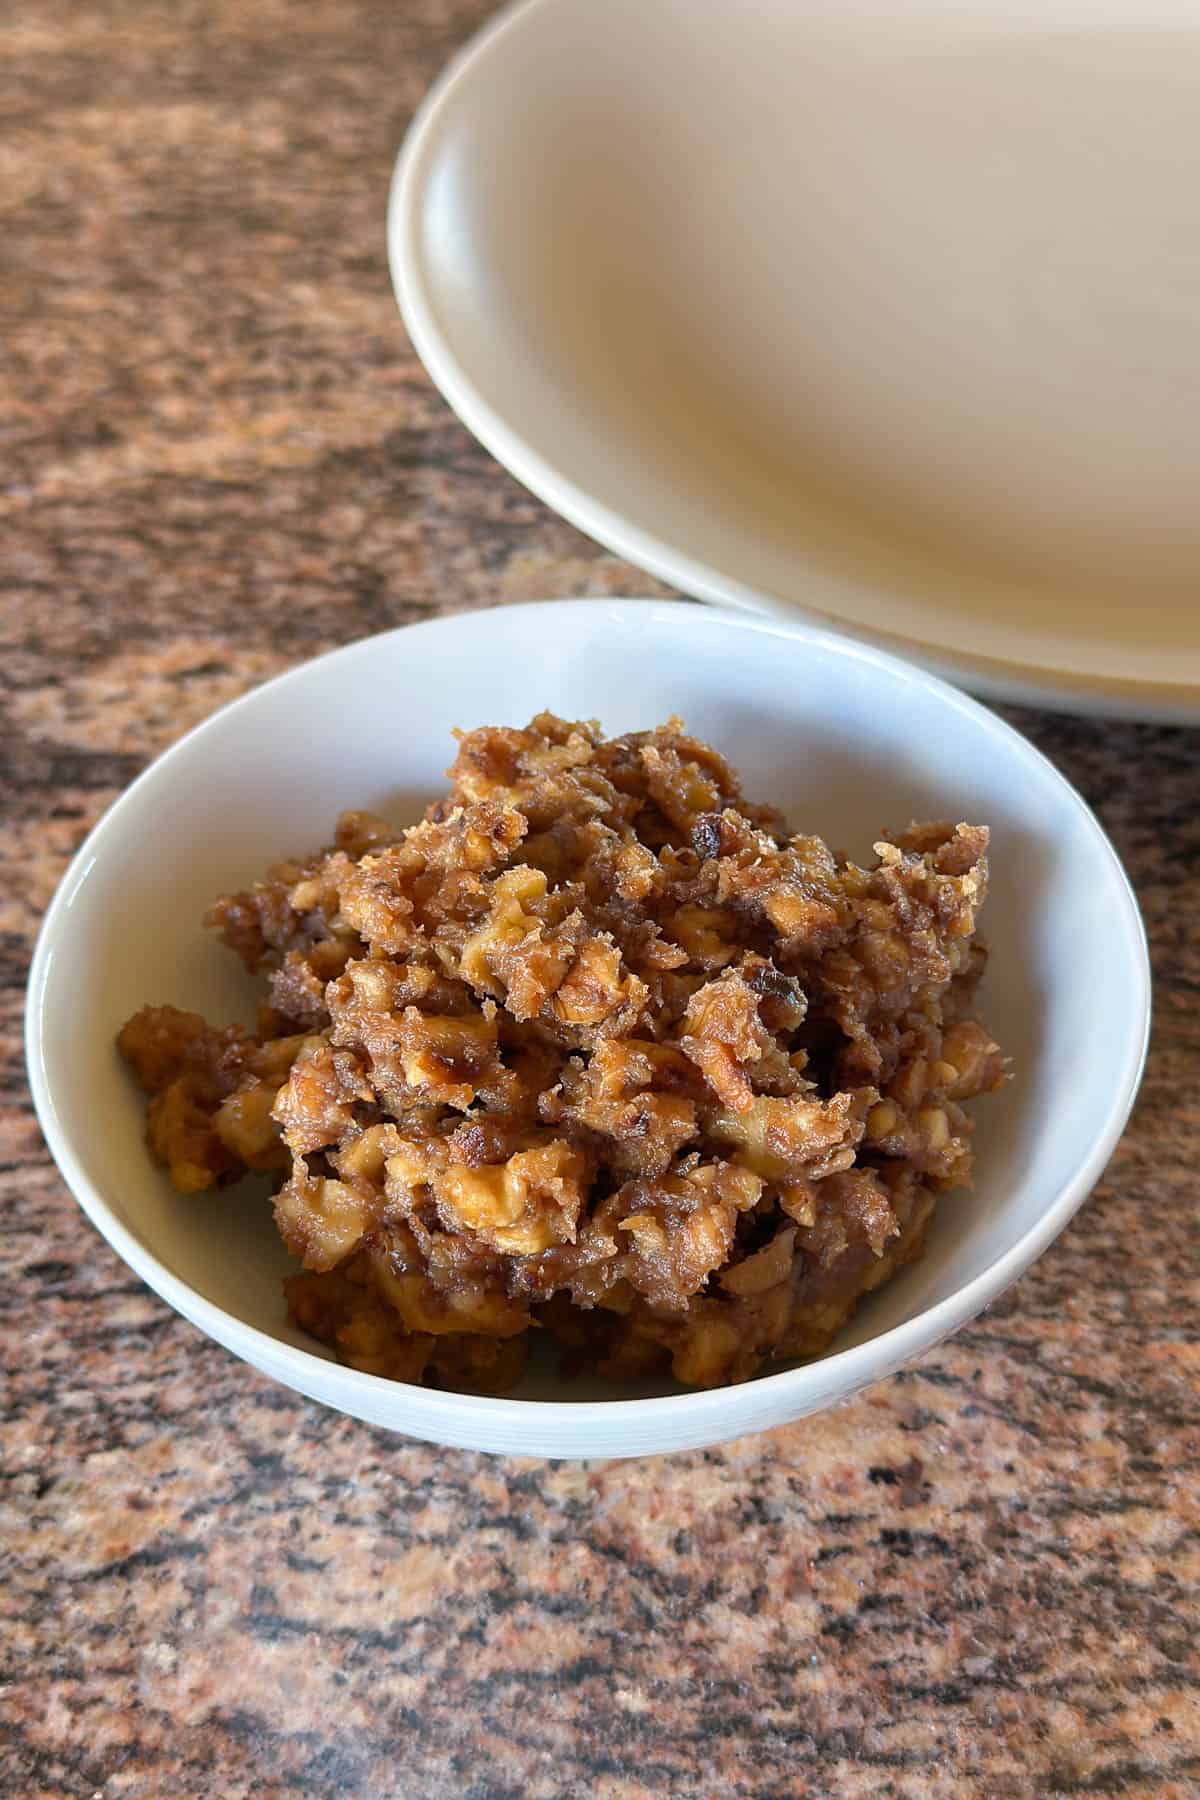
First, make the miso walnut filling.
In a small pan oven medium heat, gently warm and lightly brown the walnuts for about 3 minutes. Add the mirin and bring it to a boil. Turn the heat to low, and add the miso paste and sugar. Mix well. Then add the peanut butter and mix until everything is evenly combined. Turn off the heat and spoon the miso walnut filling into a small bowl.
Now prepare the rice:
If the rice is still in the rice cooker, fluff the rice and then use a rice paddle to move all the rice into a large bowl. Set aside.
Then prepare your onigiri making station:
Use a large plate or cutting board as your onigiri station. Wash the onigiri mold and place it on the plate. Sprinkle some sea salt into a small dish and place that on the side (we will need to salt the onigiri mold later).
Your onigiri making station should have 3 main parts:
- the bowl of still warm rice.
- the bowl with the miso walnut filling.
- the onigiri mold, plate (or cutting board), and small dish of sea salt.
Now let's get assembling!
Prepare the onigiri mold:
Lightly wet the onigiri mold with a splash of water (shake out the excess water). Then using some sea salt from the dish, sprinkle a little salt inside the mold.
*You can also put a bowl filled with water on the side and dip the onigiri mold into the water (so that you don't have to keep going back to the sink).
Add the first layer of rice:
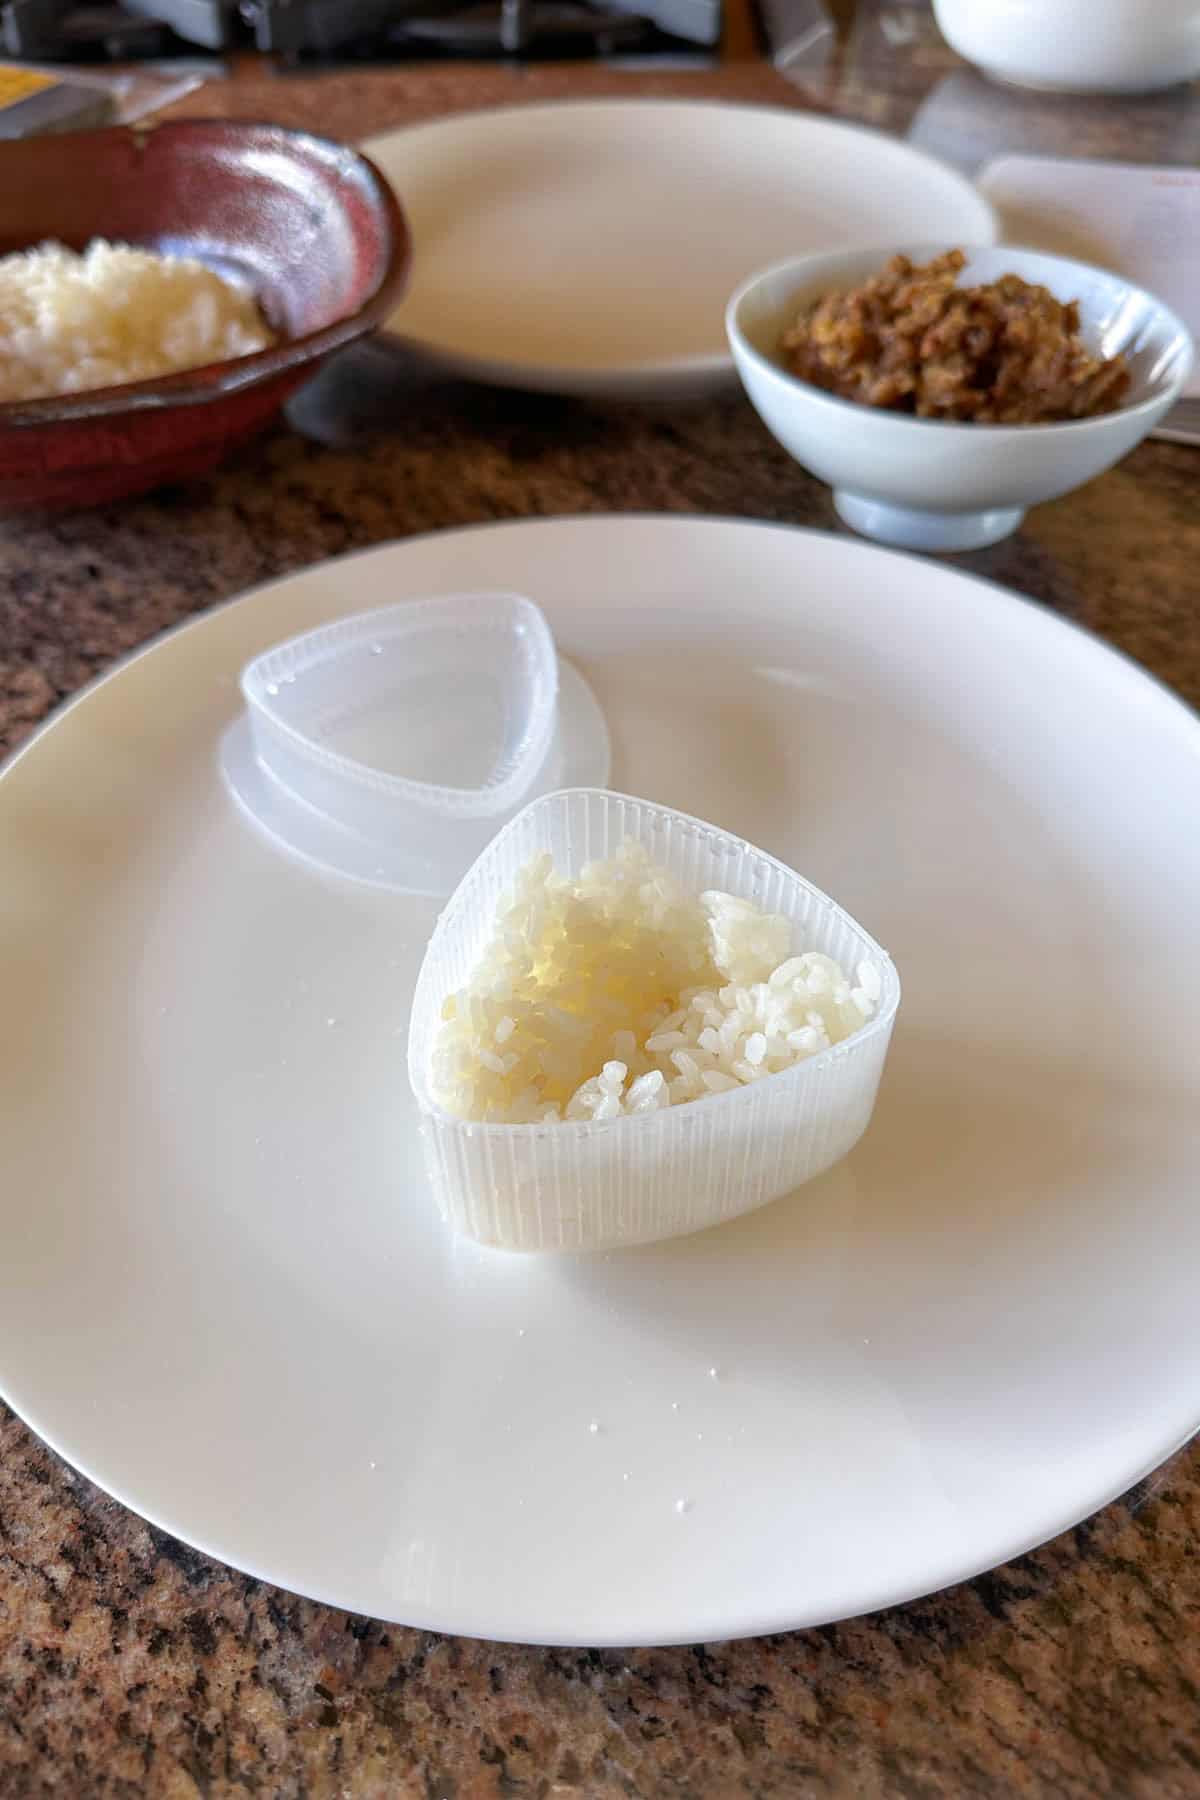
Fill the onigiri mold 40% full with the rice. Gently pat the rice in using a rice paddle. Never ever smash the rice.
Add the filling:
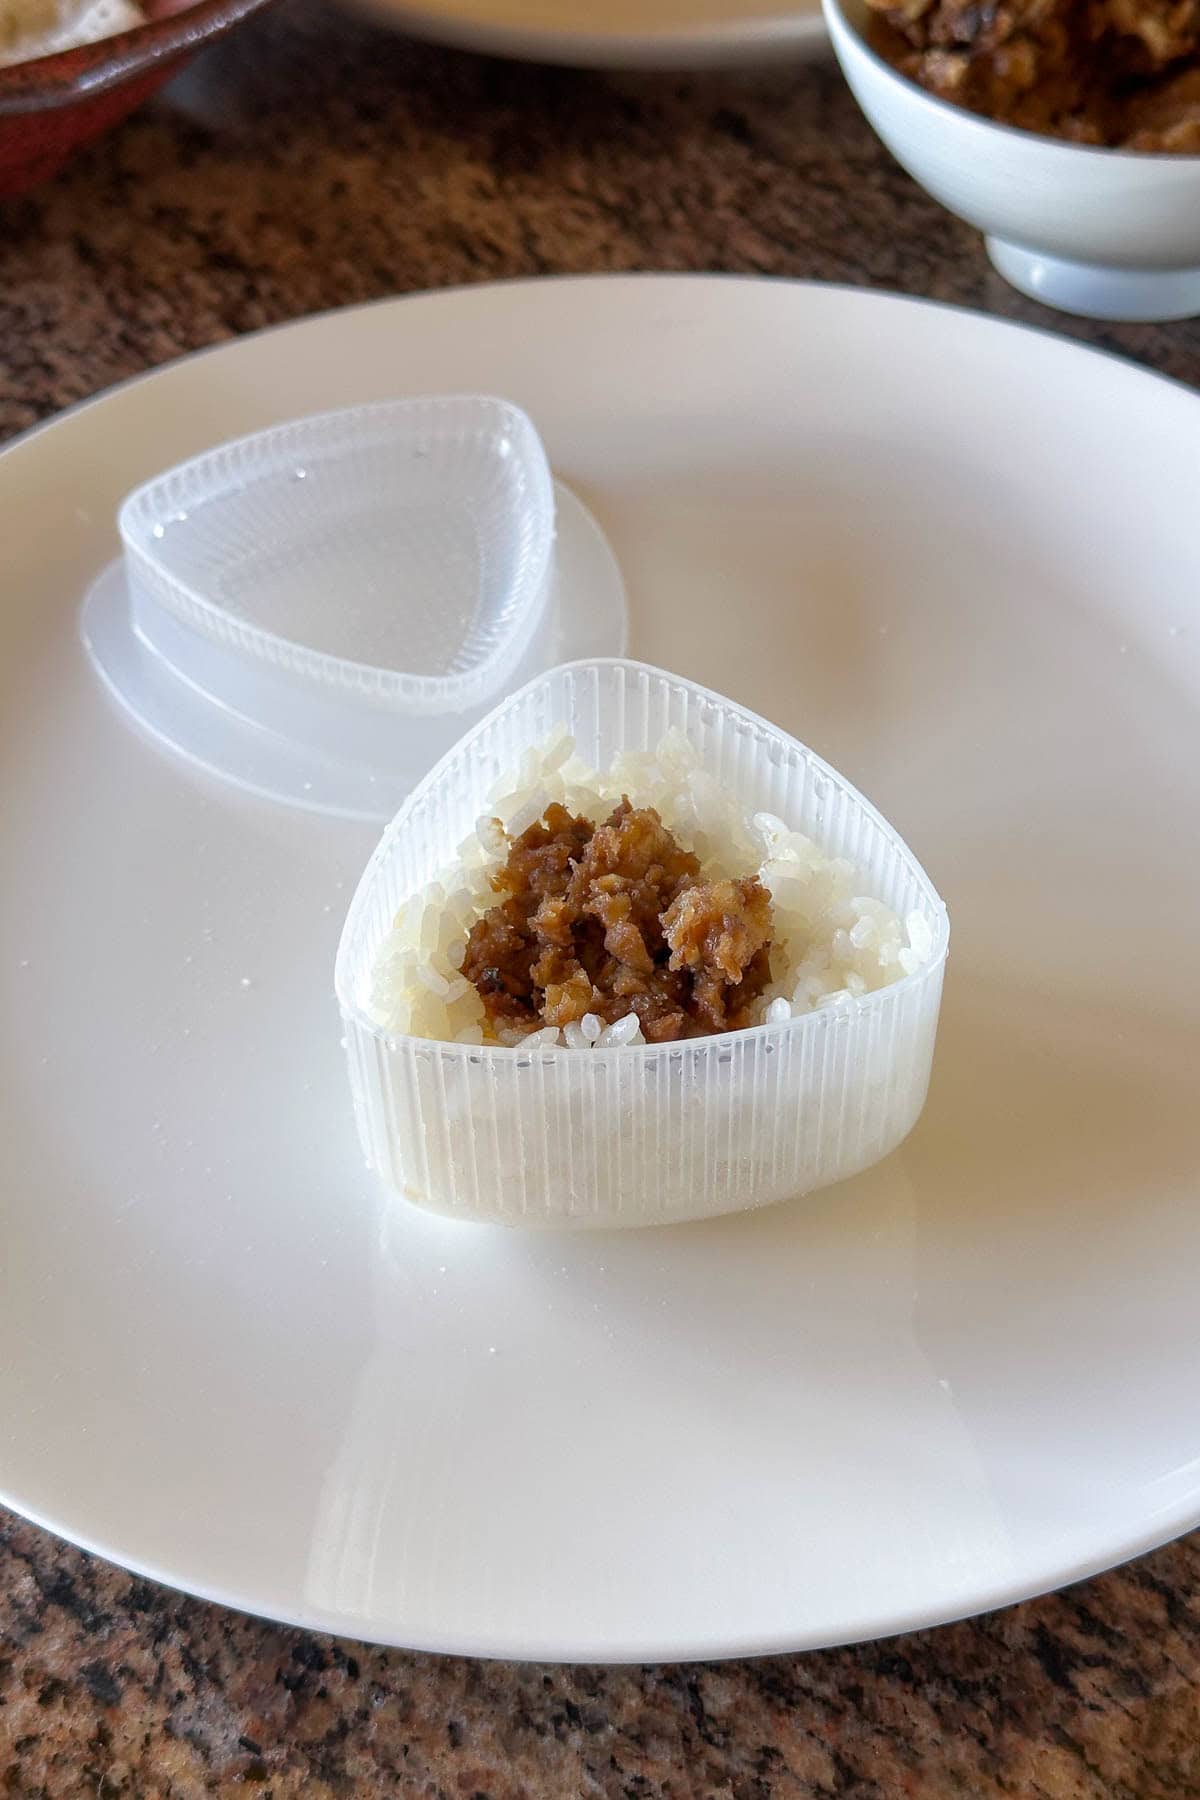
Then add a teaspoon of the miso walnut filling on top of the rice. Make sure the filling is positioned in the center of the mold.
Add the second layer of rice:
Cover the filling with some more rice until you reach the top of the mold.
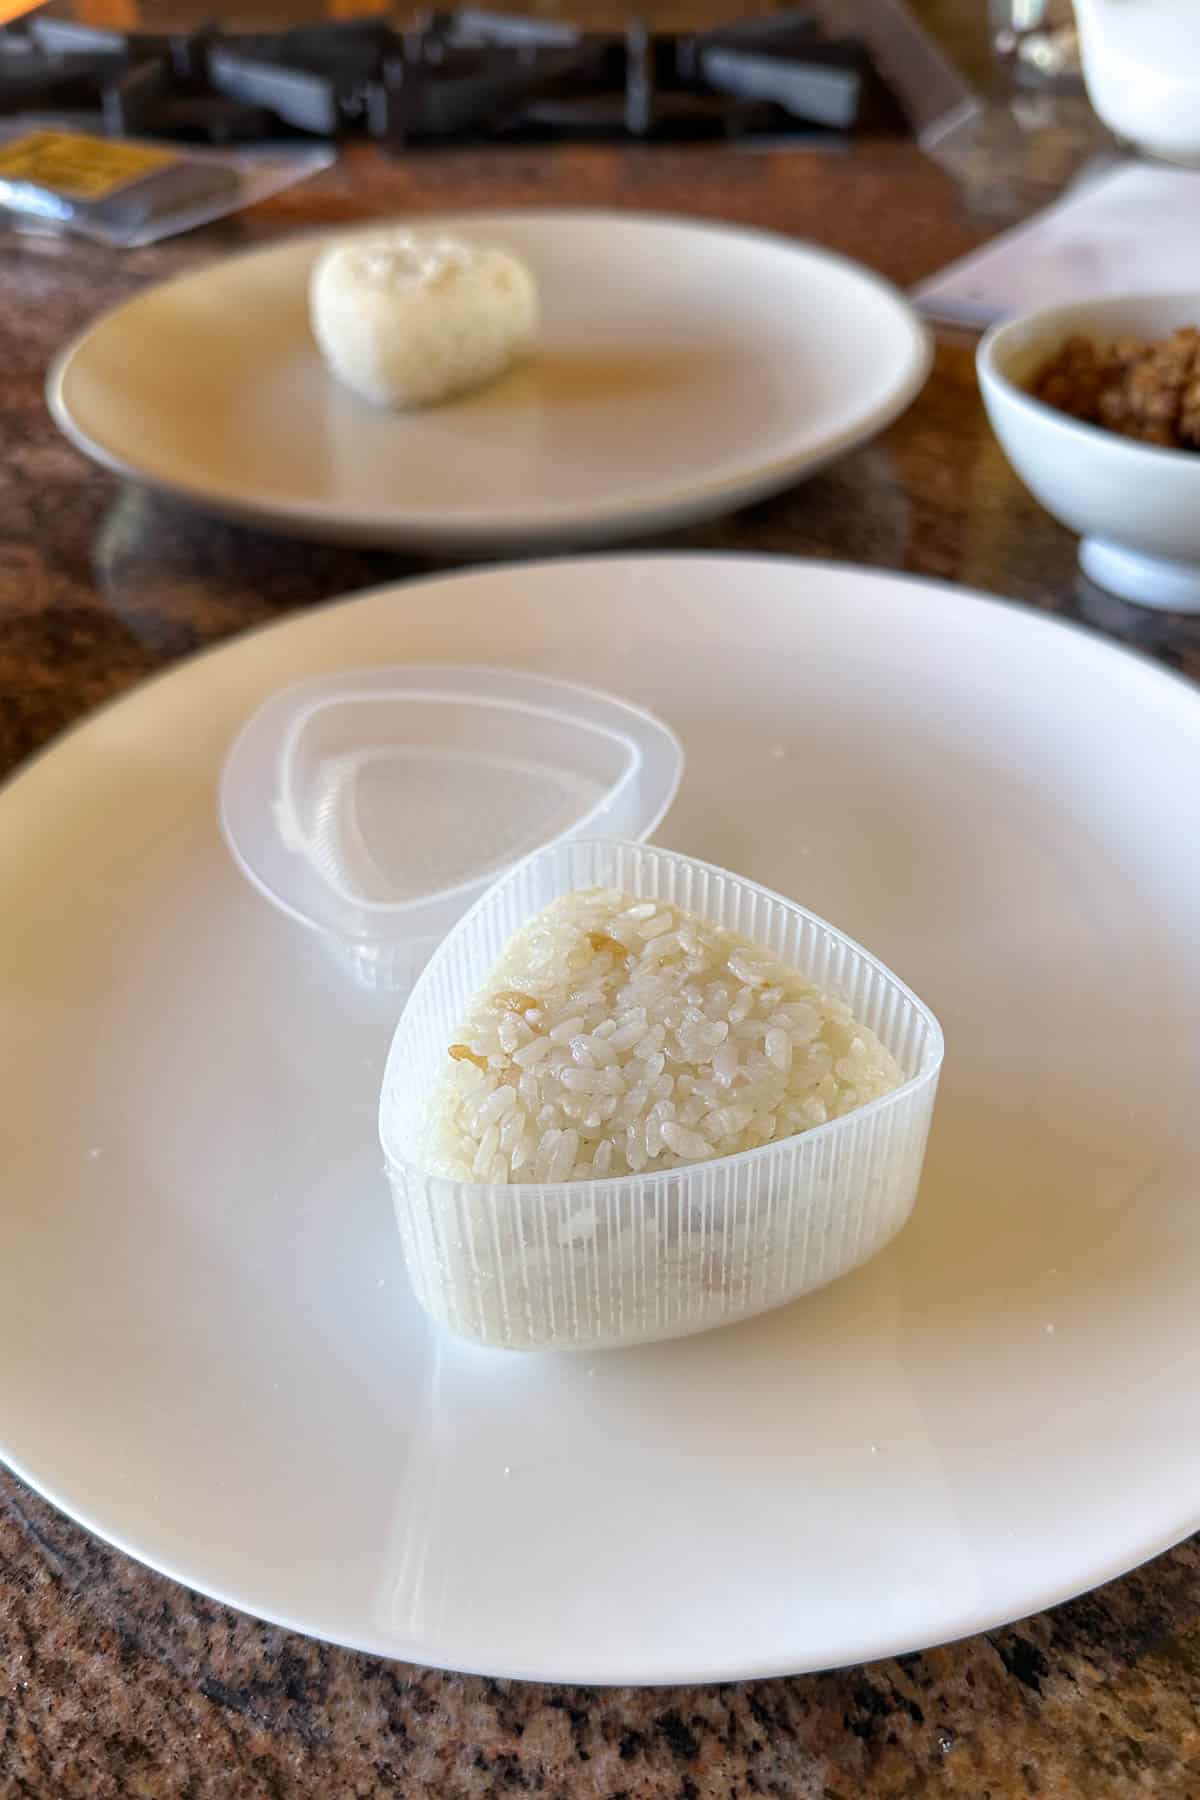
Seal and flip:
Use the top/lid of the mold to gently press and "seal" the onigiri.
Then flip the mold over and lighlty press the back of the mold to "pop" the onigiri out of the mold. Place the onigiri on another plate.
Repeat:
Repeat steps 5-11 until you use all the rice. You should have about 6 onigiri pieces.
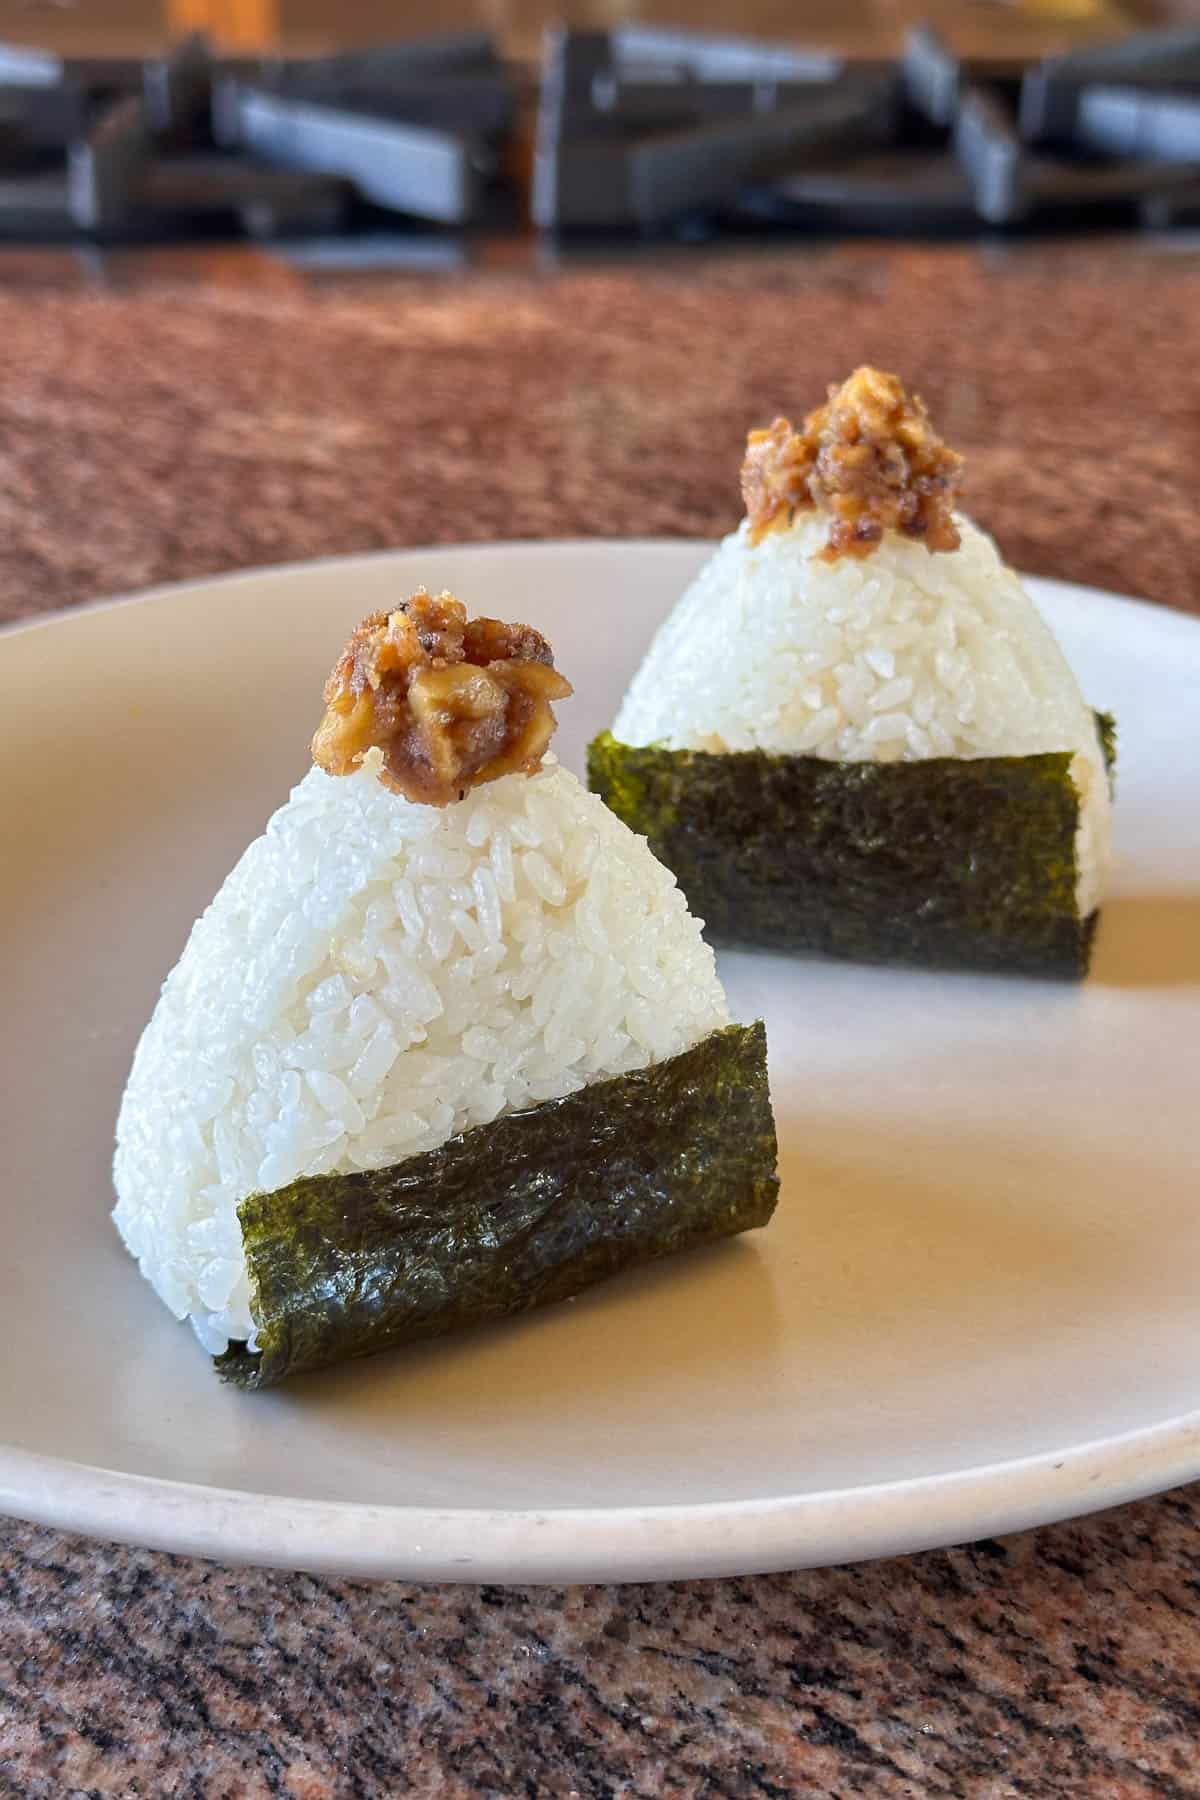
Wrap and eat:
Now it is time to wrap the onigiri! Place a strip of nori on a clean plate. Place the onigiri in the center of the nori.
Then stand the onigiri (with the nori attached) upright. And wrap both side of the nori strip around the onigiri to form a sort of "jacket." Fold the excess nori underneath. Repeat. Eat warm and enjoy!
FAQ / Tips
- The super popular Tuna Mayo Musubi
- Mentaiko Musubi...with 3 different types of mentaiko filling!
- Kombu Musubi, a classic.
- Bacon and rice is an excellent combo: Bacon Almond Musubi
- And of course, Hawaii's ever famous Spam Musubi ^_^
I note that you should lightly salt the musubi mold before spooning the rice into the mold. It seems like a small step that you can skip. But please don't. That little sprinkle of salt makes a big difference between a pretty good tasty musubi and super good tasting one. The details are important.
If you prefer not use the peanut butter, you can use any other kind of nut butter or non-nut butter. Or you can replace it entirely with a tablespoon of butter, and two teaspoons each of soy sauce and sesame oil ^_^
Miso Walnut Onigiri / Musubi Recipe

Miso Walnut Onigiri / Musubi
Equipment
Ingredients
- 6 cups freshly cooked Japanese short grain rice, still warm 2 cups uncooked rice = 6 cups cooked rice
- ¾ cups chopped walnuts
- 2 tablespoons mirin
- 2 tablespoons white or red miso paste
- 1 tablespoon sugar
- 2 teaspoons creamy peanut butter
- 2 full size nori sheets Use 2 full size sheets and cut them lengthwise into thirds (to make 6 sheets that are sized for onigiri).
Instructions
- First, make the miso walnut filling:In a small pan oven medium heat, gently warm and lightly brown the walnuts for about 3 minutes. Add the mirin and bring it to a boil. Turn the heat to low, and add the miso paste and sugar. Mix well. Then add the peanut butter and mix until everything is evenly combined. Turn off the heat and spoon the miso walnut filling into a small bowl.
- Now prepare the rice:If the rice is still in the rice cooker, fluff the rice and then use a rice paddle to move all the rice into a large bowl. Set aside.
- Then prepare your onigiri making station:Use a large plate or cutting board as your onigiri station. Wash the onigiri mold and place it on the plate. Sprinkle some sea salt into a small dish and place that on the side (we will need to salt the onigiri mold later).
- Now your onigiri making station should have 3 main "components":- the bowl of still warm rice.- the bowl with the miso walnut filling.- the onigiri mold, plate (or cutting board), and small dish of sea salt.Now let's get assembling!
- Lightly wet the onigiri mold with a splash of water (shake out the excess water). Then using some sea salt from the dish, sprinkle a little salt inside the mold.*You can also put a bowl filled with water on the side and dip the onigiri mold into the water (so that you don't have to keep going back to the sink).
- Fill the onigiri mold 40% full with the rice. Gently pat the rice in using a rice paddle. Never ever smash the rice.
- Then add a teaspoon of the miso walnut filling on top of the rice. Make sure the filling is positioned in the center of the mold.
- Cover the filling with some more rice until you reach the top of the mold.
- Use the top/lid of the mold to gently press and "seal" the onigiri.
- Then flip the mold over and lighlty press the back of the mold to "pop" the onigiri out of the mold. Place the onigiri on another plate.
- Repeat steps 5-11 until you use all the rice. You should have about 6 onigiri pieces.
- Now it is time to wrap the onigiri! Place a strip of nori on a clean plate. Place the onigiri in the center of the nori.
- Then stand the onigiri (with the nori attached) upright. And wrap both side of the nori strip around the onigiri to form a sort of "jacket." Fold the excess nori underneath. Repeat. Eat warm and enjoy!

Mahalo for Reading!