Two easy methods for curing salmon roe at home. Make it Japanese-style (also called ikura!) by curing the roe in a soy sauce mixture. Or just make a simple cured roe with water and salt.
We love ikura! Growing up in Hawaii, we encountered ikura often at Japanese restaurants. We also purchased ikura from Japanese markets and ate it home (usually with Tuna Rice, Pan Sushi, and Sushi Bake).
I'm crazy for the briny pop, pop, pop of ikura. Especially with bowl of rice. Super comfort food.
But the idea of making ikura never occurred to me until I was older.
Making ikura (aka curing salmon roe) sounds daunting, but it is actually super easy.
Why This Recipe Works
All you need is uncured salmon roe. And a few pantry staples like soy sauce, salt, and sugar. That's it!
No need for any special equipment.
The eggs/roe are removed from the egg sack by hand (this part takes patience, it can be therapeutic when you're not in a rush) and cleaned several times under running water.
Then marinate the roe in the liquid cure.
We have two recipes for the liquid cure:
- Ikura (Soy Sauce-Cured) - The more popular version in Hawaii. Cured in water, soy sauce, salt, and sugar.
- Salt-Cured - A more simple version cured in water and salt.
Then drain, and the ikura is ready to serve!
Ingredients
There are two easy curing methods. The first is ikura (soy sauce-cured). The second is a salt-cured.
To make Ikura (Soy Sauce-Cured), you'll need:
- Uncured Salmon Roe
- Water
- Soy Sauce - We usually use Kikkoman or Aloha brand. Can use low sodium soy sauce if preferred.
- Salt
- Sugar
To make Salt-Cured, you'll need:
- Uncured Salmon Roe
- Water
- Salt
Step by Step Directions
Remove the uncured salmon roe from the egg sacs (also called the skein).
There are many ways to do this and it seems like everyone has a preferred method. I like to place the whole egg sac in a big bowl with lukewarm water.
With the whole skein submerged in the water, peel open and off the membrane as much as you can. The roe should now be exposed.
Use your fingers to gently push the roe off and into a separate bowl of cool water.
Tip: Do this step while standing at the sink, so that you can drain and refresh the water in both bowls as needed (because it may get messy).

Note: The roe might turn from clear to cloudy/opaque at this point which is ok (they'll turn back clear when we cure them in Step 6 and 7).
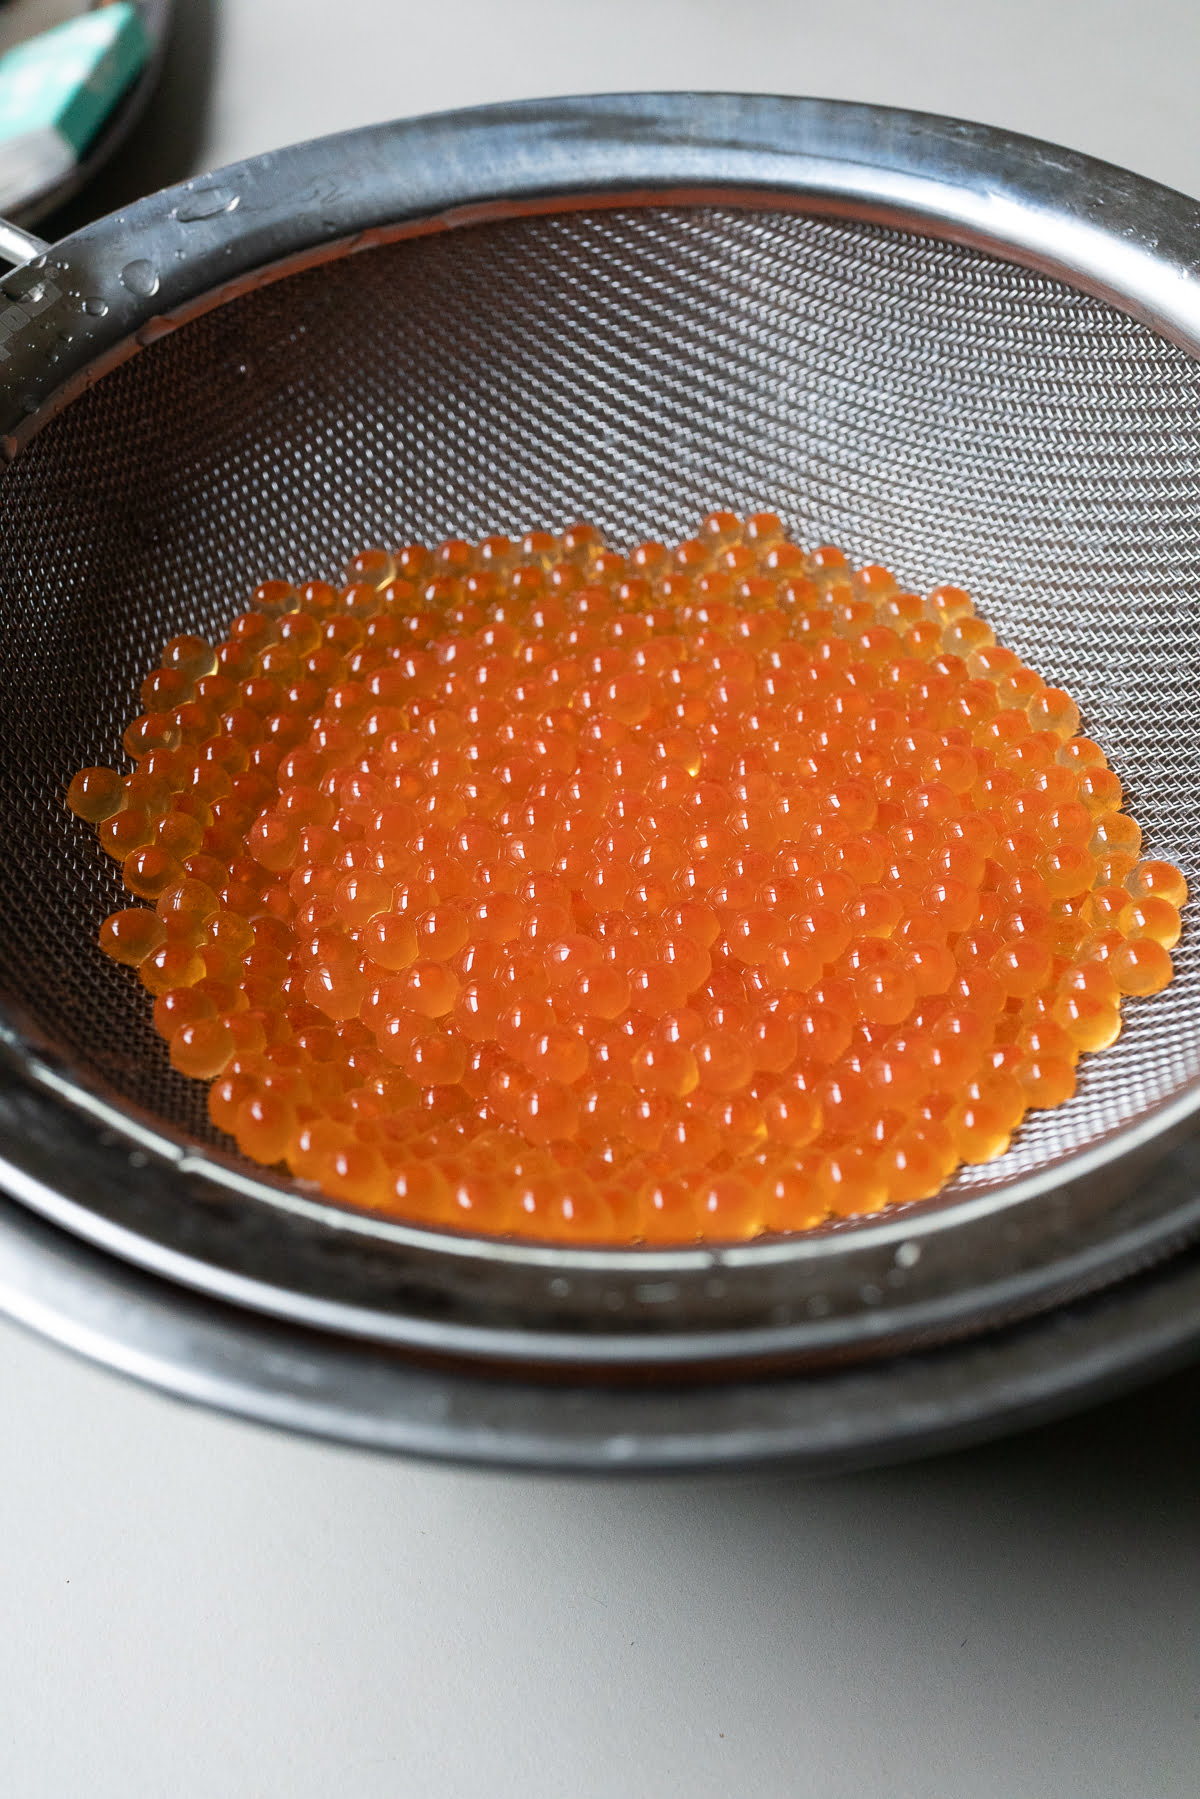
With the salmon roe all remove and in the bowl, rinse and drain under gentle and cool running water several times to clean.
Then pour the salmon roe in a large strainer and rinse several more times to get it extra clean. Make sure you get off all the membrane bits clinging to the roe.
Place the salmon roe into a clean bowl or container and set aside.
Now it's time to prepare curing liquid.
How to make Ikura (Soy Sauce-Cured) style:
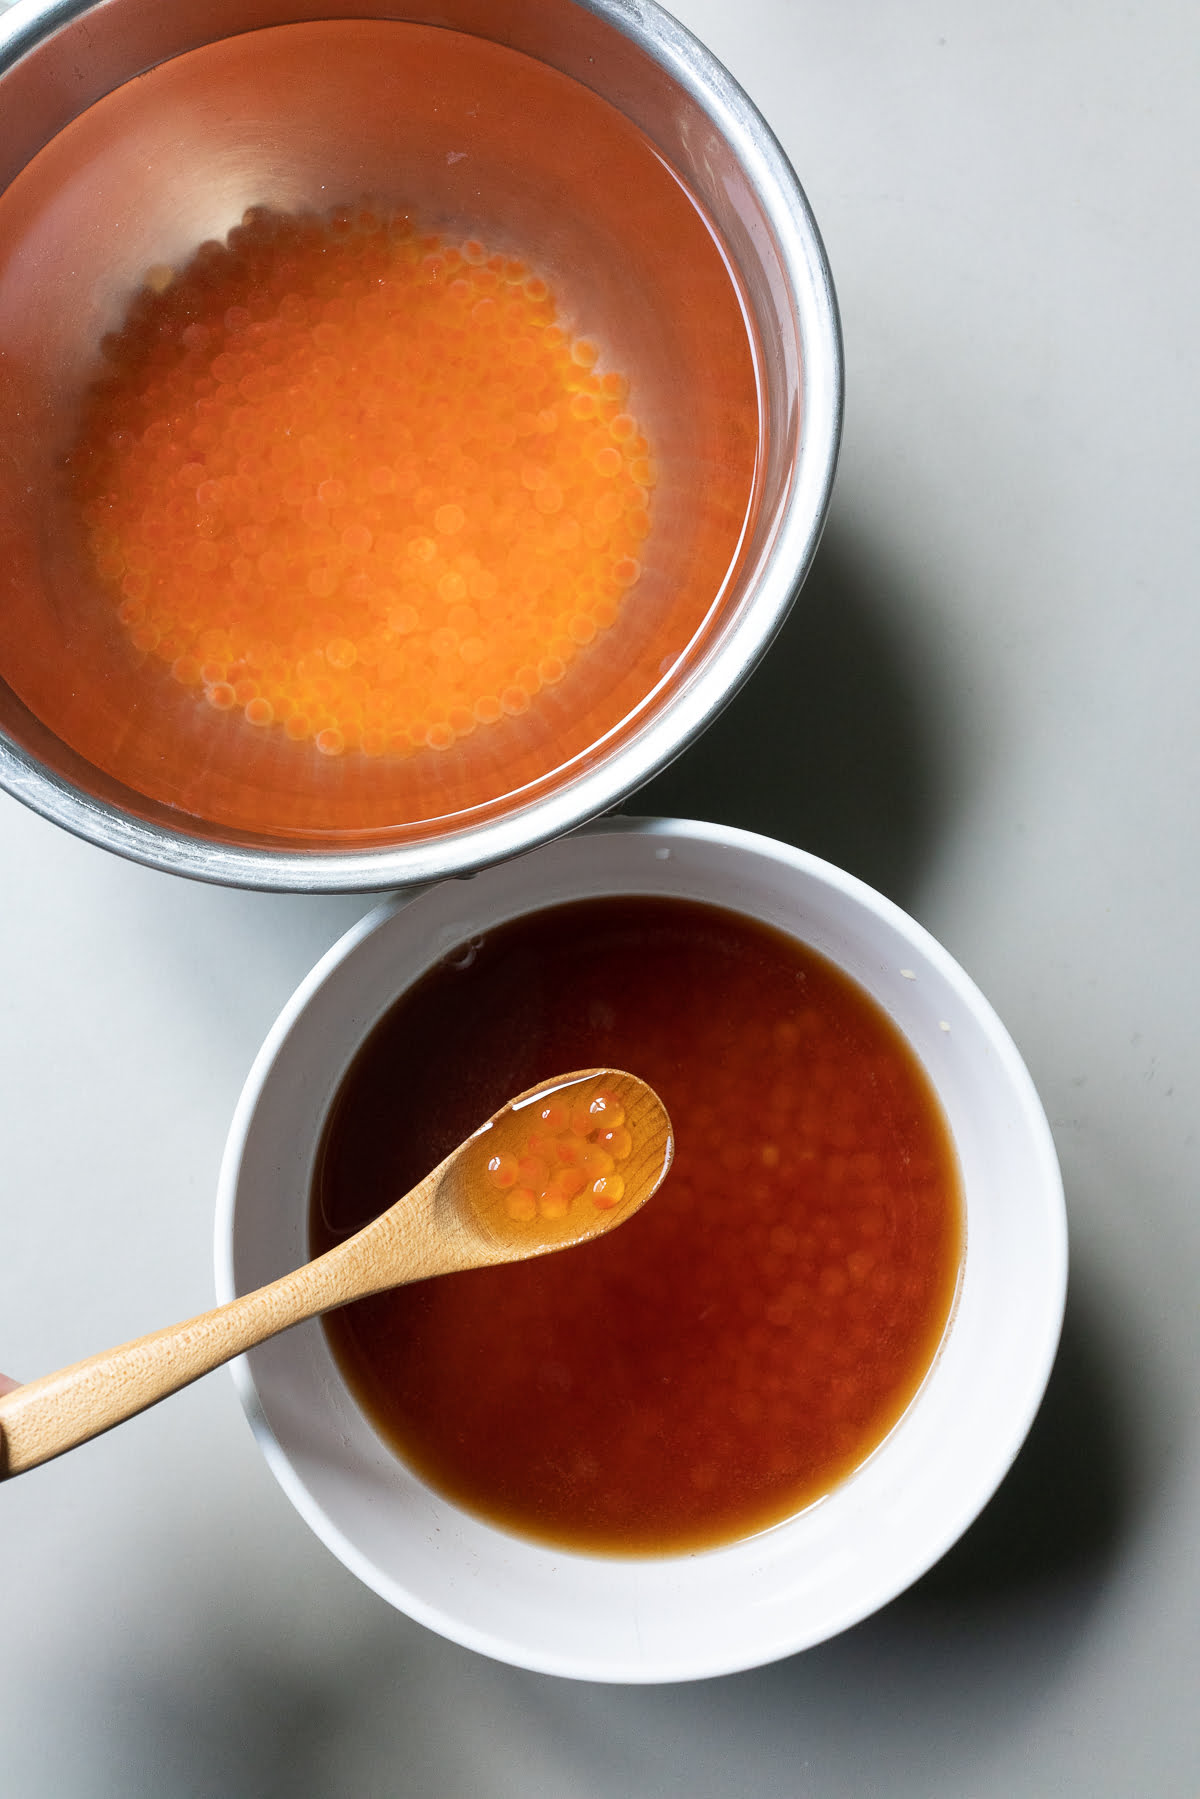
Mix together the water, soy sauce, salt, and sugar in a bowl. Pour the mixture over the bowl with the cleaned salmon roe. Cover with a lid and place in the refrigerator to marinate overnight.
How to make Salt-Cured style:
Mix the water and salt in a bowl. Pour the mixture over the bowl with the cleaned salmon roe. Cover with a lid and place in the refrigerator to marinate for 30 minutes.
Tip: If you've marinated it for too long and the salmon roe is too salty, no worries! This can be fixed.
Place the cured salmon roe in a bowl of cool water for a few minutes. Then drain. Repeat as necessary to get it to your preferred level of saltiness.
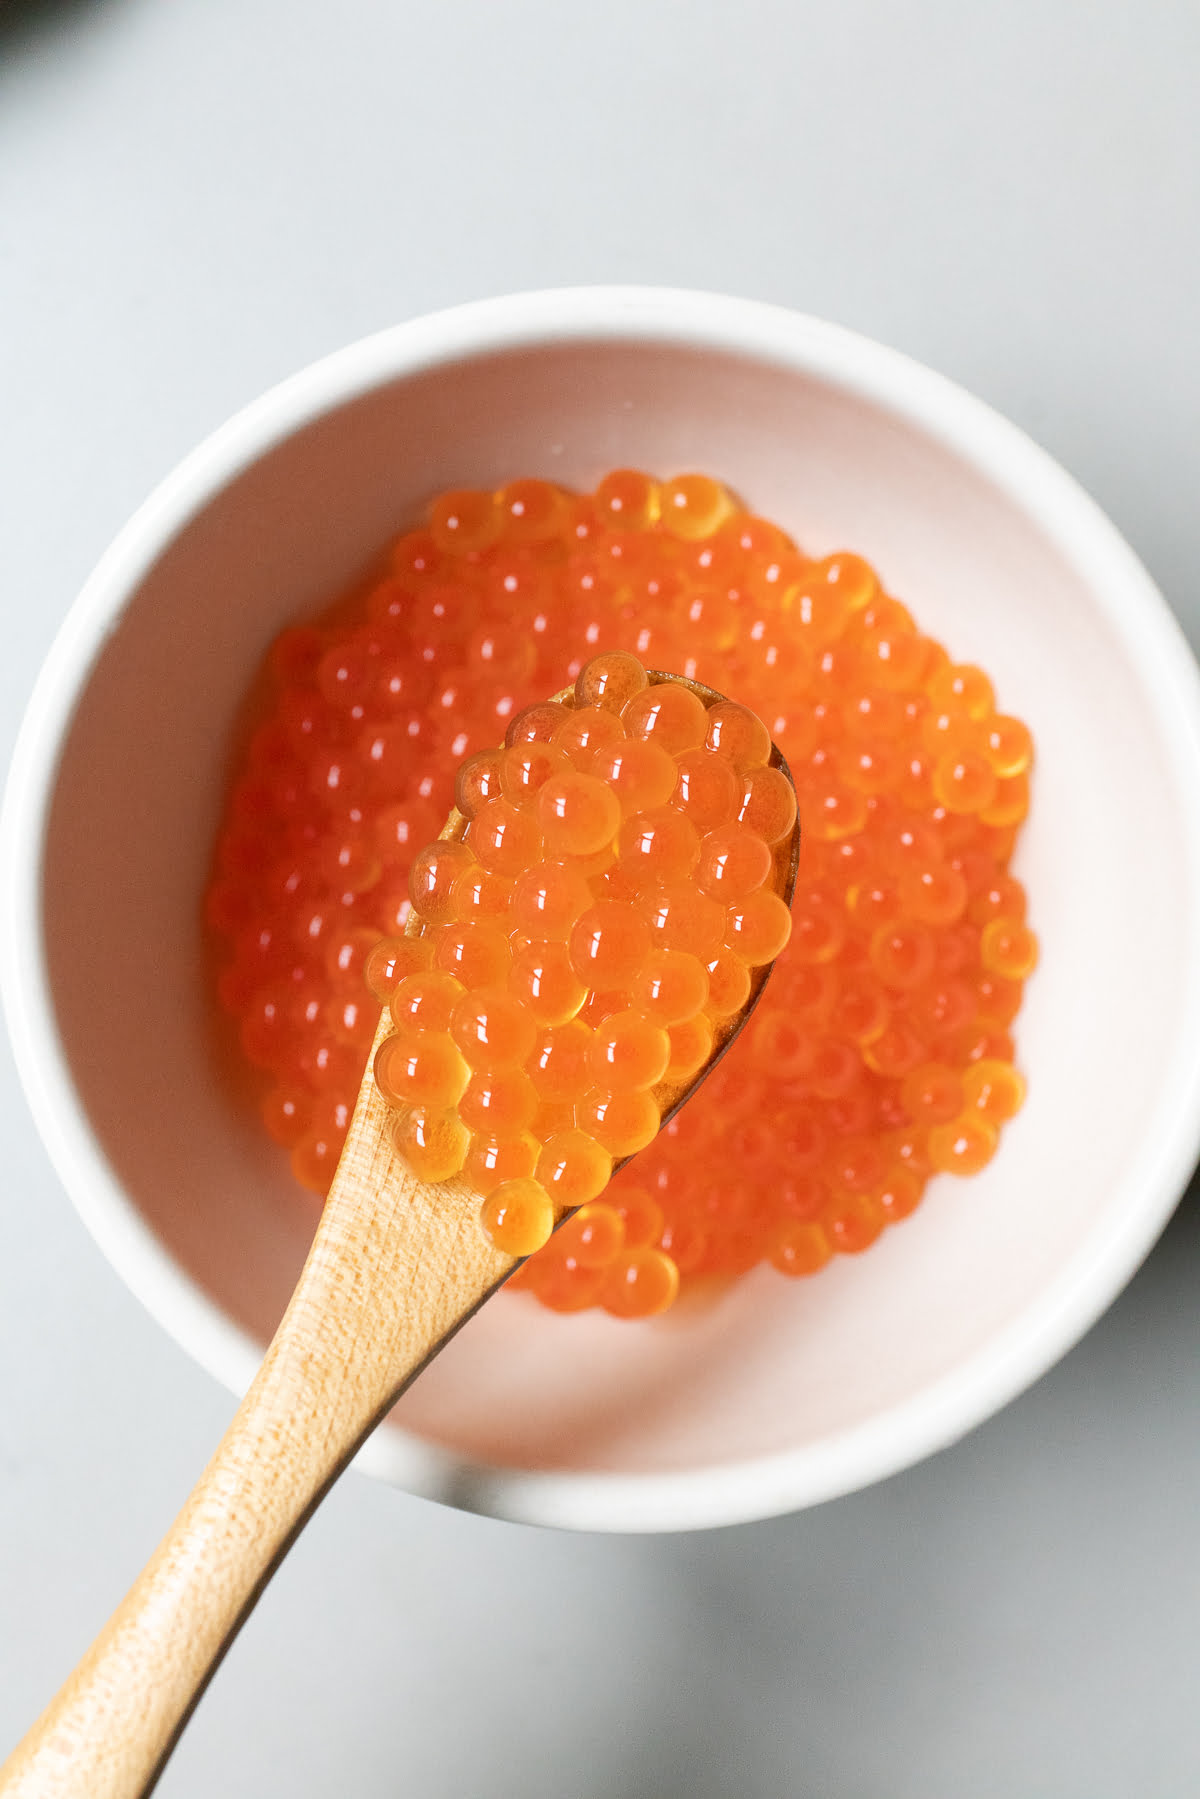
After you're done marinating/curing the salmon roe, drain the liquid. Store the salmon roe in a clean glass jar.
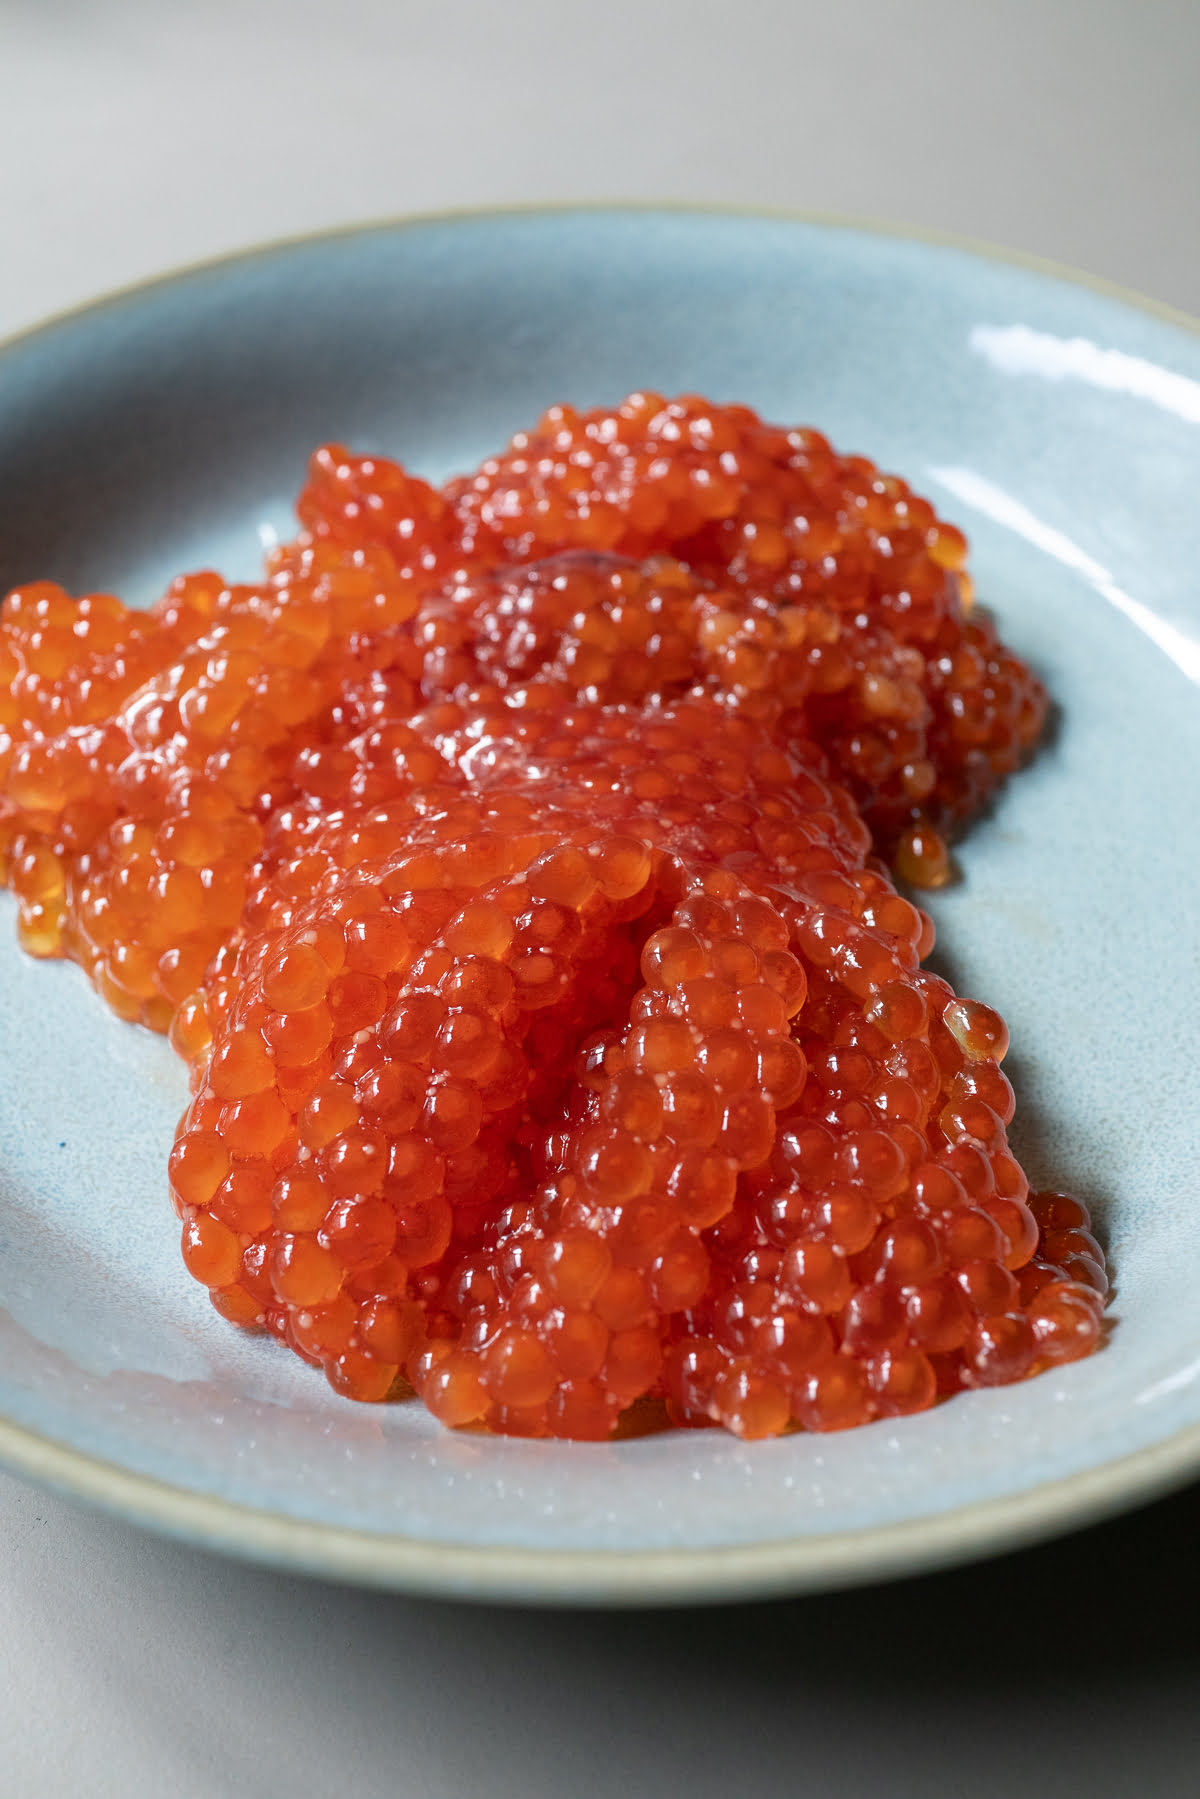
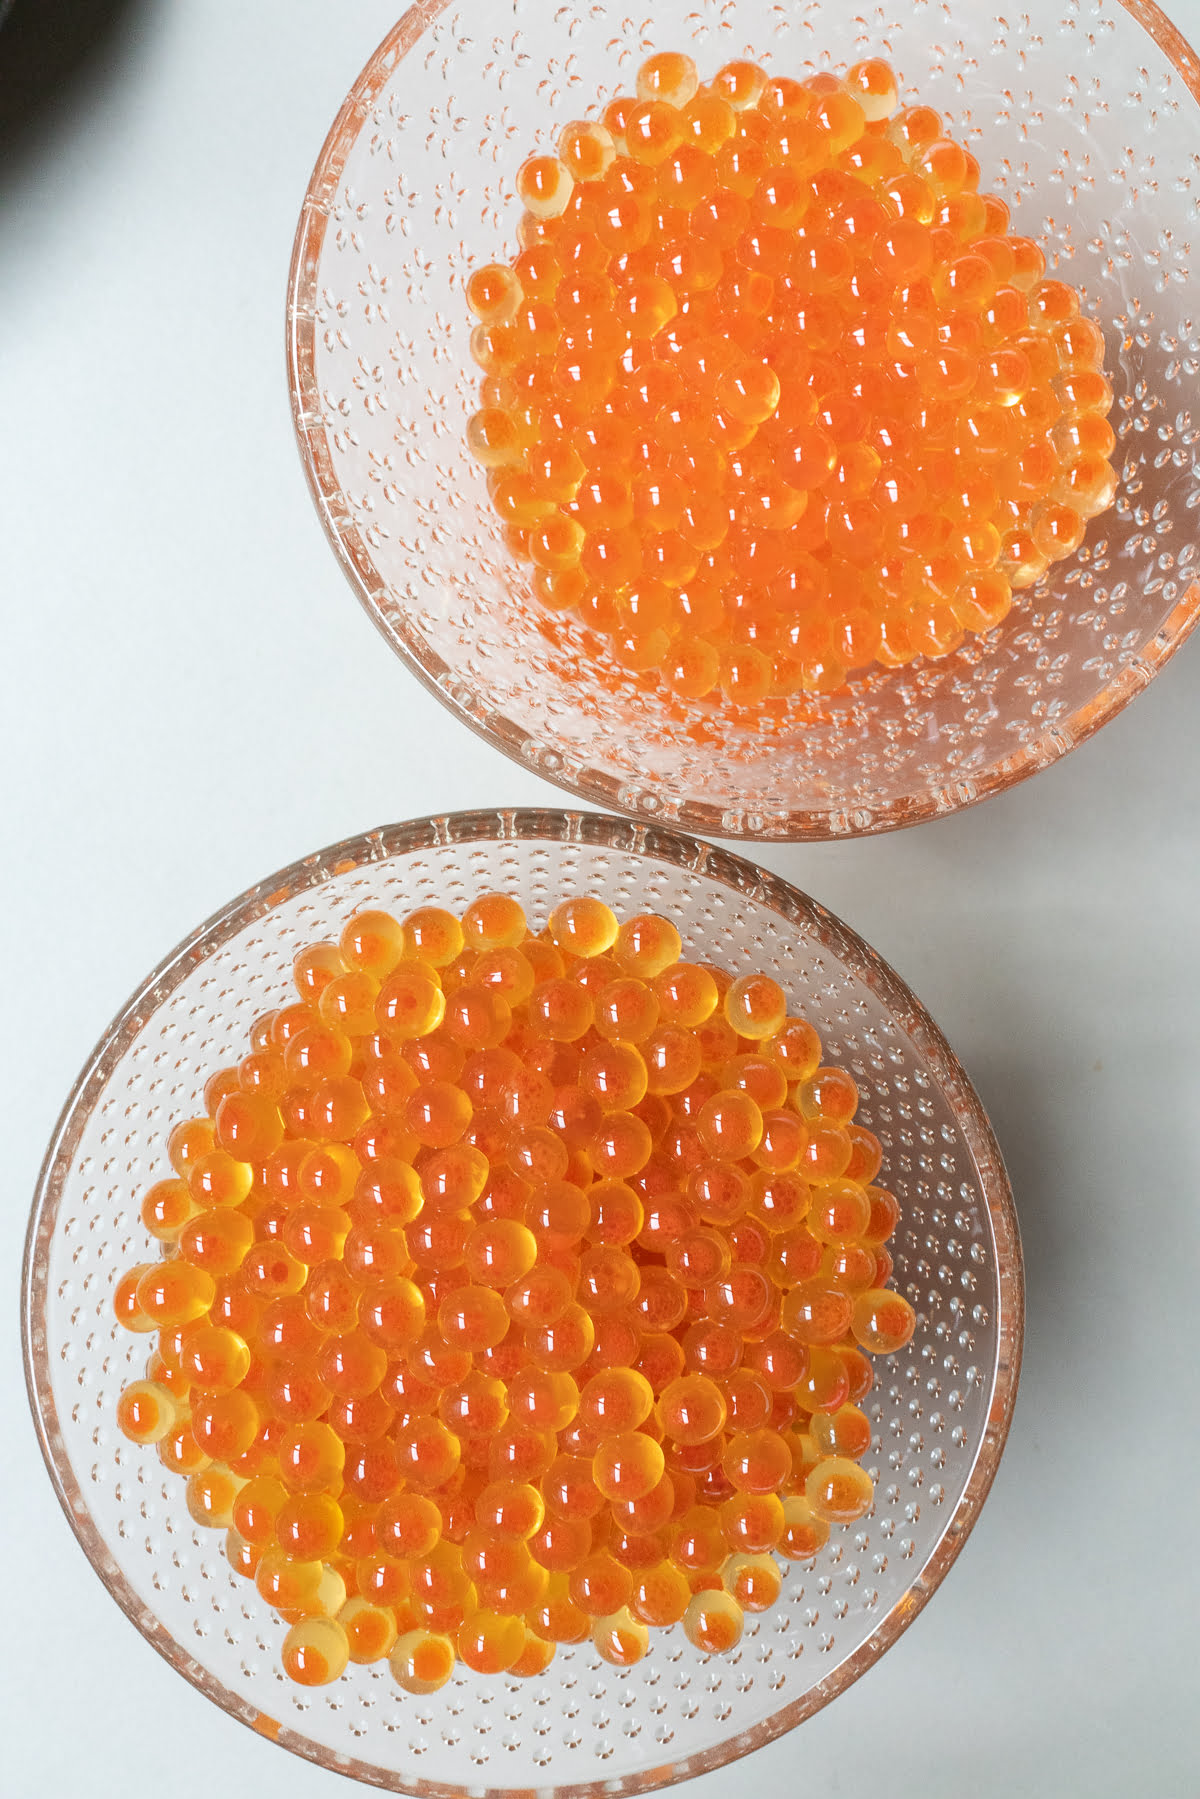
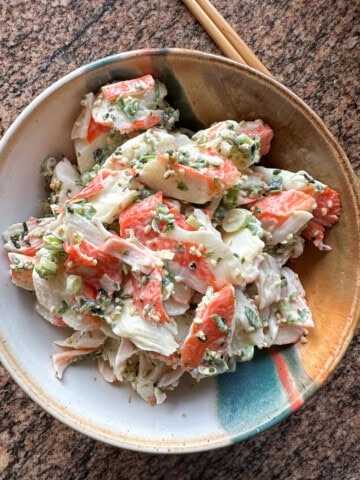
The salmon roe, now cured, is ready to eat ^_^
How To Serve?
There are a million delicious ways to enjoy cured salmon roe! Depending on which version we make (ikura/soy sauce-cured) or salt cured, I eat the roe with different things. Here are a few examples:
Ikura (Soy Sauce-Cured)
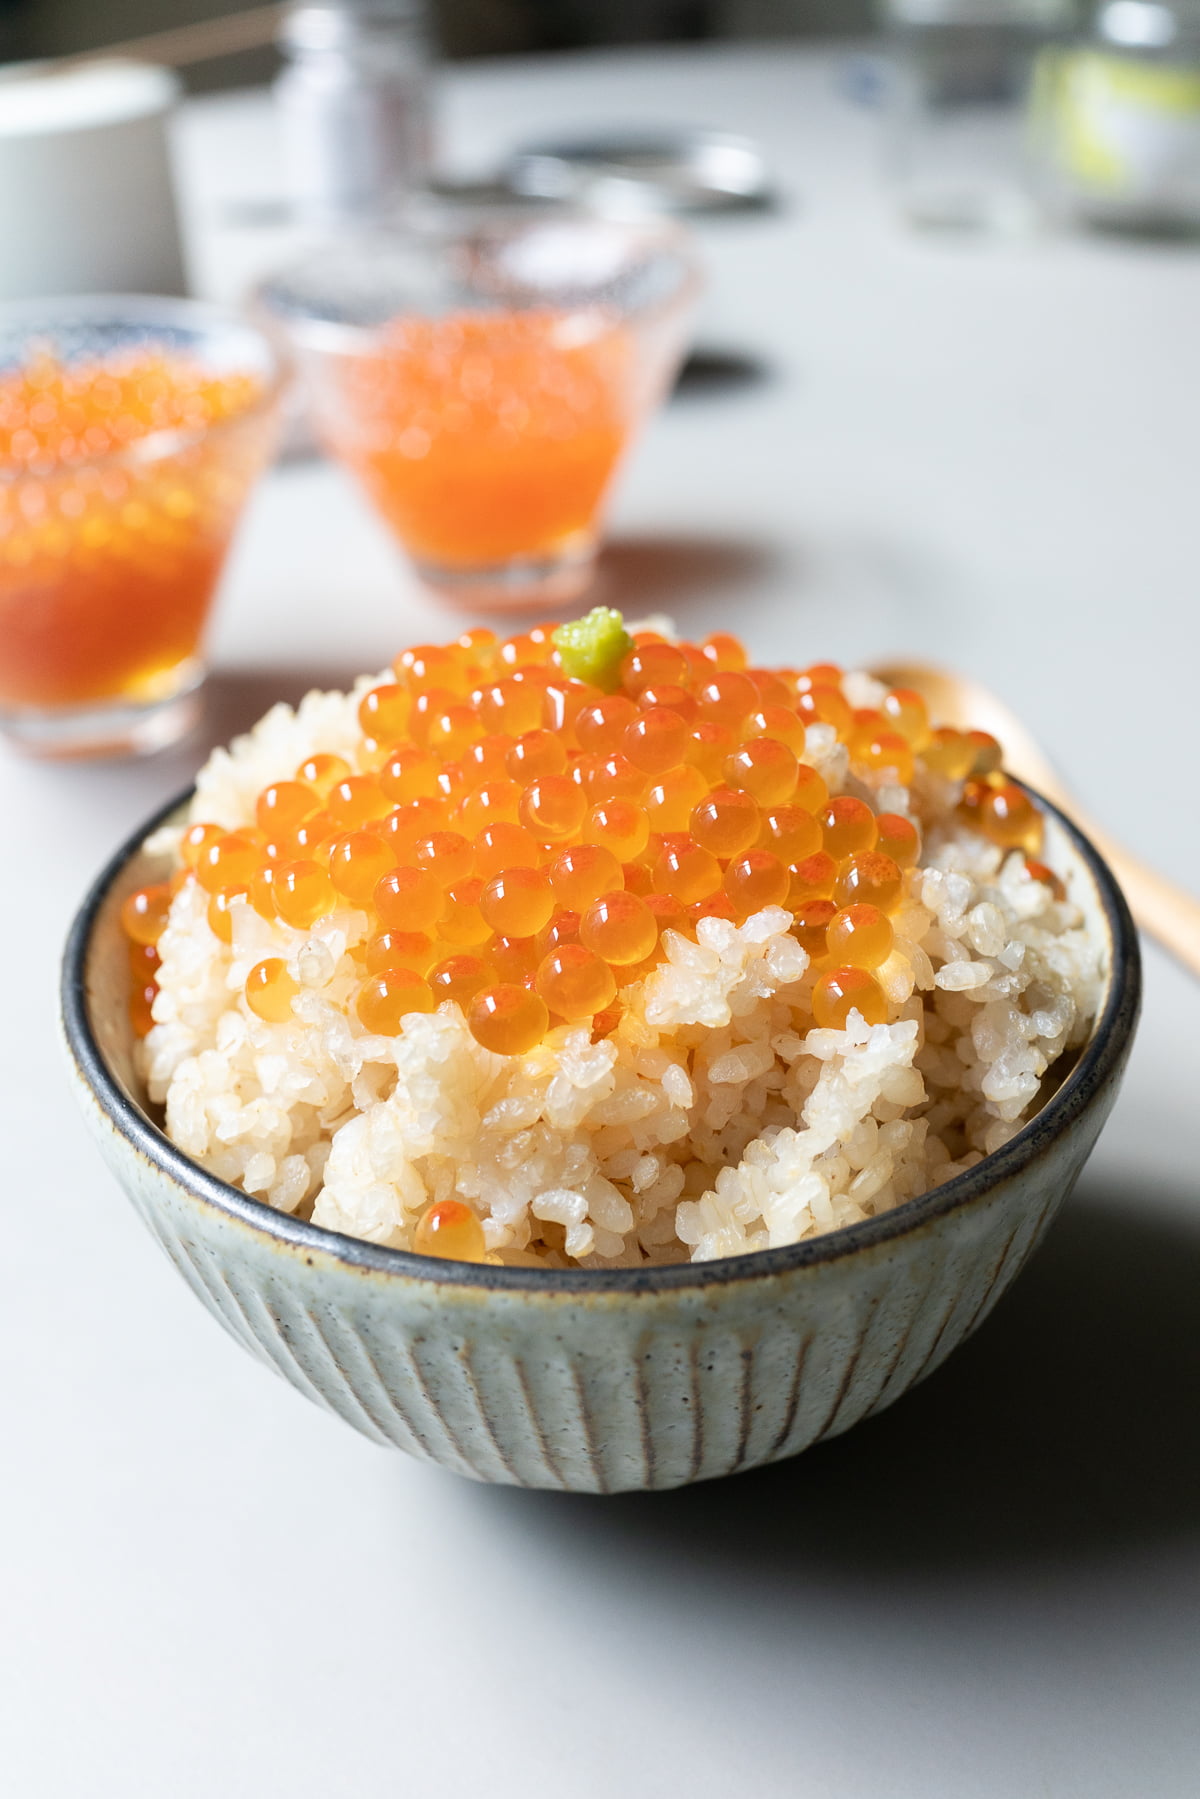
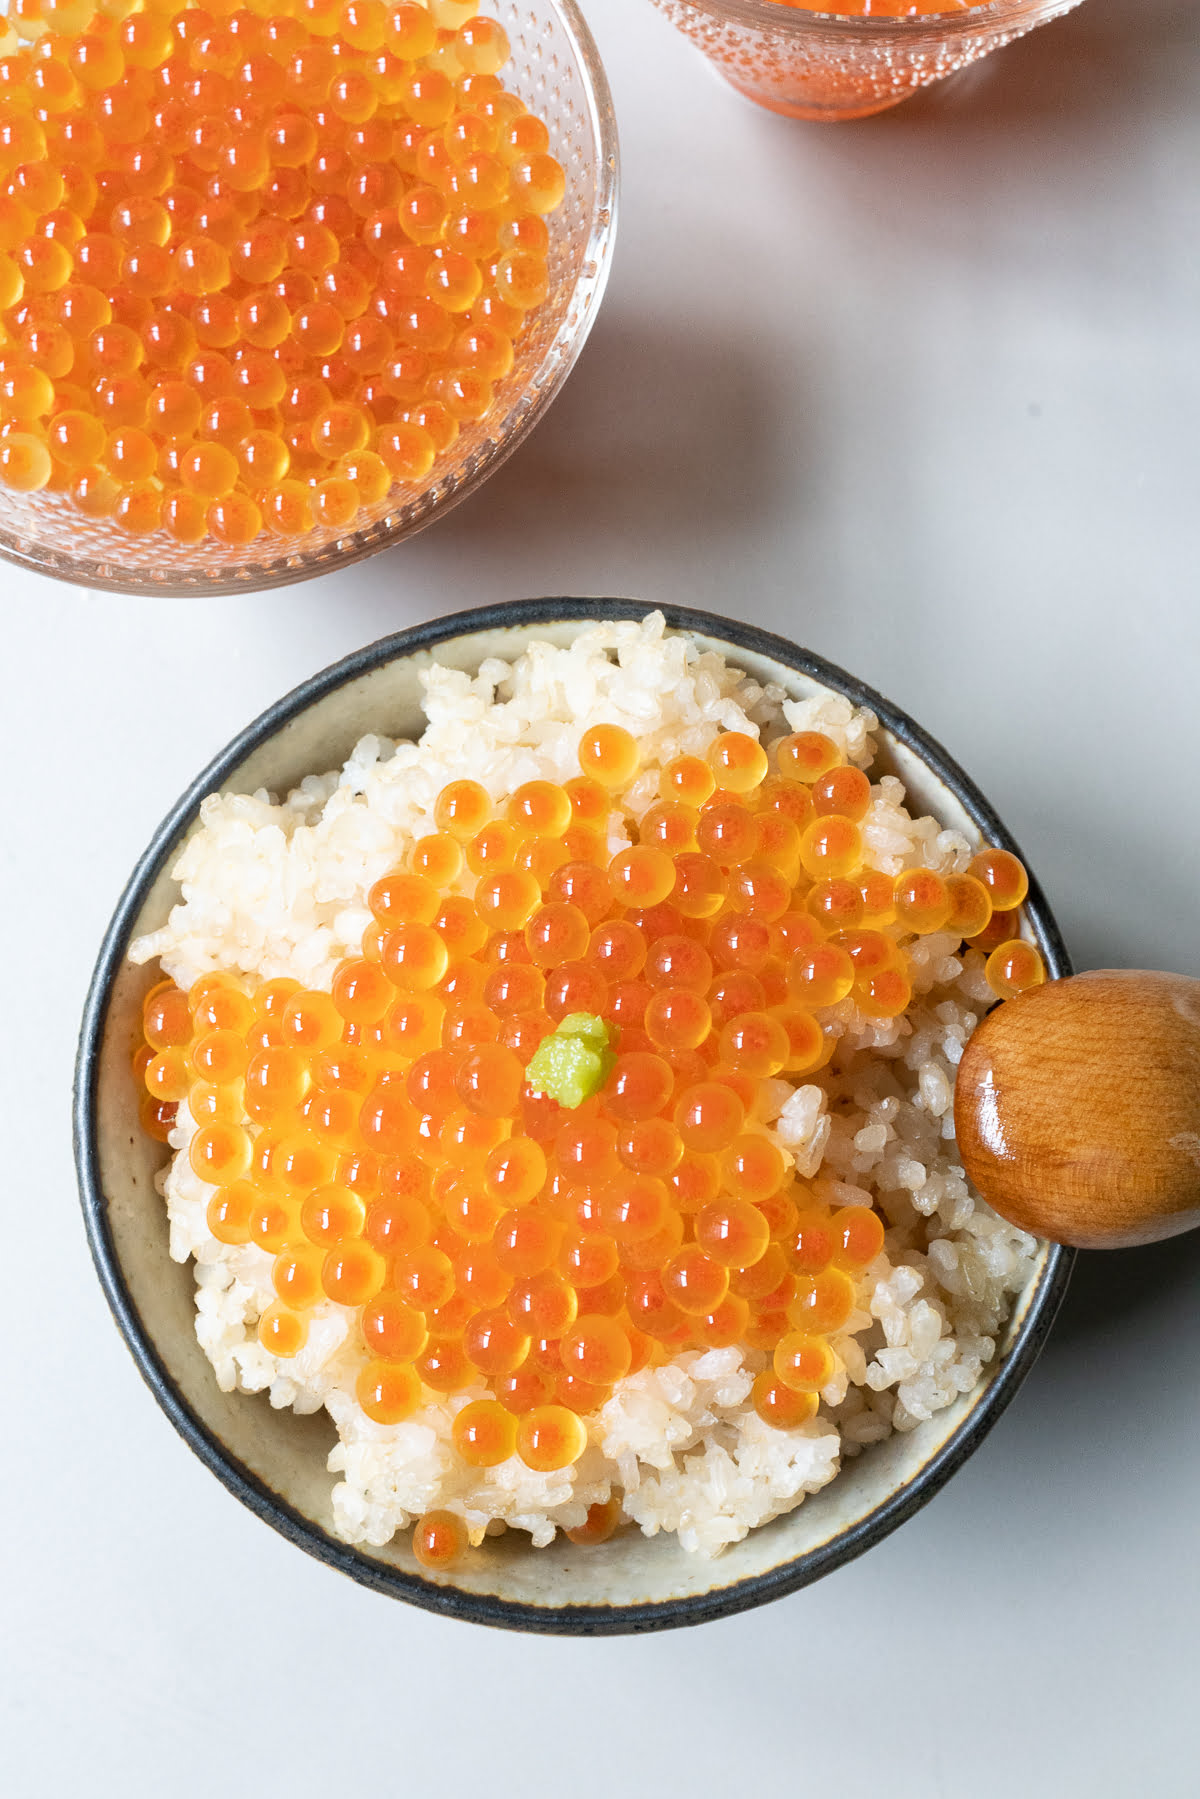
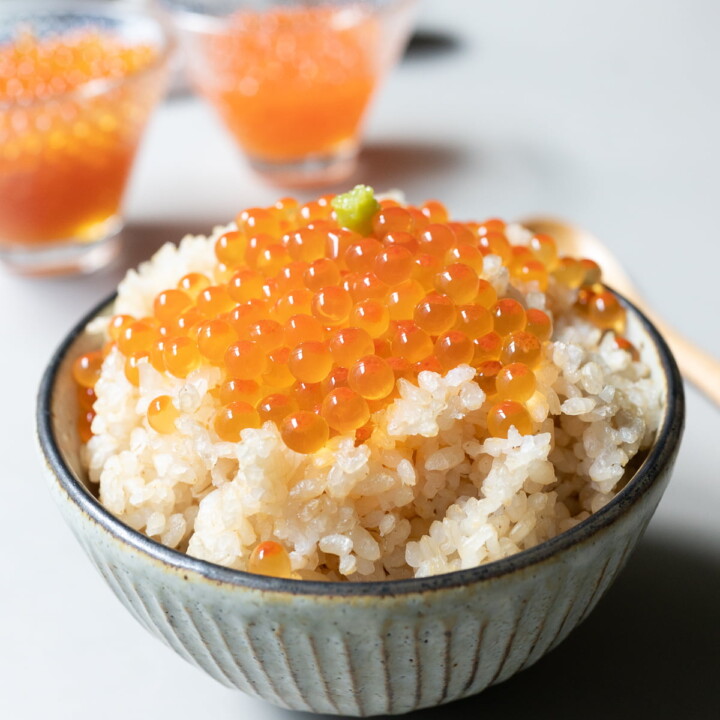
I love ikura with a big bowl of rice. Just scoop rice into a bowl, top with a few spoonfuls of ikura. Place a dab of wasabi in the middle and dig in! This is called ikura don.
Ikura is also great layered into our Pan Sushi and Sushi Bake recipes. I also love it on our Tuna Rice bowl and sprinkled over this Avocado Tofu recipe.
Use ikura for DIY sushi roll nights at home ^_^
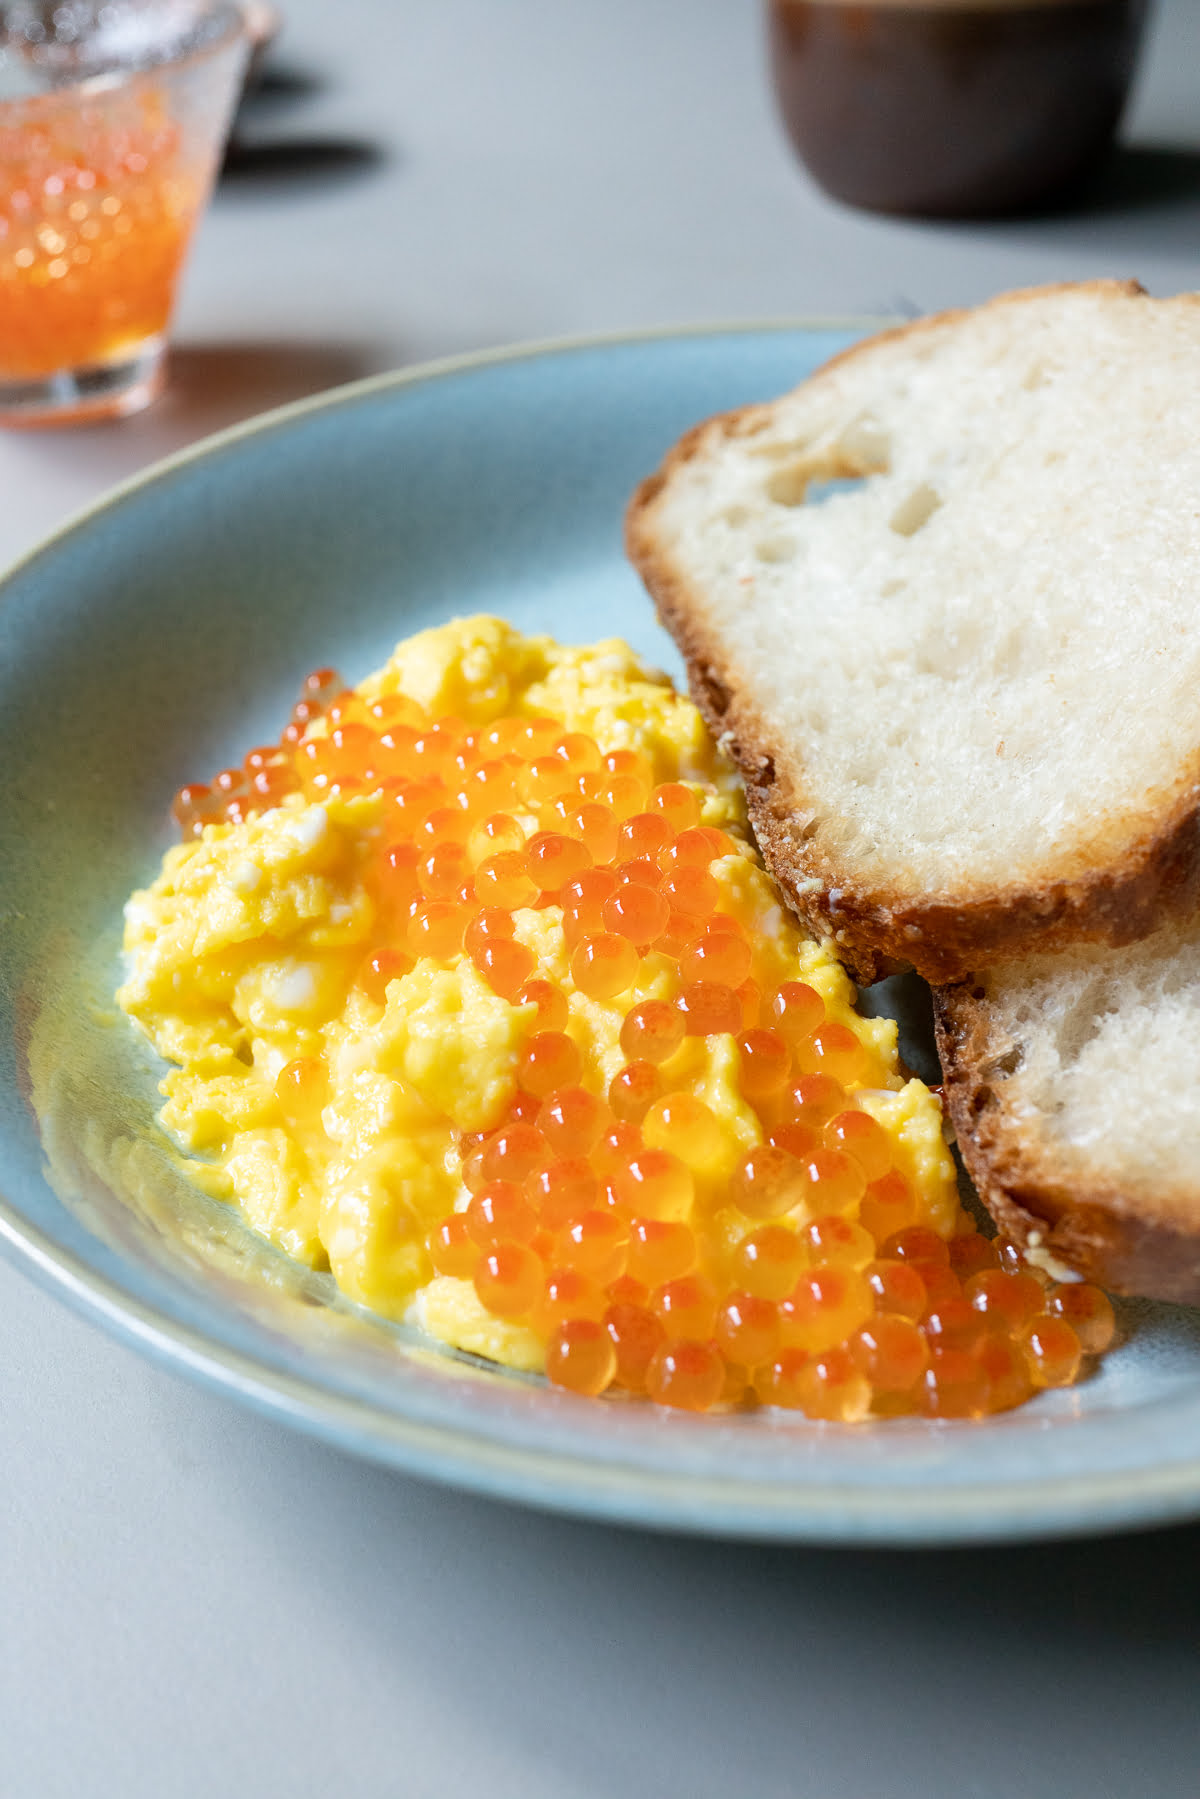
Salt-Cured
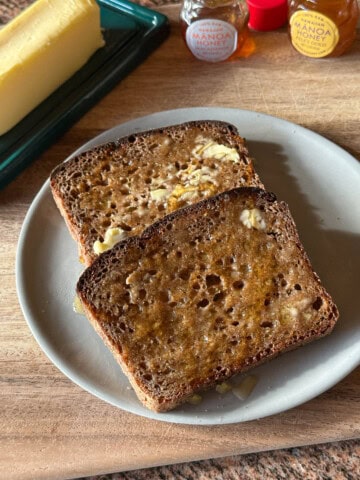
Salt-cured roe is so good at breakfast. Spoon it over scrambled eggs and toast. Serve it over poached eggs. Eggs on eggs.
It's great on a bagel. Toast, spread on the cream cheese and spoon the roe on top. Pop, pop, pop! Also good with toasted and buttered bread.
Roast cabbage wedges (just cut cabbage into wedges, drizzle with olive oil and roast at 425F for 20 minutes). Spoon the roe over the cabbage right before serving.
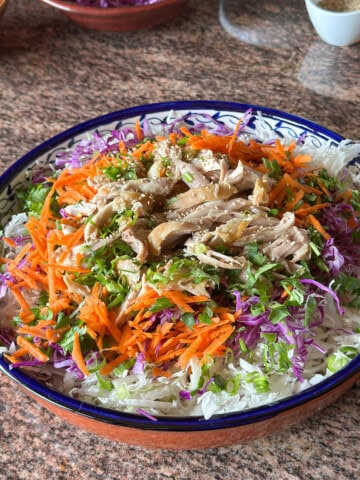
Use it to top Japanese-style pasta dishes (which are very popular in Hawaii).
FAQs and Tips
Both the soy sauce-cured (ikura) and salt-cured roe keeps for 2-3 days in the refrigerator.
Store the cured roe in a clean glass jar. Store it in the coldest part of your refrigerator (do not freeze).
Make sure to use a clean spoon each time you get the roe from the jar. No double dipping, otherwise the roe won't last as long.
For the ikura (soy sauce-cured) version, try replacing the water with dashi. You may also add a splash of sake to the curing liquid.
Ikura - Salmon Roe Recipe
See below and enjoy ^_^
Ikura (Salmon Roe)
Two easy methods for curing salmon roe at home. Make it Japanese style (also known as ikura!) by curing in a soy sauce mixture. Or just make a simple cured salmon roe with water and salt. Serve over a big bowl of rice ^_^
Ingredients
- 4 ounces uncured salmon roe
Ikura (Soy Sauce-Cured)
- 1 cup water
- 1 tablespoon soy sauce
- 1 tablespoon salt
- 1 tablespoon sugar
Salt-Cured
- 1 cup water
- 2 tablespoons salt
Instructions
- Remove the uncured salmon roe from the egg sacks (also called the skein). There are many ways to do this and everyone has a preferred method. I like to place the whole skein in a big bowl with lukewarm water.
- With the whole skein submerged in the water, peel open and off the membrane as much as you can. The roe should now be exposed. Use your fingers to gently push off the roe into a separate bowl of cool water. Do this step while standing at the sink, so that you can drain and refresh the water in both bowls as needed (because it will get dirty).
- With the salmon roe all remove and in the bowl, rinse and drain under gentle and cool running water several times to clean.
- Then pour the salmon roe in a large strainer and rinse several more times to get it extra clean. Make sure you get off all the membrane bits clinging to the roe.
- Place the salmon roe into a clean bowl or container and set aside.
- To make Ikura (Soy Sauce-Cured) style: mix together the water, soy sauce, salt, and sugar in a bowl. Pour the mixture over the bowl with the cleaned salmon roe. Cover with a lid and place in the refrigerator to marinate overnight.
- To make Salt-Cured style: mix the water and salt in a bowl. Pour the mixture over the bowl with the cleaned salmon roe. Cover with a lid and place in the refrigerator to marinate for 30 minutes.
- To serve: drain the liquid. Store the salmon roe in a clean glass jar. The salmon roe, now cured, is ready to eat ^_^
Notes
Note: The roe might turn from clear to cloudy/opaque when you are cleaning and removing the roe (Steps 1 and 2). Don't be worried, the roe will turn back clear when we cure them in Steps 6 and 7).
Hi Kathy: I love ikura too! When I lived in the Seattle area, and I went fishing with friends, I would save all the salmon roe while the others would just throw them away. I would then make a lot of ikura, just the salt cured way. Sometimes when I felt like it, I would go to Uwajima, which was a Japanese store in Seattle, and buy kasu, the lees from sake making. I would then use salt and kasu, and make suzoko, which is cured salted salmon roe in kasu. Ever try suzuko? Pretty tasty stuff too. I think suzuko has more "character" in taste than ikura. Boy, in those days I would have at least 10 pounds of the stuff at all times in the fridge. Today, zippo here in Phoenix.
Hi Alan! That's so cool! I have a friend in Seattle who loves Uwajimaya...will definitely check out the market next time I visit. I'm familiar with kasu but have never heard of suzoko, it sounds so delicious! I can just imagine how flavorful suzoko must be. Getting hungry again! Will try it out next time I get more roe. Thanks for the tip ^_^
- Kathy
Kathy,I spelled it incorrectly. It is suzuko. These days, it might be difficult to find this. I remember in olden days back in Honolulu, we could buy it from supermarkets likes Times, in small, flat, plastic containers. But even when I look on the internet, I cannot find any info on suzuko. Really strange. I guess if you can find kasu to make kasuzuke, you can make your own suzuko.