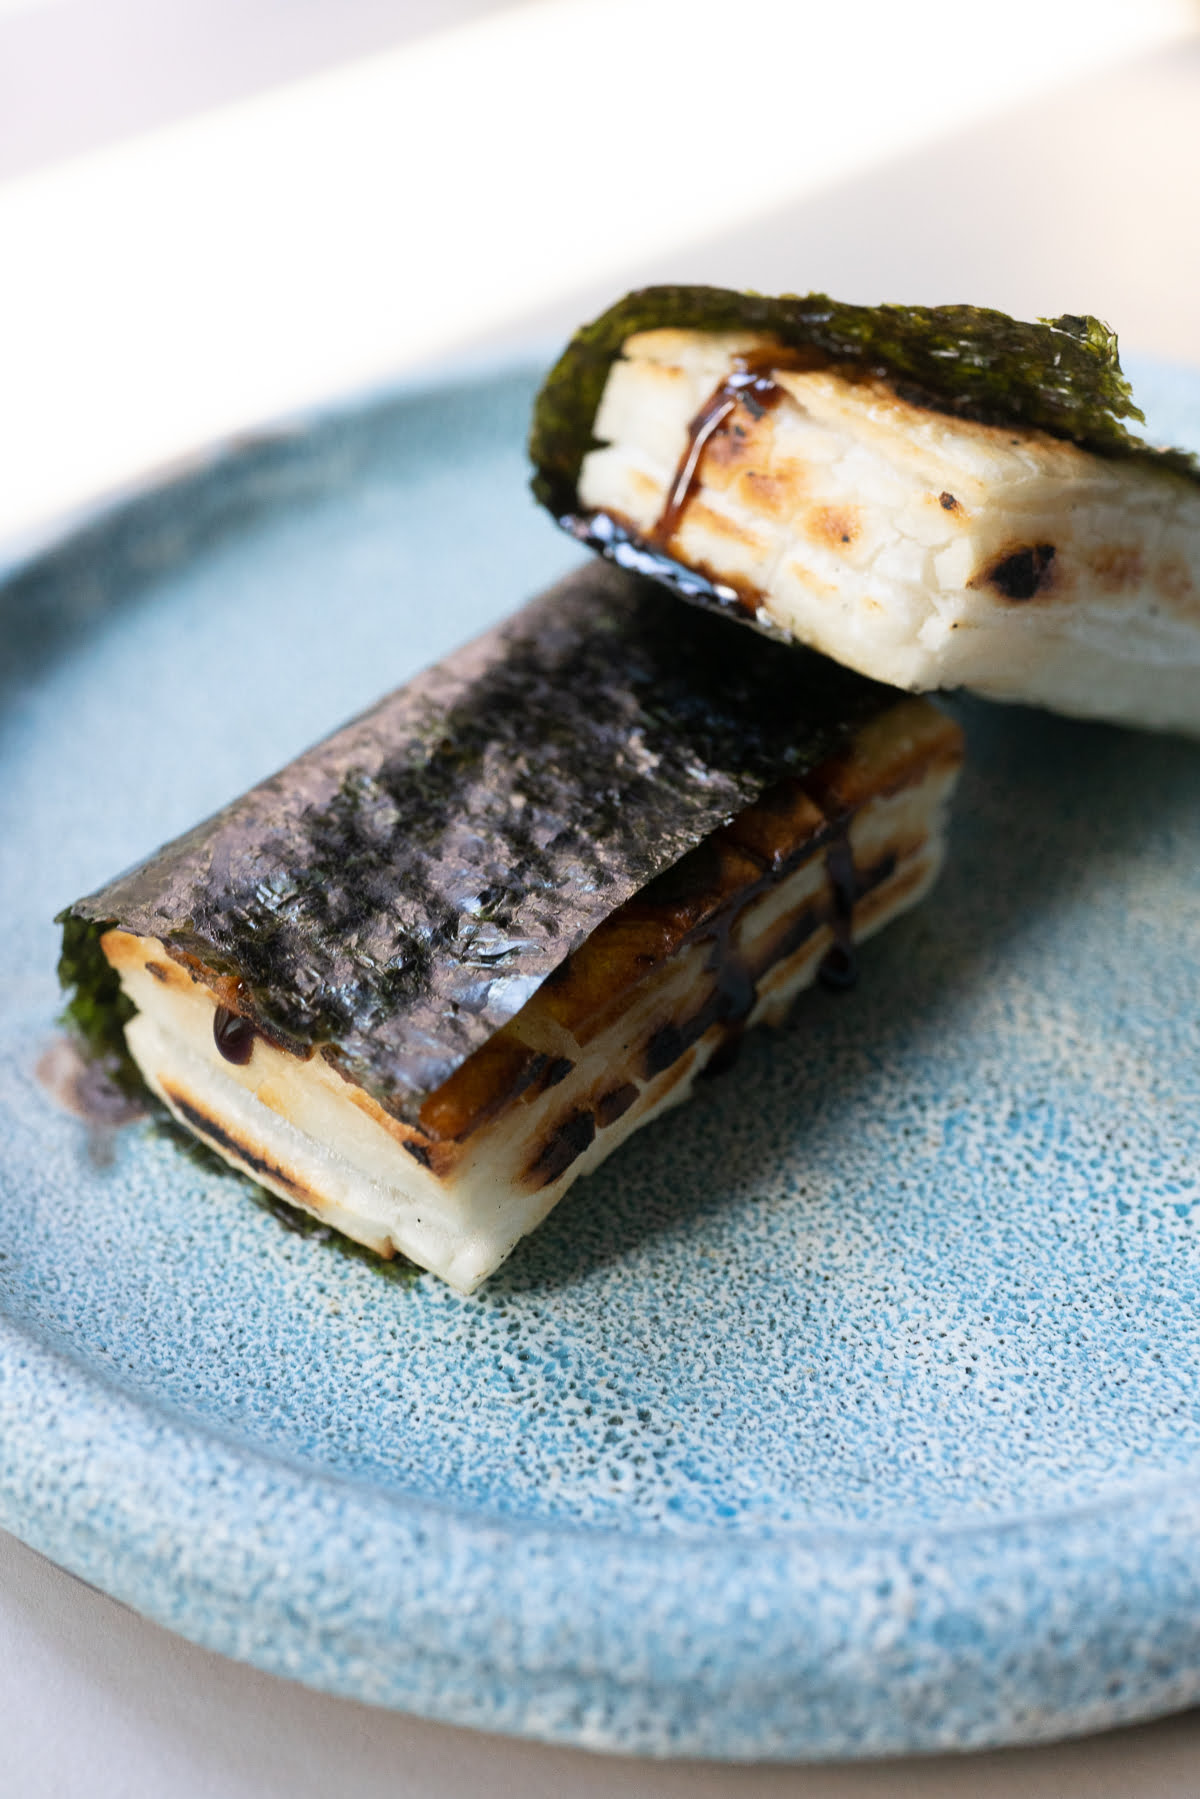
Isobeyaki is mochi that is cooked (panfry, grill, or toast!) until the exterior turns golden and crisp. Brush the mochi with a soy sauce glaze and wrap a piece of nori (seaweed) around it. Eat, devour, and enjoy. It is hot and savory. Crisp and chewy. A wonderful and deeply satisfying handheld treat.
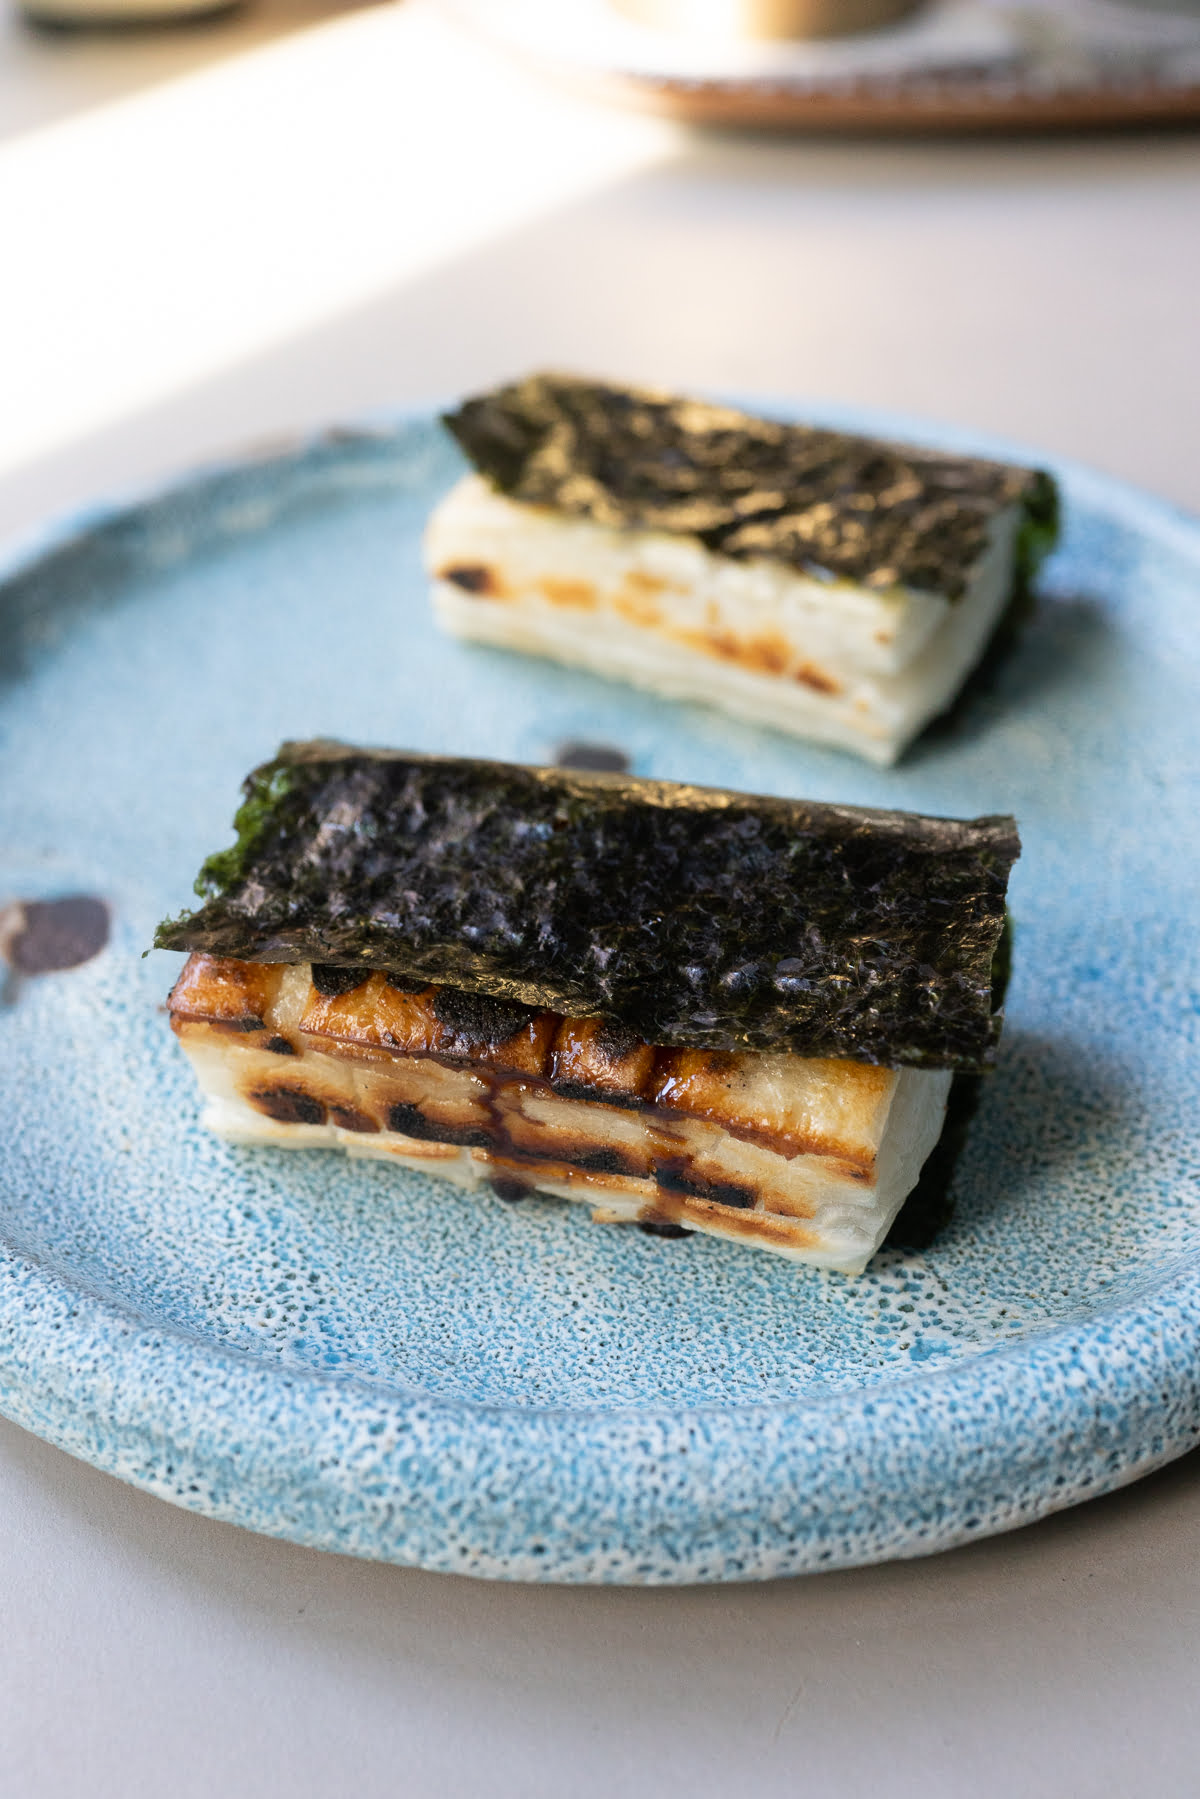
Why This Recipe Works
Hot, crisp, and chewy mochi. How could you go wrong?
All you need are a few pantry ingredients: kirimochi/dried mochi, soy sauce, mirin, and nori.
We panfry (you can also grill or cook in the toaster oven) the mochi until it's golden and crisp on the outside. Then brush with a soy sauce and mirin mixture.
Wrap the mochi with nori and then eat! The outside is crisp but the inside is chewy and molten...so stretchy and gooey. Pair it with a savory-sweet brush of the soy sauce mixture and wowowow. Easy to see why kids and adults love this snack.
It's an excellent treat that takes little effort but is incredibly rewarding in flavor and satisfaction.
We had this often as an afternoon school snack growing up. Now as an adult I sometimes even make it for breakfast...don't underestimate how good isobeyaki tastes in the morning with a cup of tea!
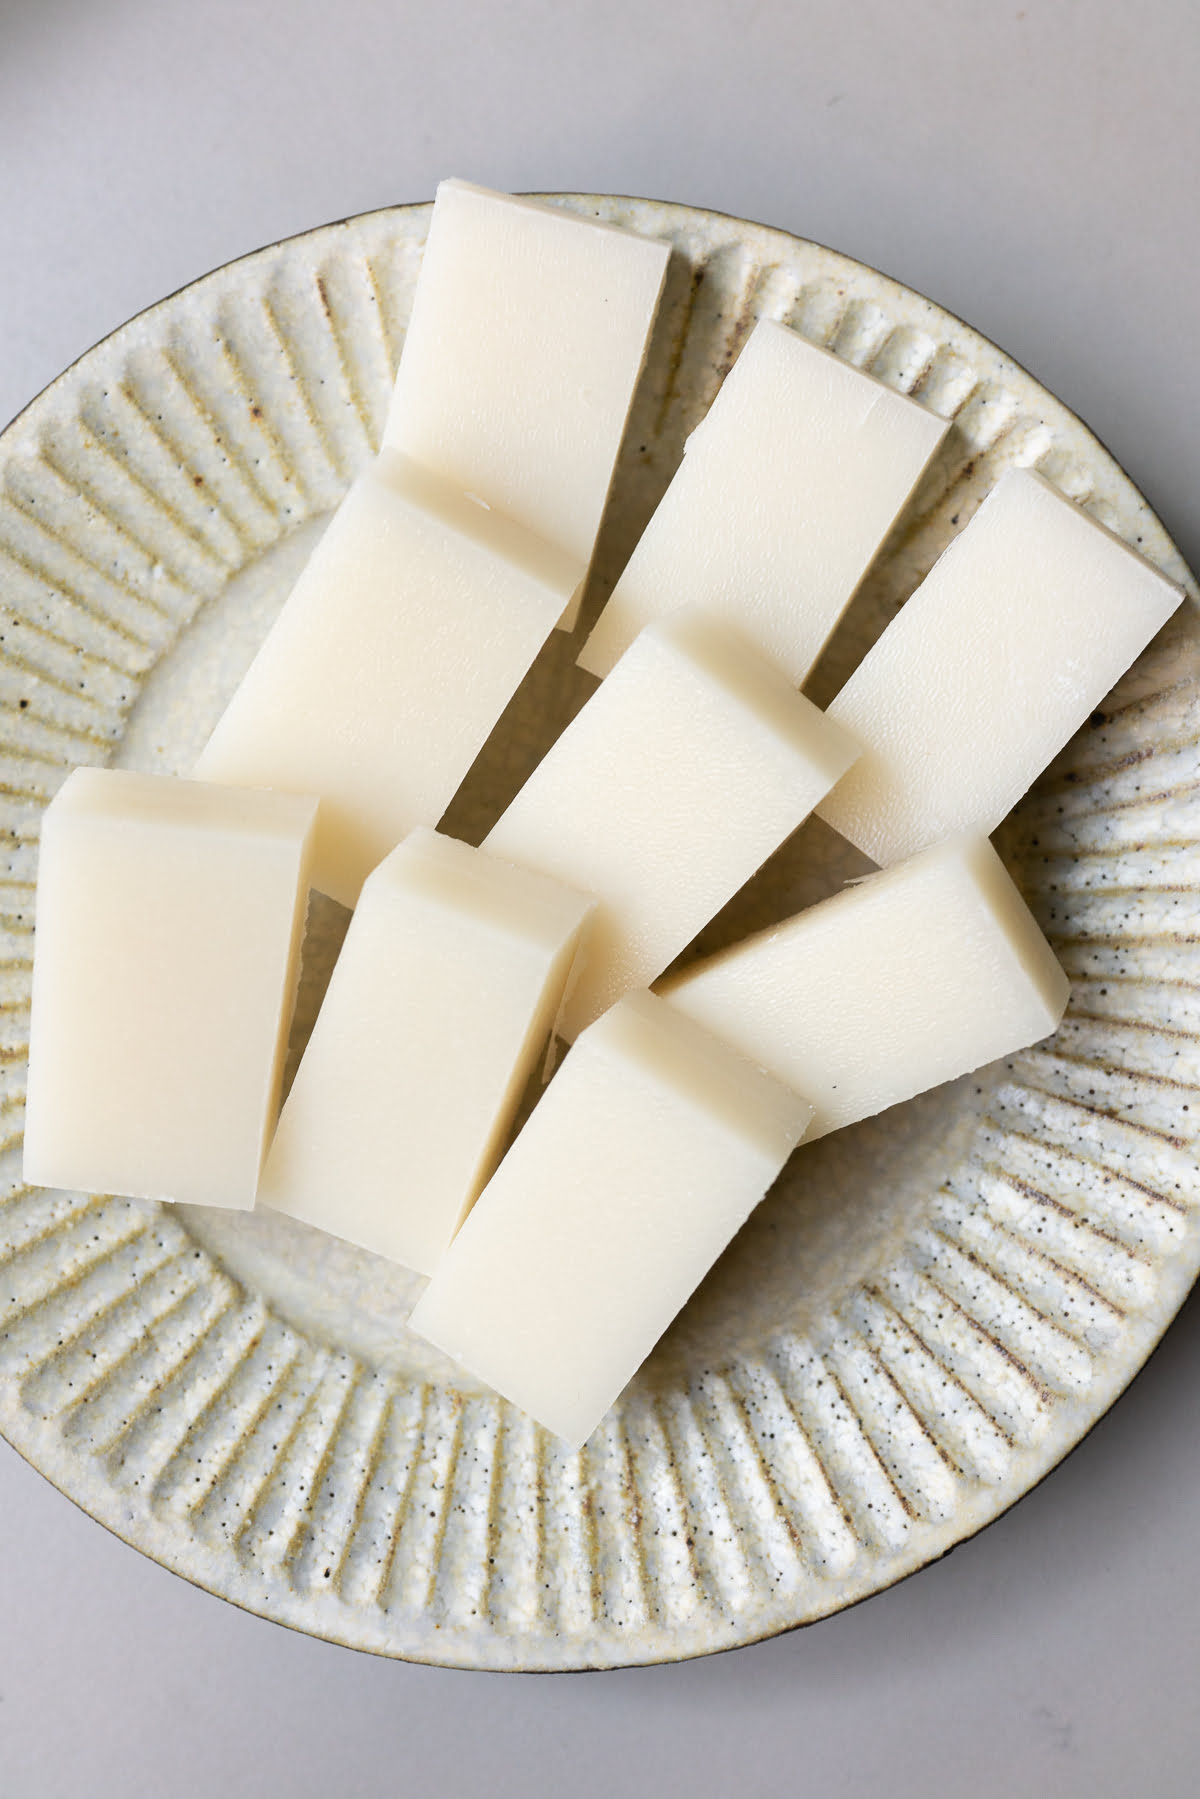
Kirimochi
The main ingredient in yakimochi is the mochi. We use kirimochi which is a type of hard/dried mochi that you can find online or at Japanese markets. Kirimochi come in packages both big and small, we usually get a pack of 8-12 pieces.
I've seen rectangular and circular kirimochi at the markets, but the rectangular ones are more common. I prefer the rectangular kirimochi because it's easier to cut into smaller pieces for mini snacks.
We keep a package of kirimochi in the pantry at all times. It often comes in handy.
Kirimochi is versatile and we use it in recipes for Bacon Wrapped Mochi (another wonderful savory snack) and Ozoni (Japanese New Year Mochi Soup).

Yakimochi Versus Isobeyaki
Yakimochi refers to any type of grilled (or in this case, panfried) mochi.
Isobeyaki is yakimochi that is grilled with soy sauce and wrapped with nori.
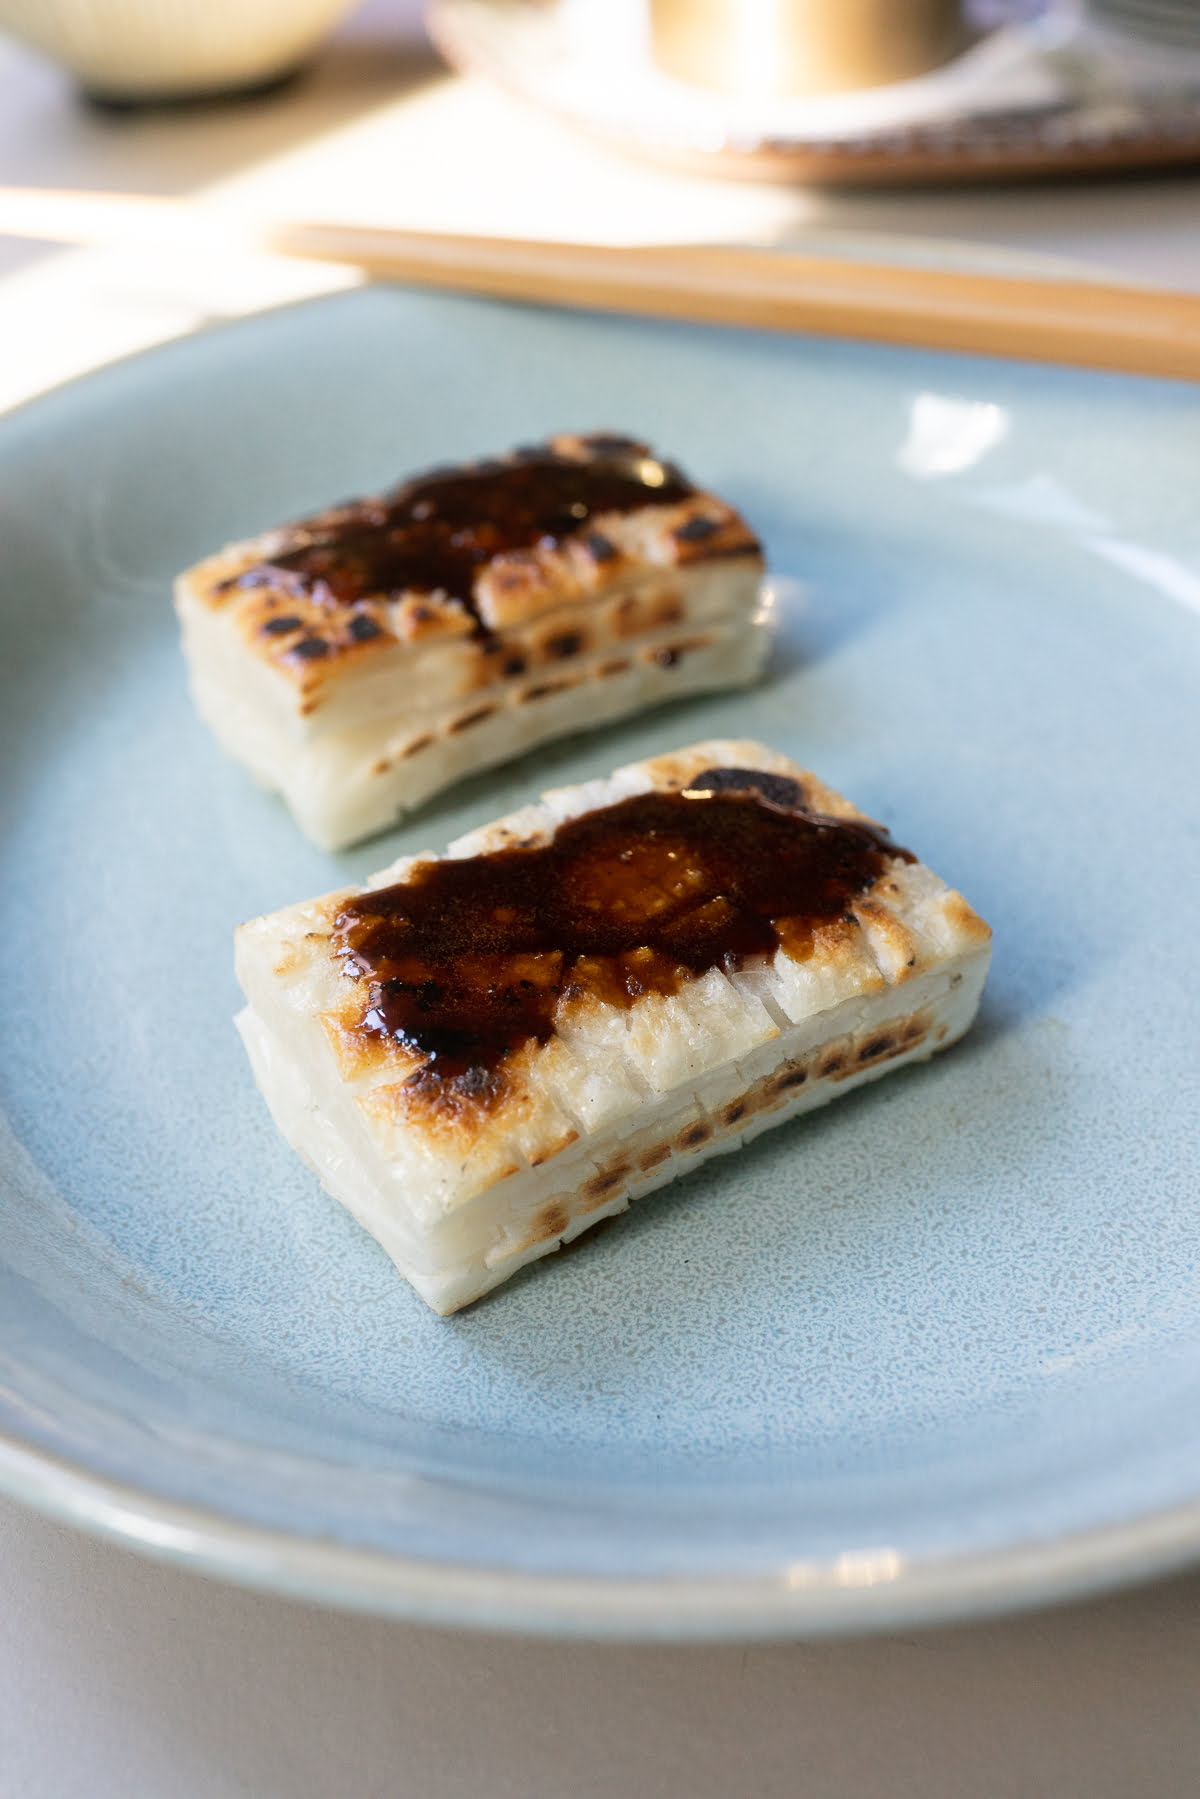
Soy Sauce Mixture
The cooked kirimochi is brushed with a mixture of soy sauce and mirin.
The soy sauce is savory and the mirin is sweet. Together, they make a delicious and classic flavor combination.
We cook the soy sauce and mirin mixture on the stove for a few minutes, just until the mixture is reduced and gets a little sticky. We brush that mixture over the kirimochi.
There are different ways to do this. Some people don't cook the mixture, but instead just brush the kirimochi with the (uncooked) soy sauce and mirin mixture while cooking the kirimochi. Make sure to brush both sides while cooking. This is common when grilling the kirimochi You can definitely do this if preferred.
I like to cook the mixture because I love the sauce when it's more thick and glaze-y. And also because I sometimes burn the sauce mixture if I do the uncooked/brushing method on a frying pan. This uncooked/brushing while cooking is also harder to do if you're cooking the mochi in the toaster oven.
If you don't have mirin at home, don't worry! You can skip the mirin. Just cook the mochi and drizzle a little soy sauce on top before wrapping it with the nori. Quick and easy.

Ingredients
Here's what you'll need
Step by Step Directions
Let's get cooking:
Prepare the soy sauce glaze.
Mix the soy sauce and mirin together in a small saucepan. Gently warm the mixture over medium heat until it thickens and gets a little sticky. Set aside.
Cook the kirimochi pieces.
In a pan over medium heat, place the kirimochi pieces flat on the pan (no need to grease the pan). Pan fry until the kirimochi starts turning a nice, golden color and puffs up. It should take a few minutes for each side. You can flip it back and forth as needed.
Protip 1: If you prefer the mochi exterior more crisp/browned, can cook it longer. Just make sure not to burn it.
Protip 2: You can also cook the kirimochi on the grill on in a toaster oven (we used to do the toaster oven mention a lot as kids!
Cut nori.
Cut the nori sheet into smaller rectangular pieces (we usually cut into six pieces but you can make it bigger or smaller depending on how much nori you want wrapped around the kirimochi).
You'll need one piece of cut nori to go with each piece of kirimochi.
Assemble.
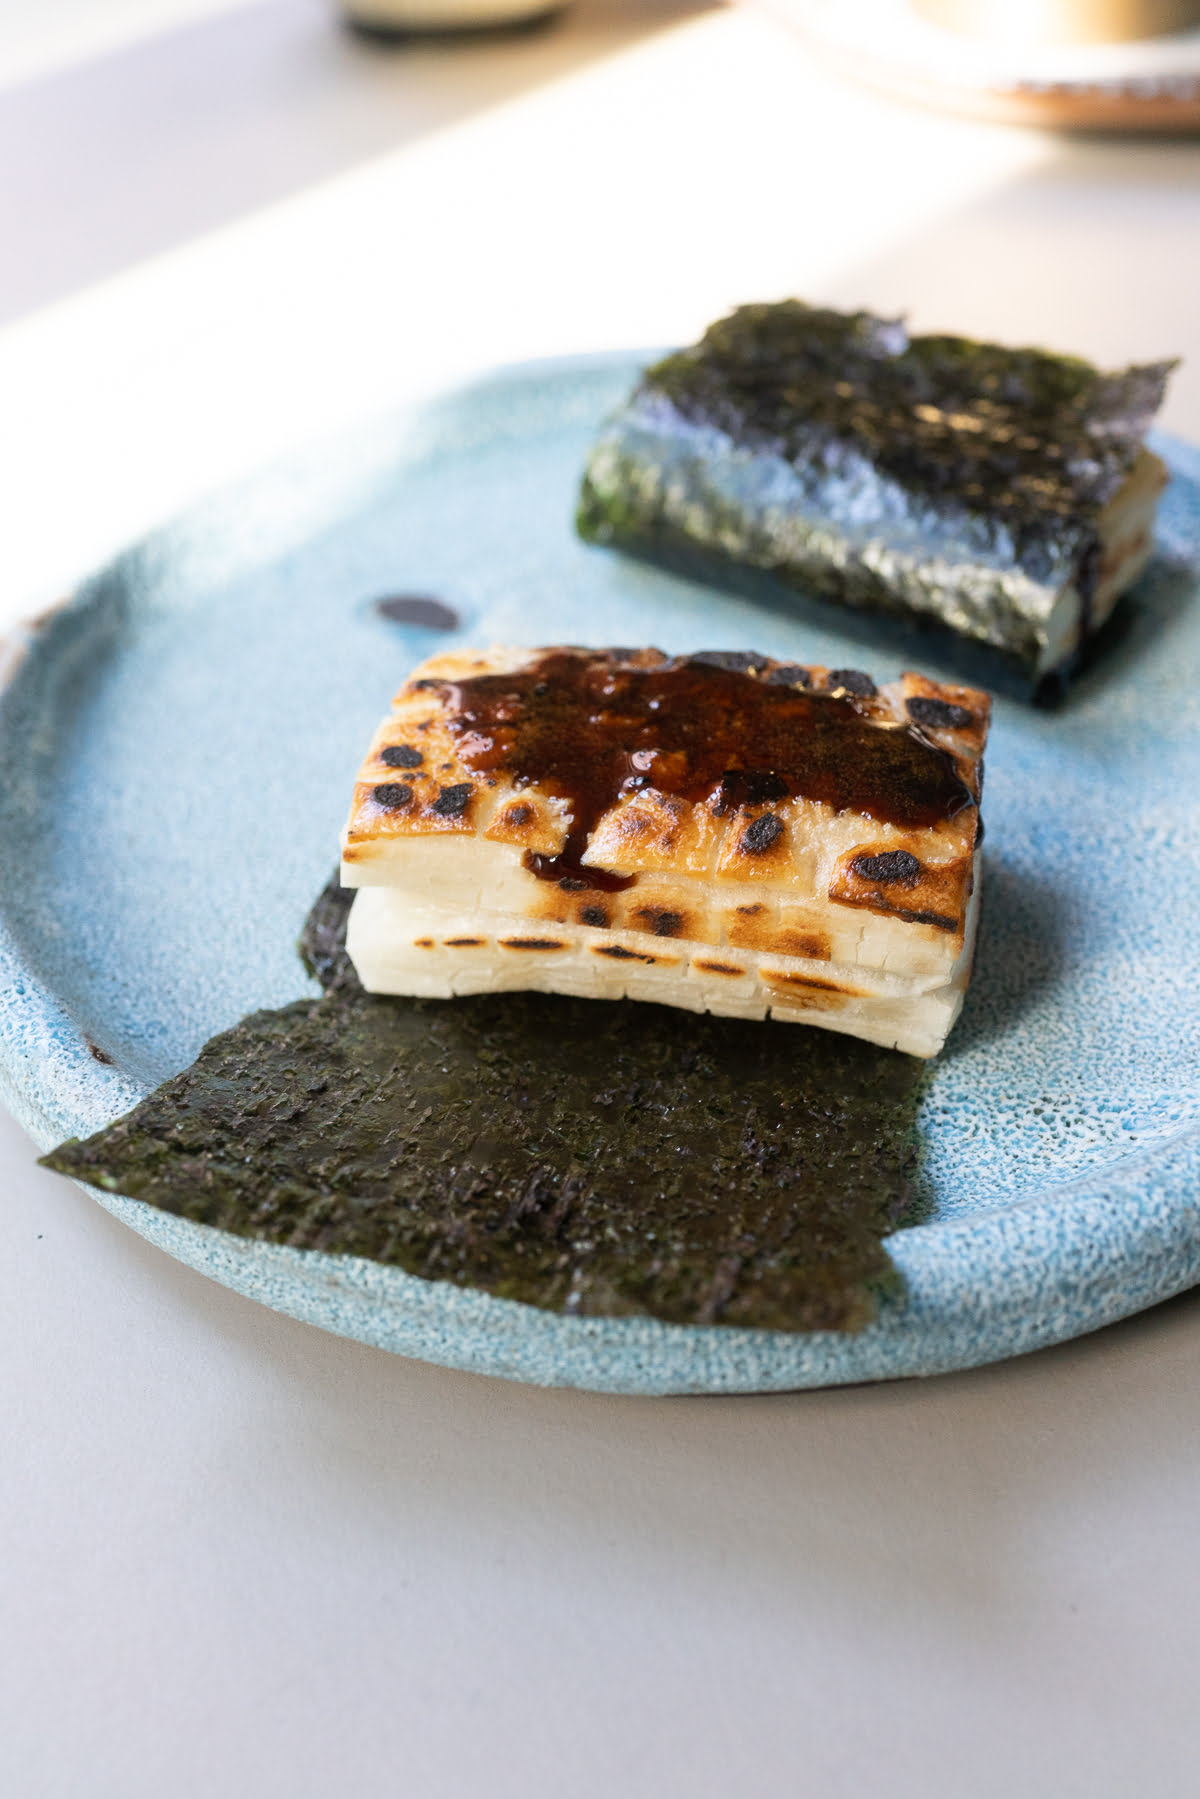
Place one piece of nori on a plate. Put the cooked kirimochi on top of half the nori. Careful, the kirimochi will be hot! Brush the top of the kirimochi with some of the soy sauce glaze. Use a spoon if you don't have a brush.
Fold the other half of the nori piece over the top of the mochi and gently press down to "seal." The soy sauce glaze will help the nori stick to the kirimochi.
Eat and enjoy.
Pick it up with your fingers, eat and enjoy! I usually just eat this standing at the kitchen counter. It is such a super onolicious snack. Hot, tasty, and savory.
FAQs and Tips
So do we! Make sure to also try these recipes that also use kirimochi:
- Bacon Wrapped Mochi
- Ozoni (Japanese New Year Mochi Soup)
It doesn't keep well so make only as much as you are planning to eat. I usually one or two when making it for an afternoon snack. The kirimochi is a rice cake, so they are savory and may be more filling that you'd expect.
We usually panfry, but you can also cook the kirimochi on a grill or in the toaster oven. All three methods are delicious, do the one that is most convenient for you.
Isobeyaki Recipe
See below and enjoy ^_^
Isobeyaki
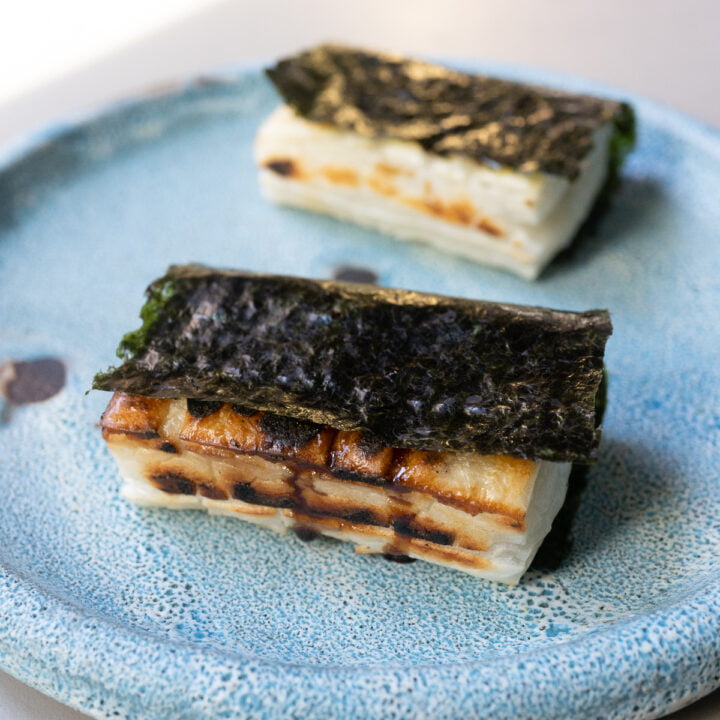
Mochi is pan fried (or grilled or toasted!) until the exterior gets nice and crisp. Brush with a soy sauce glaze and wrap a piece of nori (seaweed) around the mochi. Eat, devour, and enjoy! It's both hot and savory, crisp and chewy. A wonderful and deeply satisfying snack.
Instructions
- Prepare the soy sauce glaze: mix together the soy sauce and mirin in a small pot or saucepan. Gently warm the mixture over medium heat until the mixture thickens and gets a little sticky. Set aside.
- Cook the kirimochi pieces: in a pan over medium heat, place the kirimochi pieces flat on the pan (no need to grease the pan). Pan fry for 2-3 minutes on each side until the kirimochi starts turning a nice, golden color and puffs up. If you like it more crisp, you can cook it longer. Just make sure not to burn it. Note: You can also grill or cook the kirimochi in the toaster oven.
- Cut the nori sheet into six smaller rectangular pieces. You'll need one piece of cut nori for each piece of kirimochi.
- Place one piece of cut nori on a plate. Put the cooked kirimochi on top of half the nori. Brush the top of the kirimochi with the soy sauce glaze.
- Fold the other half of the cut nori piece over the top of the mochi (the soy sauce glaze will help the nori "stick" to the kirimochi).
- Repeat steps 4-5 with the second piece of kirimochi.
- Pick it up with your fingers, eat and enjoy! Such a tasty, hot, and savory snack ^_^
Notes
Tip: We usually panfry the mochi but you can also cook the mochi on the grill or cook it in the toaster oven. All methods taste delicious, do the one that is most convenient for you.


Ah, this brings back memories of graduate school where my Japanese American roommate introduced me to the world of toasted mochi. You can't beat the texture!
Hi Jeanne! Totally agree...can't beat the texture of toasted mochi! Hope all is well 🙂
- Kathy